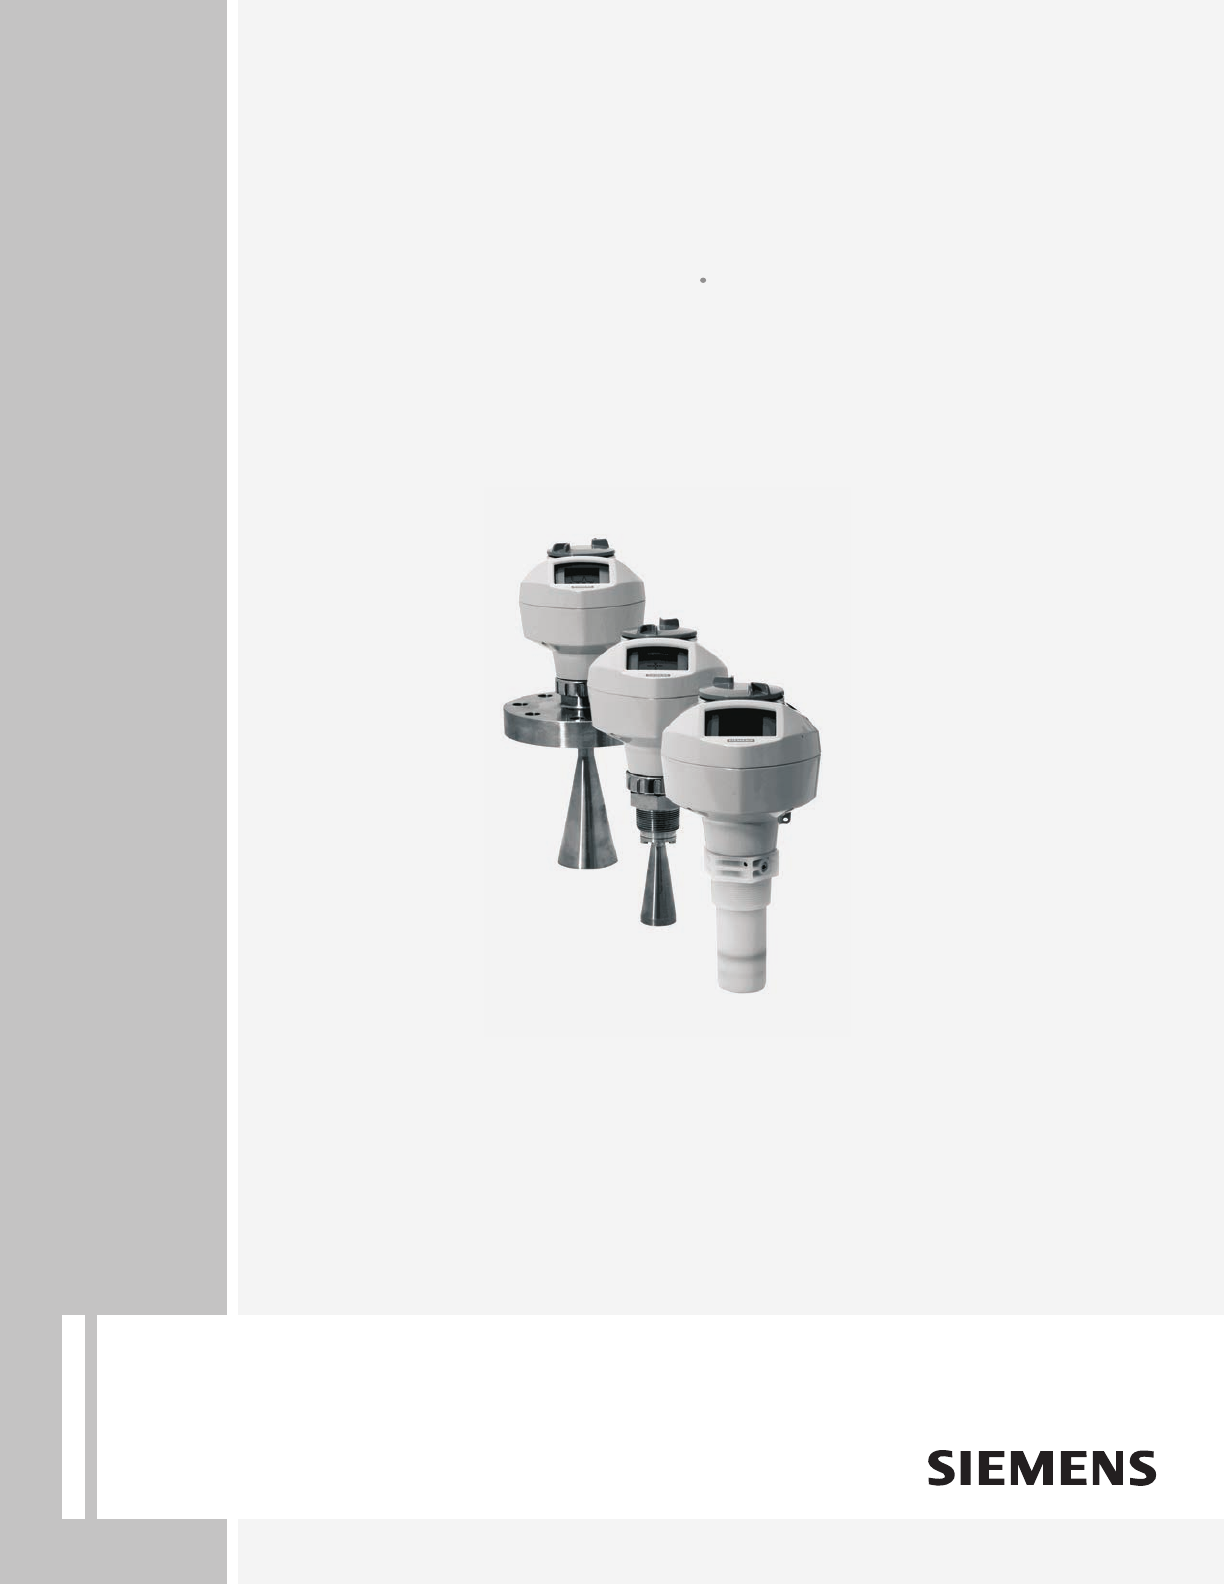
Radar Transmitters SITRANS LR250 (PROFIBUS PA) Operating Instructions 01/2014 SITRANS
Safety Guidelines Warning notices must be observed to ensure personal safety as well as that of others, and to protect the product and the connected equipment. These warning notices are accompanied by a clarification of the level of caution to be observed. Qualified Personnel This device/system may only be set up and operated in conjunction with this manual. Qualified personnel are only authorized to install and operate this equipment in accordance with established safety practices and standards.
1 ___________________ Introduction 2 ___________________ Safety notes 3 ___________________ Description 4 ___________________ Installing/mounting SITRANS 5 ___________________ Connecting 6 Radar Transmitters ___________________ Commissioning SITRANS LR250 (PROFIBUS PA) 7 ___________________ Remote operation 8 ___________________ Parameter reference Operating Instructions 9 ___________________ Service and maintenance Diagnosing and 10 ___________________ troubleshooting 11 ___________________ Technical data
Legal information Warning notice system This manual contains notices you have to observe in order to ensure your personal safety, as well as to prevent damage to property. The notices referring to your personal safety are highlighted in the manual by a safety alert symbol, notices referring only to property damage have no safety alert symbol. These notices shown below are graded according to the degree of danger.
Table of contents 1 2 3 4 5 Introduction ............................................................................................................................................. 9 1.1 The manual .................................................................................................................................... 9 1.2 Firmware revision history .............................................................................................................10 Safety notes .............
Table of contents 6 7 5.3.4 Non-incendive wiring (US/Canada only) ..................................................................................... 33 5.4 Instructions specific to hazardous area installations ................................................................... 34 Commissioning ..................................................................................................................................... 35 6.1 6.1.1 6.1.2 6.1.2.1 6.1.2.2 6.1.3 6.1.3.1 6.1.3.2 6.1.3.3 6.1.3.
Table of contents 7.2.1 7.2.2 7.2.3 7.2.4 8 Parameter reference ............................................................................................................................. 93 8.1 9 10 11 12 Device Type Manager (DTM) .......................................................................................................90 SITRANS DTM .............................................................................................................................90 The device EDD ..........
Table of contents A B C 12.10 Raised-Face flange per EN 1092-1 for flanged encapsulated antenna .................................... 194 12.11 Flat-Face flange ........................................................................................................................ 197 12.12 Process connection tag (pressure rated versions).................................................................... 200 Appendix A: Technical reference ..........................................................
Table of contents D C.6 C.6.1 C.6.2 Operating as a profile device .....................................................................................................232 Configuring a new device ...........................................................................................................232 Configuring PROFIBUS PA with an S7-300/ 400 PLC ..............................................................232 C.7 C.7.1 Cyclic versus acyclic data .................................................
Table of contents SITRANS LR250 (PROFIBUS PA) 8 Operating Instructions, 01/2014, A5E32221386-AB
Introduction 1.1 1 The manual This manual will help you set up your radar device for optimum performance. For other Siemens Milltronics level measurement manuals, go to: Siemens level (http://www.siemens.com/level) Follow these operating instructions for quick, trouble-free installation, and maximum accuracy and reliability of your device. We always welcome suggestions and comments about manual content, design, and accessibility. Please direct your comments to: Technical publications (mailto:techpubs.
Introduction 1.2 Firmware revision history 1.2 Firmware revision history This history establishes the correlation between the current documentation and the valid firmware of the device. The documentation of this edition is applicable for the following firmware: Firmware rev. EDD rev. Date Changes 1.00.04 1.00.05 12 Jun 2007 • Initial release. 1.01.00 1.01.00 23 Aug 2007 • EDD a)/SIMATIC PDM: improved rendering of the echo profile and TVT. 1.01.01 1.01.
2 Safety notes 2.1 Safety marking symbols In manual On product Description (Label on product: yellow background.) WARNING: refer to accompanying documents (manual) for details. 2.2 FCC Conformity US Installations only: Federal Communications Commission (FCC) rules WARNING Changes or modifications not expressly approved by Siemens Milltronics could void the user’s authority to operate the equipment.
Safety notes 2.3 CE Electromagnetic Compatibility (EMC) Conformity 2.3 CE Electromagnetic Compatibility (EMC) Conformity This equipment has been tested and found to comply with the following EMC Standards: EMC Standard Title CISPR 11:2004/EN Limits and methods of measurements of radio disturbance characteristics of industrial, scientific, and medical (ISM) radio-frequency equipment.
3 Description 3.1 SITRANS LR250 overview WARNING SITRANS LR250 is to be used only in the manner outlined in this manual, otherwise protection provided by the device may be impaired. SITRANS LR250 is a 2-wire 25 GHz pulse radar level transmitter for continuous monitoring of liquids and slurries in storage vessels including high pressure and high temperature, to a range of 20 meters (66 feet). It is ideal for small vessels and low dielectric media.
Description 3.2 Programming 3.2 Programming This device is very easy to install and configure via a graphical local user interface (LUI). You can modify the built in parameters either locally via the Siemens infrared handheld programmer, or from a remote location using one of the following options: ● SIMATIC PDM ● FDT/DTM platform (such as PACTware™ or FieldCare) 3.3 Applications ● liquids and slurries ● bulk storage vessels ● simple process vessels 3.
Installing/mounting 4 WARNING • Installation shall only be performed by qualified personnel and in accordance with local governing regulations. • Handle the device using the enclosure, not the process connection tag, to avoid damage. • Take special care when handling the threaded PVDF and Flanged encapsulated antennas. Any damage to the antenna surface, particularly to the tip/lens, could affect performance.
Installing/mounting 4.1 Pressure applications 4.1 Pressure applications WARNING Pressure applications • Never attempt to loosen, remove, or disassemble process connection or device housing while vessel contents are under pressure. • The user is responsible for the selection of bolting and gasket (except for Flanged encapsulated antenna) materials which will fall within the limits of the process connection and its intended use and which are suitable for the service conditions.
Installing/mounting 4.2 Mounting location 4.2.1 Nozzle design Threaded PVDF antenna Stainless steel horn antenna Flanged encapsulated antenna ① Minimum clearance: 10 mm (0.4") ② Minimum diameter: 50 mm (2") ③ Maximum nozzle length: 500 mm (20") ● The end of the antenna must protrude a minimum of 10 mm (0.4") to avoid false echoes being reflected from the nozzle1). ● Minimum recommended nozzle diameter for the threaded PVDF antenna is 50 mm (2"). ● An antenna extension (100 mm/3.
Installing/mounting 4.2 Mounting location Environment ● Provide an environment suitable to the housing rating and materials of construction. ● Provide a sunshield if the device will be mounted in direct sunlight.
Installing/mounting 4.2 Mounting location Beam angle Note • Beam width depends on antenna size: see below. • For details on avoiding false echoes, see Auto False Echo Suppression (Page 207). ● Beam angle is the width of the cone where the energy density is half of the peak energy density. ● The peak energy density is directly in front of and in line with the antenna. ● There is a signal transmitted outside the beam angle, therefore false targets may be detected.
Installing/mounting 4.2 Mounting location 4.2.3 Orientation in a vessel with obstructions Polarization reference point For best results on a vessel with obstructions, or a stillpipe with openings, orient the front or back of the device toward the obstructions. For an illustration, see Device orientation (Page 21). ① ② ③ 4.2.
Installing/mounting 4.2 Mounting location 4.2.5 Stillpipe or Bypass Pipe requirements ● The pipe diameter must be matched with the antenna size. Use the largest antenna size that will fit the stillpipe/bypass pipe1). See Threaded Horn dimensions (Page 177) or Raised-Face Flange per EN 1092-1 (Page 194). ● One continuous length of metallic pipe is preferred, without joints. Bad joints create reflections. ● Joints (if unavoidable) must be machined to ± 0.25 mm (± 0.
Installing/mounting 4.3 Installation instructions 4.3 Installation instructions WARNING For pressure applications, it will be necessary to use PTFE tape or other appropriate thread sealing compound, and to tighten the process connection beyond hand-tight. (The maximum recommended torque for Threaded versions is 40 N-m (30 ft.lbs.) See Flange bolting, Flanged encapsulated antenna only (Page 22) for FEA recommended torque values.
Installing/mounting 4.4 Flange bolting, Flanged encapsulated antenna only Flange bolting: recommended torque Pressure class ASME B16.
Installing/mounting 4.4 Flange bolting, Flanged encapsulated antenna only Recommendations for flange bolting: ● Use cross-pattern sequence as shown ● Check uniformity of the flange gap ● Apply adjustments by selective tightening if required ● Torque incrementally until desired value is reached ● Check/re-torque after 4 to 6 hours ● Check bolts periodically, re-torque as required ● Use new lens, O-ring and spring washers after removal from installation.
5 Connecting 5.1 Power WARNING The DC input terminals shall be supplied from a source providing electrical isolation between the input and output, in order to meet the applicable safety requirements of IEC 61010-1. Note All field wiring must have insulation suitable for rated voltages.
Connecting 5.2 Connecting SITRANS LR250 5.2 Connecting SITRANS LR250 WARNING • Check the nameplate on your device, to verify the approval rating. • Use appropriate conduit seals to maintain IP or NEMA rating. • See Wiring setups for hazardous area installations (Page 28). Note • Separate cables and conduits may be required to conform to standard instrumentation wiring practices or electrical codes.
Connecting 5.2 Connecting SITRANS LR250 Wiring instructions 1. Strip the cable jacket for approximately 70 mm (2.75") from the end of the cable, and thread the wires through the gland. (If cable is routed through conduit, use only approved suitablesize hubs for waterproof applications.) 2. Connect the wires to the terminals as shown: the polarity is identified on the terminal block. 3. Ground the device according to local regulations. 4. Tighten the gland to form a good seal. 5.
Connecting 5.3 Wiring setups for hazardous area installations 5.2.1 Basic PLC configuration with PROFIBUS PA ① ② ③ 5.
Connecting 5.3 Wiring setups for hazardous area installations 5.3.
Connecting 5.3 Wiring setups for hazardous area installations 5.3.2 Intrinsically safe wiring Device nameplate (ATEX/IECEx/INMETRO/C-TICK) ① nameplate The ATEX and INMETRO certificates listed on the nameplate can be downloaded from our website: Product page (http://www.siemens.com/LR250) Go to Support > Approvals / Certificates. The IECEx certificate listed on the nameplate can be viewed on the IECEx website. Go to: IECEx (http://iecex.iec.
Connecting 5.3 Wiring setups for hazardous area installations Entity concept: The Entity Concept allows interconnection of intrinsically safe apparatus to associated apparatus not specifically examined in such combination.
Connecting 5.3 Wiring setups for hazardous area installations FISCO Concept Note For complete details and instructions regarding the FISCO Concept The FM/CSA connection drawing number A5E02358161 can be downloaded from our website at: Product page (http://www.siemens.com/LR250) Go to Support > Installation Drawings > Level Measurement > SITRANS LR250. The FISCO Concept allows interconnection of intrinsically safe apparatus to associated apparatus not specifically examined in such combination.
Connecting 5.3 Wiring setups for hazardous area installations 5.3.3 Non-sparking wiring ① nameplate The ATEX certificate listed on the nameplate can be downloaded from our website: Product page (http://www.siemens.com/LR250) Go to: Support > Approvals / Certificates. ● For wiring requirements follow local regulations. ● Approved dust-tight and water-tight conduit seals are required for outdoor NEMA 4X / type 4X / NEMA 6, IP67, IP68 locations. 5.3.
Connecting 5.4 Instructions specific to hazardous area installations 5.4 Instructions specific to hazardous area installations (Reference European ATEX Directive 94/9/EC, Annex II, 1/0/6) The following instructions apply to equipment covered by certificate number SIRA 06ATEX2359X and SIRA 09ATEX4154X: 1. For use and assembly, refer to the main instructions. 2. The equipment is certified for use as Category 1GD equipment per SIRA 06ATEX2359X, and Category 3G equipment per SIRA 09ATEX4154X. 3.
6 Commissioning 6.1 Operating via the handheld programmer 6.1.1 Power up Power up the device. A transition screen showing first the Siemens logo and then the current firmware revision is displayed while the first measurement is being processed. Press Mode 6.1.2 to toggle between Measurement and Program mode. Handheld programmer functions The radar device carries out its level measurement tasks according to settings made via parameters.
Commissioning 6.1 Operating via the handheld programmer 6.1.2.
Commissioning 6.1 Operating via the handheld programmer Program mode display Navigation view ① ② ③ Item band Menu bar ④ ⑤ Current item number Current item Current menu ● A visible menu bar indicates the menu list is too long to display all items. ● A band halfway down the menu bar indicates the current item is halfway down the list. ● The depth and relative position of the item band on the menu bar indicates the length of the menu list, and approximate position of the current item in the list.
Commissioning 6.1 Operating via the handheld programmer 6.1.2.2 Handheld programmer (Part No. 7ML1930-1BK) The programmer is ordered separately. Key Function Result Updates internal enclosure temperature reading. New value is displayed in LCD secondary region. Updates echo confidence value.
Commissioning 6.1 Operating via the handheld programmer 6.1.3 Programming Note • While the device is in PROGRAM mode the output remains active and continues to respond to changes in the device. • The device automatically returns to Measurement mode after a period of inactivity in PROGRAM mode (between 15 seconds and 2 minutes, depending on the menu level). Change parameter settings and set operating conditions to suit your specific application. For remote operation see Operating via SIMATIC PDM (Page 59).
Commissioning 6.1 Operating via the handheld programmer 6.1.3.1 Enter program mode ● Point the programmer at the display from a maximum distance of 300 mm (1 ft). ● RIGHT arrow ● Mode activates PROGRAM mode and opens menu level 1. opens the menu level last displayed in PROGRAM mode within the last 30 minutes, or menu level 1 if power has been cycled since then. ① ② ③ Handheld programmer Display Max.
Commissioning 6.1 Operating via the handheld programmer 6.1.3.2 Navigating: key functions in navigation mode Note • In navigation mode ARROW keys move to the next menu item in the direction of the arrow. • For Quick Access to parameters via the handheld programmer, press Home enter the menu number, for example: (2.4.1.) Volume. Key , then Name Menu level Function UP or DOWN arrow menu or parameter Scroll to previous or next menu or parameter.
Commissioning 6.1 Operating via the handheld programmer 6.1.3.3 Editing in program mode Selecting a listed option 1. Navigate to the desired parameter. 2. Press RIGHT arrow to open parameter view. 3. Press RIGHT arrow again to open Edit mode. The current selection is highlighted. Scroll to a new selection. 4. Press RIGHT arrow to accept it. The LCD returns to parameter view and displays the new selection.
Commissioning 6.1 Operating via the handheld programmer Changing a numeric value 1. Navigate to the desired parameter. 2. Press RIGHT arrow to open parameter view. The current value is displayed. 3. Press RIGHT arrow again to open Edit mode. The current value is highlighted. 4. Key in a new value. 5. Press RIGHT arrow to accept it. The LCD returns to parameter view and displays the new selection.
Commissioning 6.1 Operating via the handheld programmer Key functions in edit mode Key Name Function UP or DOWN arrow Selecting options Scrolls to item.
Commissioning 6.1 Operating via the handheld programmer 6.1.3.4 Quick Start Wizard via the handheld programmer Note • A reset to factory defaults should be performed before running the Quick Start Wizard if the device has been used in a previous application. See Master Reset (4.1.). • The Quick Start wizard settings are inter-related and changes apply only after you select YES in (1.8) Apply? (Apply changes) in the Wizard Complete step.
Commissioning 6.1 Operating via the handheld programmer 1.3 Response Rate Sets the reaction speed of the device to measurement changes in the target range. Use a setting just faster than the maximum filling or emptying rate (whichever is greater). Options Response Rate (2.3.8.1.) Fill rate (2.3.8.2.)/Empty rate per Minute (2.3.8.3.) SLOW 0.1 m/min (0.32 ft/min) MED 1.0 m/min (3.28 ft/min) FAST 10.0 m/min (32.8 ft/min) 1.4 Units Sensor measurement units. Options m, cm, mm, ft, in. 1.
Commissioning 6.1 Operating via the handheld programmer 1.6 Low Calibration Point Distance from Sensor Reference to Low Calibration Point: usually process empty level. (See Operating mode for an illustration.) Values Range: 0.00 to 20.00 m 1.7 High Calibration Point Distance from Sensor reference point to High Calibration Point: usually process full level. (See Operating mode for an illustration.) Values Range: 0.00 to 20.00 m 1.8 Apply? (Apply changes) Options Press Mode 6.1.3.
Commissioning 6.1 Operating via the handheld programmer 6.1.3.6 Requesting an Echo Profile • In PROGRAM mode, navigate to: Level Meter > (3.) > Diagnostics > (3.1.) > Echo Profile • Press RIGHT arrow • Use UP to request a profile. or DOWN arrow to scroll to an icon. When an icon is highlighted, that feature becomes active. • To move a cross-hair, press RIGHT arrow to increase the value, LEFT arrow to decrease.
Commissioning 6.1 Operating via the handheld programmer 6.1.3.7 Device address Note See Master Reset (Page 82) to reset Device Address to 126. The unique address of the device on the network (also called PROFIBUS address). Values 0 - 126. Default: 126 1. In PROGRAM mode, navigate to: Level Meter > (5.) Communication > (5.1.) Device Address. 2. Press RIGHT arrow , RIGHT arrow , to open parameter view and enable Edit mode. 3. If required, key in a new value and press RIGHT arrow to accept it.
Commissioning 6.2 Application examples 6.2 Application examples Note In the applications illustrated below, values are for example purposes only. You can use these examples as setup references. Enter the values in the parameter tables to select the corresponding functions. Configure the basic settings using the Quick Start wizard parameters. (These parameters are inter-related, and changes take effect only after you select YES to apply changes in the final step.
Commissioning 6.2 Application examples 6.2.1 Liquid resin in storage vessel, level measurement Note Minimum distance from flange face to target is limited by Near Range (2.5.1.). To obtain level measurement proportional to resin levels: ● Low Calibration Pt. = 5 m (16.4 ft) from sensor reference point ● High Calibration Pt.= 0.5 m (1.64 ft) from sensor reference point ● Max.fill/empty rate = 0.2 m/min (0.65 ft/min) In the event of a loss of echo: ● SITRANS LR250 is to report a user-defined value of 4.
Commissioning 6.2 Application examples Parameter type Independent parameters Press Mode Parameter No. /Name Options/ Values Function Low Calibration Point (1.6.) 5 5 m (16.4 ft) High Calibration Point (1.7.) 0.5 0.5 m (1.64 ft) Apply? (Apply changes) (1.8.) YES Transfers Quick Start settings to device. LOE Timer (2.3.6.) 2 2 minutes Mode (2.6.9.1.) Substitute value User-defined value to be used. Value (2.6.9.2) 4.5 4.5 m (14.76 ft) to return to Measurement mode. .
Commissioning 6.2 Application examples 6.2.2 Horizontal vessel with volume measurement Note The minimum distance from the flange face to the target is limited by Near Range (2.5.1.). To obtain level measurement proportional to vessel volume in a chemical vessel: ● Low Calibration Point = 3.5 m (11.48 ft) from sensor reference point ● High Calibration Point = 0.5 m (1.64 ft) from sensor reference point ● Max. fill/empty rate = 0.2 m/min (0.
Commissioning 6.2 Application examples Parameter type Parameter No./Name Options/ Values Function Independent parameters Vessel Shape (2.4.1.1.) PARABOLIC ENDS Defines vessel shape. Maximum Volume (2.4.1.2.) 8000 8000 liters Vessel Dimension A (2.4.1.3.) 0.8 0.8 m (2.62 ft) Vessel Dimension L (2.4.1.4.) 6 6 m (19.68 ft) LOE Timer (2.3.6.) 2 2 minutes Mode (2.6.9.1.) Substitute value User-defined value to be used. Value (2.6.9.2.) 4.5 Return to Measurement: press Mode 4.5 m (14.
Commissioning 6.2 Application examples 6.2.3 Application with stillpipe A stillpipe is recommended for products with a dK of less than 3, or if extremely turbulent or vortex conditions exist. This mounting arrangement can also be used to provide optimum signal conditions on foaming materials. Note • Near Range (2.5.1.) (Blanking) will be set at the factory. Check the process connection tag for specific values. • Suitable pipe diameters are 40 mm (1.5") to 100 mm (4").
Commissioning 6.2 Application examples Parameter type Parameter No./Name Options/Values Function Quick Start Wizard parameters Introduction NEXT Continue with Wizard. Language (1.1) NEXT Continue with current language. Material (1.2) LIQUID LOW DK Response Rate (1.3) MED Medium =1 m/minute Units (1.4) M meters Operating mode (1.5) LEVEL Level is reported as Volume when a vessel shape is selected. Low Calibration Point (1.6) 5 5 m (16.4 ft) High Calibration Point (1.7) 0.5 0.
Commissioning 6.2 Application examples Propagation Factor/Stillpipe Diameter Values Range 0.3 to 1.0 depending on pipe size Default 1.0000 40 mm (1.5") 50 mm (2") 80 mm (3") 100 mm (4") Propagation Factor 0.9844 0.988 0.9935 0.9965 CLEF Range (2.5.7.4.) settings Low calibration point - 700 mm (2.29 ft)b) Low calibration point - 700 mm (2.29 ft)b) Low calibration point - 1000 mm (3.28 ft)b) Low calibration point - 1000 mm (3.
Commissioning 6.
Remote operation 7.1 7 Operating via SIMATIC PDM SIMATIC PDM is a software package used to commission and maintain process devices. Please consult the operating instructions or online help for details on using SIMATIC PDM. You can find more information at our website: SIMATIC PDM (www.siemens.com/simatic-pdm). 7.1.1 Functions in SIMATIC PDM Note • For a complete list of parameters see Parameter Reference (Page 93).
Remote operation 7.1 Operating via SIMATIC PDM 7.1.1.1 Features of SIMATIC PDM Rev. 6.0, SP4 or higher The graphic interface in the device makes monitoring and adjustments easy. 7.1.1.
Remote operation 7.1 Operating via SIMATIC PDM 7.1.2 Electronic Device Description (EDD) 7.1.2.1 Updating the Electronic Device Description (EDD) You can locate the EDD in Device Catalog, under Sensors/Level/Echo/SiemensMilltronics/SITRANS LR250. The EDD revision must match the Firmware revision in the device. To install a new EDD: 1. Download the most current EDD from our website: Product page (http://www.siemens.com/LR250) 2.
Remote operation 7.1 Operating via SIMATIC PDM 5. After the reset is complete click on Close, then upload parameters to the PC/PG. 6. Configure the device via the Quick Start wizard. 7.1.3 Quick start wizard via SIMATIC PDM The graphic Quick Start Wizard provides an easy step-by-step procedure that configures the device for a simple application. Please consult the operating instructions or online help for details on using SIMATIC PDM. 1.
Remote operation 7.1 Operating via SIMATIC PDM Quick start Note • A reset to Factory Defaults should be performed before running the Quick Start Wizard if device has been used in a previous application. See Master Reset via SIMATIC PDM (Page 82). • The Quick Start wizard settings are inter-related and changes apply only after you click on FINISH AND DOWNLOAD at the end of the last step to save settings offline and transfer them to the device.
Remote operation 7.1 Operating via SIMATIC PDM Step 1 – Identification Note • The layout of the dialog boxes shown may vary according to the resolution setting for your computer monitor. • SITRANS PDM limits the TAG field to a maximum of 24 characters. 1. Click on Read Data from Device to upload Quick Start parameter settings from the device to the PC/PG and ensure PDM is synchronized with the device. 2. If required, change the language for the local user interface. 3.
Remote operation 7.1 Operating via SIMATIC PDM Step 2 – Application Select the application type (level or volume) and the material, then click on NEXT. See Application with Stillpipe (Page 55) for a Low Dielectric Liquid application.
Remote operation 7.1 Operating via SIMATIC PDM Step 3 – Vessel Shape The vessel shapes shown are predefined. For a vessel with obstructions, see Auto False Echo Suppression via SIMATIC PDM (Page 73). Select the vessel shape, and click on NEXT.
Remote operation 7.1 Operating via SIMATIC PDM Step 4 – Ranges Set the parameters, and click on NEXT. Step 5 – Summary Check parameter settings, and click on BACK to return and revise values, FINISH to save settings offline, or FINISH AND DOWNLOAD to save settings offline and transfer them to the device. The message Quick Start was successful will appear. Click on OK.
Remote operation 7.1 Operating via SIMATIC PDM 7.1.4 Changing parameter settings using SIMATIC PDM Note • For a complete list of parameters, see Parameter Reference (Page 93). • Clicking on Cancel during an upload from device to SIMATIC PDM will result in some parameters being updated. Many parameters are accessed via pull-down menus in PDM. See Parameters accessed via pull-down menus (Page 69) for others. 1. Launch SIMATIC PDM, connect to device, and upload data from device. 2.
Remote operation 7.1 Operating via SIMATIC PDM 7.1.5 Parameters accessed via pull-down menus Click on Device or View to open the associated pull-down menus.
Remote operation 7.1 Operating via SIMATIC PDM Echo profile Note • Double click on each axis to see the Xscale and Data Scale values. • To zoom in to a section of the profile, left-click and drag a marquee around it. Right click inside the window to zoom out. • Expand or compress the x and/or y axes: – Left-click on the axis and drag in either direction to reposition the low end of the scale. – Right-click on the axis and drag in either direction to reposition the high end of the scale.
Remote operation 7.1 Operating via SIMATIC PDM View saved echo profiles To view a saved profile, click on the tab View Saved Echo Profiles. Echo profile data logging You can store up to 60 profiles at a selected interval (maximum 60 minutes). Inside Echo Profile Utilities, in the Echo Profile Time Based Storage window: ● Enter the desired interval between stored profiles. ● Enter the maximum number of profiles to be stored (maximum 60). ● Click on Start.
Remote operation 7.1 Operating via SIMATIC PDM TVT Shaper Note Double click on each axis to see the X scale and data scale values. Right-click or Left-click on the axis and drag to reposition the scale. This feature allows you to manually adjust the TVT to avoid false echoes caused by obstructions. For an explanation see Auto False Echo Suppression (Page 207). Open the menu Device – Echo Profile Utilities and click the tab TVT Shaper.
Remote operation 7.1 Operating via SIMATIC PDM 7.1.5.2 Auto false echo suppression Note • Ensure material level is below all known obstructions when using Auto False Echo Suppression to learn the echo profile. An empty or almost empty vessel is recommended. • Note the distance to material level when learning the echo profile, and set Auto False Echo Suppression Range to a shorter distance to avoid the material echo being screened out.
Remote operation 7.1 Operating via SIMATIC PDM 1. Make sure the material level is below all known obstructions. 2. Determine Auto False Echo Suppression Range. Measure the actual distance from the sensor reference point to the material surface using a rope or tape measure. Subtract 0.5 m (20") from this distance, and use the resulting value. 3. Open the menu Device – Echo Profile Utilities and click on the tab Auto False Echo Suppression. 4. Make sure Auto False Echo Suppression Range is On. 5.
Remote operation 7.
Remote operation 7.1 Operating via SIMATIC PDM 7.1.5.3 Echo setup Provides quick access to echo selection, filtering, and response rate parameters. Open the menu Device – Echo Profile Utilities and click on Echo Setup.
Remote operation 7.1 Operating via SIMATIC PDM 7.1.5.
Remote operation 7.1 Operating via SIMATIC PDM To set Device/Sensor Maintenance schedules: 1. Open the menu Device – Maintenance, and click on the Remaining Device/Sensor Lifetime tab. 2. Modify desired values, and if desired, set reminders for either or both of Reminder 1 before Lifetime (Required)/Reminder 2 before Lifetime (Demanded). 3. Click Write. 4. Click Read, to see the effects of your modification. 5. Click Snooze to add a year to the Total Expected Device Life.
Remote operation 7.1 Operating via SIMATIC PDM 7.1.5.7 Simulation Note The Simulation parameter influences output to the control system. Two options enable you to test the functioning of the Analog Input Function Blocks or the functioning of everything between the Transducer Block and Output. For more details see Analog Input Function Blocks 1 and 2 (Page 225).
Remote operation 7.1 Operating via SIMATIC PDM 4. The Output value from the desired function block is displayed in PDM, and the LCD displays the substitute value. See Simulate Output below, to set the output mode. 5. After simulation is complete, disable simulation and click on Transfer. Simulate output 1. Open the menu Device – Simulation, select function block 1 or 2, and click on the tab Simulation (Output). 2. Select Manual Mode (from options AUTO, Manual, or Out of Service) and click on Transfer. 3.
Remote operation 7.1 Operating via SIMATIC PDM Simulate input 1. Open the menu Device – Simulation, and select Simulation (Input). 2. To enable simulation select Fixed or Ramp. 3. If you select Ramp, enter the step length and number of steps. 4. Enter the simulated value and click on Transfer. 5. After simulation is complete, disable simulation and click on Transfer. 7.1.5.8 Write locking Prevents any changes to parameters via PDM or the hand-held programmer.
Remote operation 7.1 Operating via SIMATIC PDM 7.1.5.9 7.1.5.10 Master reset Options Result Factory defaults Resets all parameters to the manufacturer’s default settings, with certain exceptions: see Factory defaults (Page 82). Standard defaults Resets all resettable parameters excluding device addresses to the PROFIBUS default settings. Informational Resets Tag parameter. Functional Resets parameters that control device behavior, such as Low Calibration Pt.
Remote operation 7.1 Operating via SIMATIC PDM 7.1.5.11 Diagnostics You can monitor level/volume trends, function blocks, electronics temperature, and device status. Process variables To compare outputs in real time open the menu View – Process Variables. Note To view peak sensor values, peak FB1 and FB2 values, or peak electronics temperatures, see Device Diagnostics (Page 86).
Remote operation 7.1 Operating via SIMATIC PDM Function blocks Open the menu View – Process Variables and click on Function Blocks to view the channel (level, volume, space, or distance), operating mode (Auto, Manual, or Out of Service), quality, status, simulation setting, and summary of alarms.
Remote operation 7.1 Operating via SIMATIC PDM Trend view Open the menu View – Process Variables and click on Trend View to monitor Sensor Value and values for AIFB1 and AIFB2.
Remote operation 7.1 Operating via SIMATIC PDM Device diagnostics Device status Open the menu View – Device Diagnostics and go to Device Status to view Diagnostics, Device Status, Extended Diagnostics, and Maintenance. Diagnostics In the Device Status window, click on the Diagnostics tab, then on the Update diagnostics button, to update diagnostic information and refresh linked icons.
Remote operation 7.1 Operating via SIMATIC PDM Device Status Click on the Device Status tab to view peak sensor values, peak FB1 and FB2 values, and peak electronics temperatures.
Remote operation 7.1 Operating via SIMATIC PDM Analog Input 1/Analog Input 2 Open the menu View – Device Diagnostics and go to Analog Input 1/Analog Input 2. Click on the tab Overview to see the status of all warnings and alarms. Click on the tab Alarms and Warnings for details. Update Open the menu View – Update to refresh the screen.
Remote operation 7.2 Operating via FDT Security A password option protects security and communication control parameters from modification by a maintenance user. When you open a project the User dialog window provides two options: maintenance or specialist. If a password has been set it will not be possible to open the project as a specialist without it. A maintenance user will be able to open the project without a password but will not have access to security and communication control parameters. 1.
Remote operation 7.2 Operating via FDT 7.2 Operating via FDT FDT is a standard used in several software packages designed to commission and maintain field devices. Two commercially available FDTs are PACTware and Fieldcare. Functionally FDT is very similar to PDM. See Operating via SIMATIC PDM (Page 59) for more detail. ● To configure a field device via FDT you need the DTM (Device Type Manager) for the device.
Remote operation 7.2 Operating via FDT 7.2.3 The device EDD The SITRANS LR250 PROFIBUS PA EDD for SITRANS DTM can be downloaded from our website: Product page (http://www.siemens.com/LR250). Go to Support > Software Downloads. 7.2.4 Configuring a new device via FDT The full process to configure a field device via FDT is outlined in an Application Guide which can be downloaded from our website under Support > Application Guides. Product page (http://www.siemens.
Remote operation 7.