
User's Manual


62
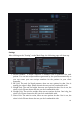
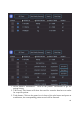
6. Medical information: enter the medical institution’s name, address, telephone,
email, and website. The medical institution’s name will show up at the
patient’s report, which suggests the patient gets tested in this clinic.
7. Volume: The volume of the device can be adjusted down by moving the little
grey bar from the right to left.
8. Audio-Prompts: the audio can be adjusted to the highest if the “On” button is
pressed. While the audio will be totally turned off once “Off” button is pressed.
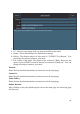
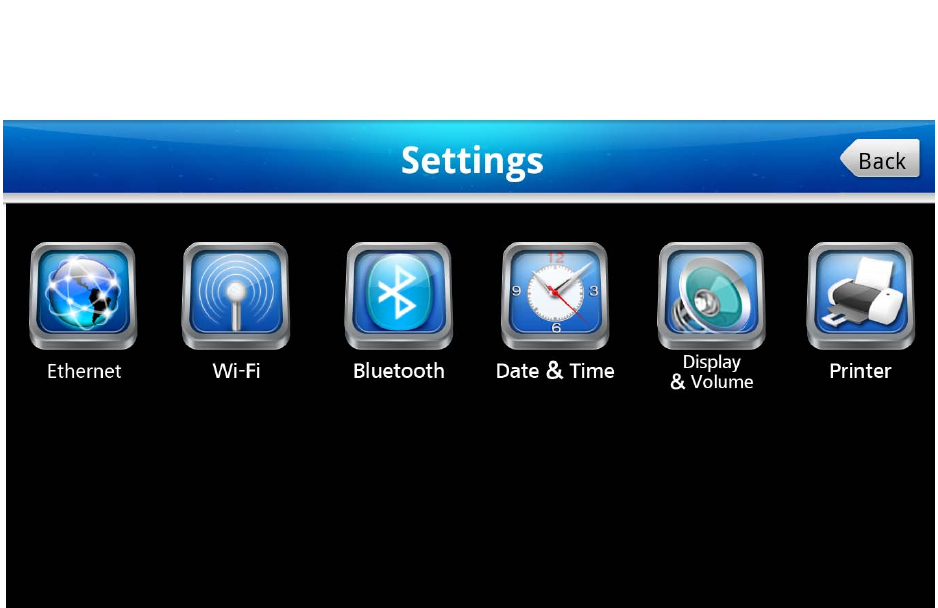
9. Setting: Other settings like Ethernet, WIFI, Bluetooth, Date&Time, Display
&Volume, and Printer.
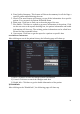
10. Database Report: All the patient tests data can be exported via this link.
11. Export Log: All the warnings during the test will be saved in this log for
remote troubleshooting
12. Update: The current program can be updated via clicking on this button
13. Save: Any change is made, this button has to be clicked on to save the changes
user makes.
14. Default: If user wants to set everything in the setting section as the factory
setting, please click on default button.
15. Return: After clicking on this button, the system will lead you back to the
Main Page.
16. Software version: The version number is followed by the software version.
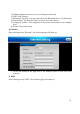
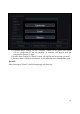
9. Setting
After clicking on the “Setting”, the following page will show up.