
User's Manual

- 12 -
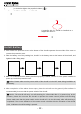
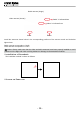
( ) to clockwise tighten the propeller holders ( ).
A propeller with “P” should be installed on a
support arm with “P”.
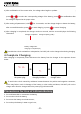
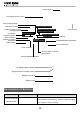
Install Battery
1. First remove the protective cover at the bottom of the aircraft: squeeze the two sides of the cover to
remove the protective cover.
2. Take the battery out of the packing box, install it in the battery case at the bottom of the aircraft, and
tighten it with a xing strap.
3. After it is conrmed that the battery has been properly installed, connect it to the power interface to
power up, install the protective cover.
Notice: Please make sure the power switch of the aircraft is in the OFF state during installation of
the battery.
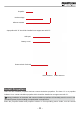
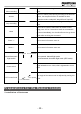
4. After completion of the above three steps, place the aircraft on the ground (a flat surface is
recommended); then turn ON the power switch of the aircraft.
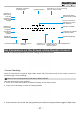
Notice: The aircraft will carry out self-checking for 3-5seconds after it is powered up; at this
moment, please do not move the aircraft or operate the remote control (before self-checking,
please make sure that the power switch at the aircraft tail is in the ON state); after self-checking is
completed, if the course indication of the remote control coincides with the orientation of the aircraft
nose, it indicates the self-checking is passed.