
Technical data


Table Of Contents
- Introduction
- Getting Started
- Flip Closed
- Flip Open Guidelines
- Phone
- Contacts
- Messaging
- Calendar
- WAP Services
- Getting started with e-mail and WAP
- E-mail set up
- Automatically set up service provider and e-mail
- Manually set up service provider and e-mail
- Manually set up a service provider
- Manually set up e-mail
- Sending an e-mail for the first time
- Using e-mail with several configurations installed
- Setting up WAP Services
- WAP Profiles
- Automatically set up WAP
- Manually set up WAP
- Using WAP for the first time
- Using WAP with several configurations installed
- Locating settings in Windows 95 or 98
- Trusted Certificates
- Homepage
- Extras
- R380 Communications Suite
- Troubleshooting
- Important Information
- Index
104 Messaging
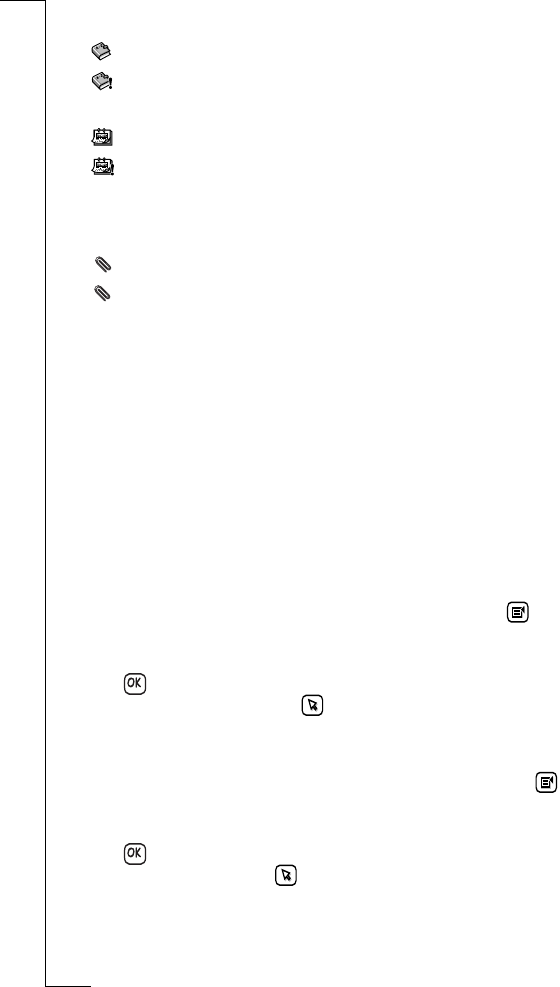
The type of attachments supported by your R380e are:
- <vCard (my personal details) attachment file> downloaded.
- <vCard (my personal details) attachment file> not
downloaded.
- <vCalendar attachment file> downloaded.
- <vCalendar attachment file> not downloaded.
- <text attachment file> downloaded.
- <text attachment file> not downloaded.
- <other attachment file> downloaded.
- <other attachment file> not downloaded.
Note: If the message contains multiple attachments, a separate
attachment icon indicates each attachment and its appropriate file
name.
Working with attachments you have received
To download an attachment:
1.
Select the attachment and select
Download attachment
from the
pop-up menu.
2.
If the attachment is not held on your R380e, a progress message
appears in the display during the retrieval process and a further
message on completion. Once downloaded, the icon changes.
To add a vCard attachment to the contacts database:
1.
With the vCard attachment downloaded and selected, tap and
select
Add sender to contacts
. The attached vCard appears in the
Record view.
2.
Tap to accept the record for creation as an entry in the
Contents list. Otherwise, tap to cancel adding the record into
the Contacts database and return to the message.
To add a vCalendar attachment as an entry in the calendar:
1.
With the vCalendar attachment downloaded and selected, tap
and select
Add to calendar
. The attached vCalendar appears in the
Appointment entry view.
2.
Tap to accept the record for creation as an entry in the
Calendar. Otherwise, tap to cancel adding the appointment as
an entry in the Calendar and return to the message.
abc
abc
abc
abc
abc
abc
abc
abc
!
!
!!