
Operating instructions


(Continued)
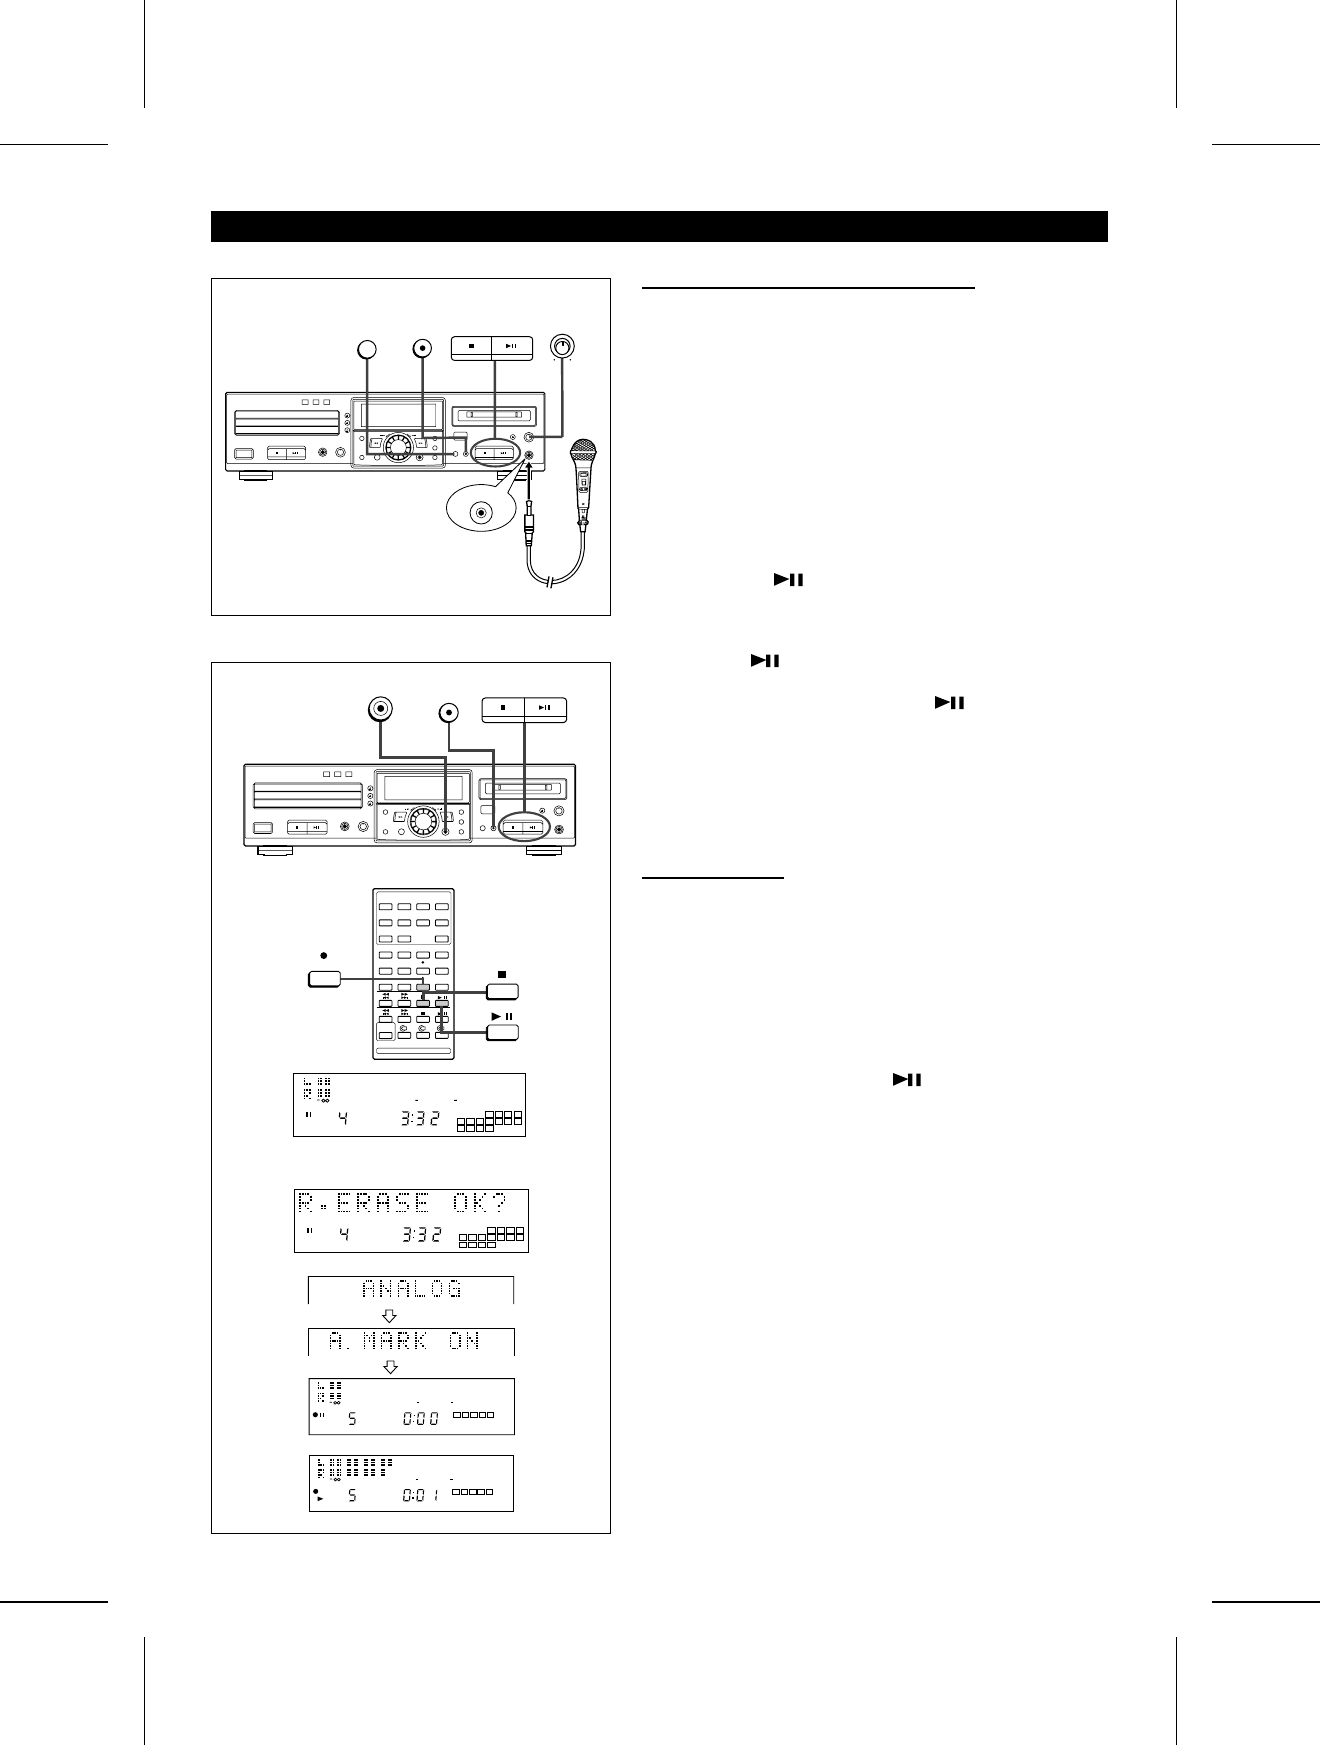
■ Recording from the microphone
1 Connect the stereo microphone to the MIC jack on the main
unit.
2 Insert a recordable MiniDisc.
3 Press the INPUT SELECT button until "ANALOG" appears.
4 Press the RECORD button.
● The unit will enter the recording stand-by mode.
5 Adjust the recording level using the REC LEVEL control.
● Adjust the recording level so that the maximum level does
not exceed "0 dB".
6 Press the MD button.
● Recording will start.
To interrupt a recording:
Press the MD button while recording.
● The unit will enter the recording stand-by mode.
● To resume recording, press the MD button again.
● The track number will increase by one each time you interrupt
a recording.
To stop recording:
Press the MD ■ button.
■ To re-record
When you want to re-record a track, erase the previously re-
corded track and start a new recording, or start recording from
any point within the old track. If you start recording from within
a track, all of the tracks and track names that follow will be
erased. If you want to erase all of the tracks and re-record the
disc, you can erase all of the tracks using the all erase function.
Then you simply perform the normal recording operations. (Page
30)
1 During playback, press the MD button at the point where
you want to begin re-recording.
● The unit will pause.
2 Press the RECORD (REC) button.
● To cancel the operation, press the MD ■ button.
3 Press the ENTER button.
● The unit will be in the recording pause mode.
4 Select the recording source and start recording.
12
4 0dB OVER
4 5 6 7
8 9 10 11 12 13
15 16 17 18
14
(When recording starting from 3 minutes
and 32 seconds into the fourth track)
1
4 5 6 7
8 9 10 11 12 13
15 16 17 18
14
2
TOC
12
4 0dB OVER
1 2 3 4 5
3
TOC
12
4 0dB OVER
1 2 3 4 5
4
REC LEVEL
MAX
MIN
MIC
RECORD
INPUT
SELECT
REC
ENTER
RECORD
MD
MD-R3
23