
Operating instructions


(Continued)
■ Sound synchro recording
When music is played on another piece of equipment, such as
a stereo, that is connected to this unit, this unit will automatically
start recording on the MD.
2 Insert a recordable MiniDisc.
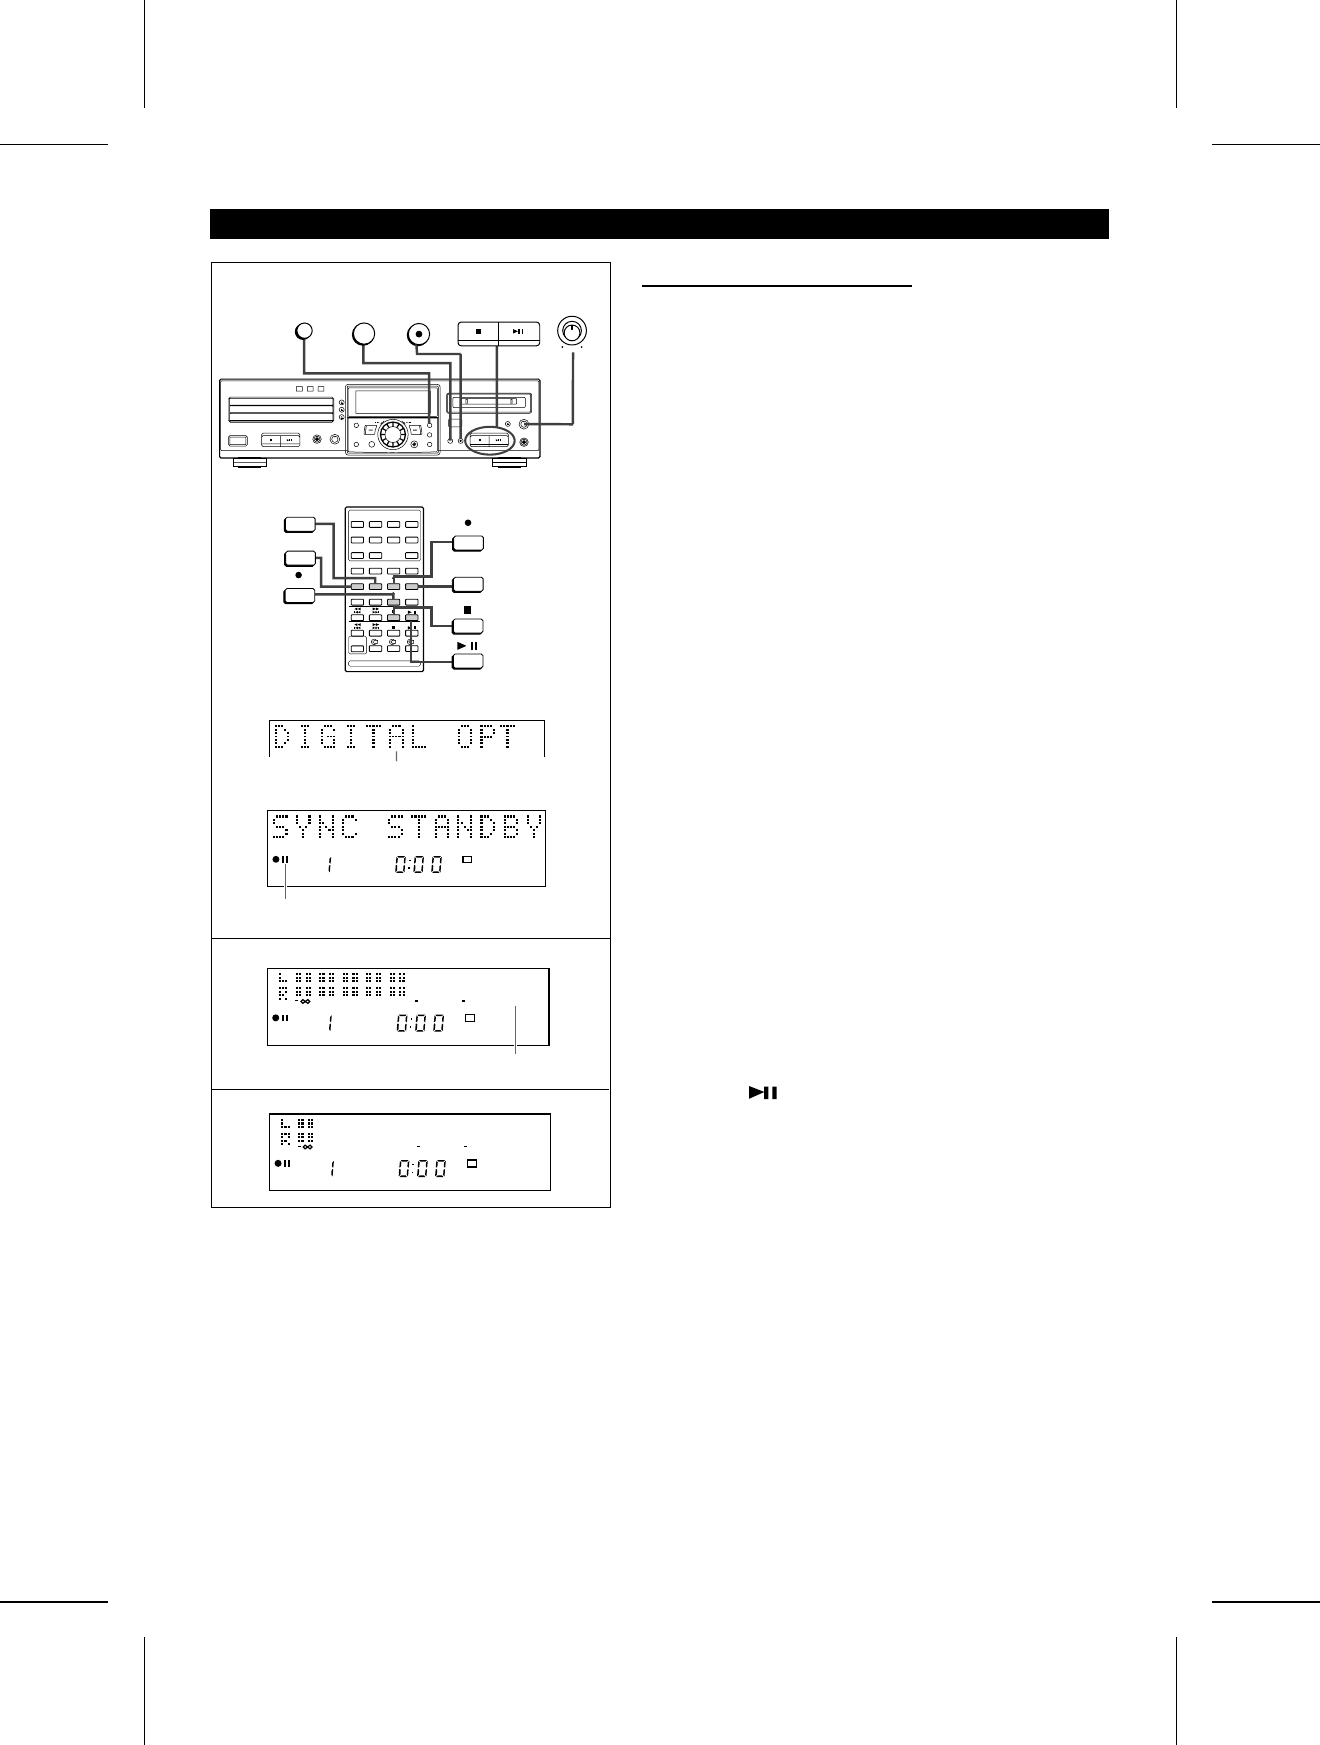
3 Press the INPUT SELECT button to select the input. (Page
19)
● If you will be recording from the analog input, adjust the re-
cording level after selecting the input.
4 Press the SYNC REC button on the remote control.
● The unit will enter the recording stand-by mode.
“SYNC STANDBY” will appear.
5 Start playing the music you want to record using the other
equipment.
● This unit will automatically start recording. When the other
equipment has finished playback, this unit will enter the re-
cording stand-by mode. Press the MD ■ button to cancel it.
● To stop recording at any time, press the MD ■ button.
To adjust the recording level: (Analog input only)
After you select analog input in step 3, press the RECORD (REC)
button, and then play the music on the other equipment.
↓
Adjust the recording level using the REC LEVEL control.
● Adjust the recording level so that the maximum level does not
exceed “0 dB”.
● After the level is adjusted, stop the other equipment, and go
to step 3.
Manual recording:
Select the input, and then press the RECORD (REC) button.
● The unit will enter the recording stand-by mode.
Press the MD button.
● This unit will start recording.
● The space cut function will not work.
Space cut function:
● During sound synchro recording, if there are more than 3 sec-
onds of silence in the playback sound, this unit will automat-
ically enter the recording stand-by mode. ("SYNC STANDBY"
will appear.) Then, when further playback is started on the
other equipment, this unit will resume recording. (A silence of
up to 3 seconds can be created between tracks.)
● If there is noise between the tracks on the original recording,
the sound synchro recording or space cut function may not
work properly. If this happens, use manual recording.
● When recording tracks or sounds in which there are 3 seconds
or more of very small continuous sounds that you want to
record, use manual recording.
DISPLAY/CHARACTER
RECORD
DISPLAY
INPUT
SELECT
REC LEVEL
MAX
MIN
REC
INPUT
SELECT
REC
CANCEL
SYNC REC
MD
TOC
1
“PAUSE” indicator
4
12
4 0dB OVER
1
0dB
12
4 0dB OVER
1
3
When the digital optical input is selected
1 Press the MD ■ button.
MD-R3
22