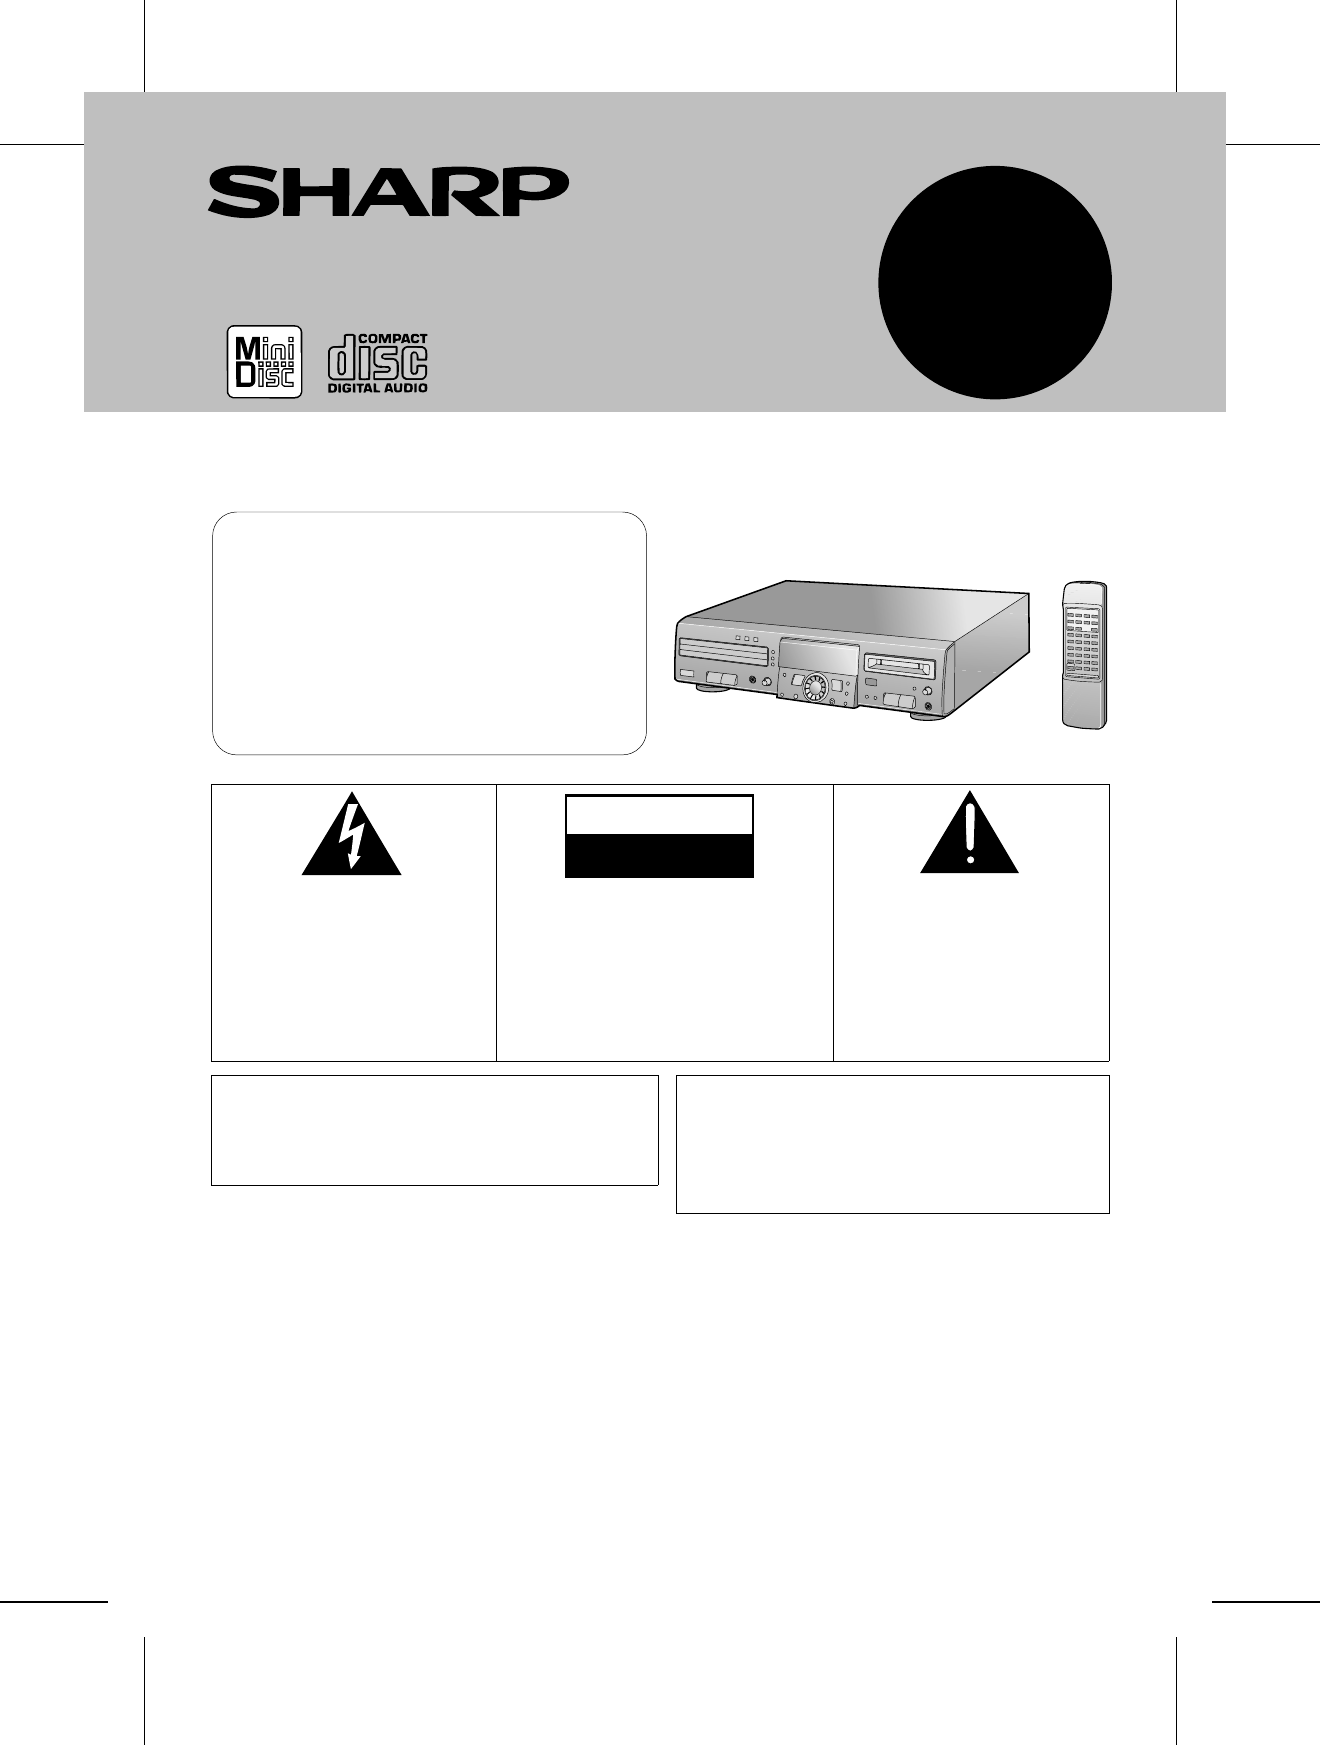
MD/CD DECK MODEL MD-R3 OPERATION MANUAL Thank you for purchasing this SHARP product. For the best performance, read this manual carefully. It will guide you in operating your SHARP product. FOR YOUR RECORDS For your assistance in reporting this unit in case of loss or theft, please record below the model number and serial number which are located on the rear of the unit. Please retain this information.
IMPORTANT SAFEGUARDS CAUTION All the safety and operating instructions should be read before the appliance is operated, and should be retained for future reference. Electrical energy can perform many useful functions. This unit has been engineered and manufactured to assure your personal safety. Improper use can result in potential electrical shock or fire hazards. In order not to defeat the safeguards, observe the following basic rules for its installation, use and servicing.
PRECAUTIONS ■ General ■ Condensation ● Do not use oil, solvents, gasoline, paint thinners or insecticides on the unit. ● Do not expose the unit to moisture, to temperatures higher than 140oF (60oC) or to extreme low temperatures. ● Keep the unit away from direct sunlight, strong magnetic fields, excessive dust, humidity and electronic/electrical equipment (home computers, facsimiles, etc.) which generates electrical noise.
NAMES OF CONTROLS AND INDICATORS ■ Front panel 1 11 2 3 4 5 TOC DISC TRACK DATE 12 13 MONO LP PRGM TOTAL REMAIN RANDOM 22 7 12 TIMER REC 14 1516 17 18 21 6 19 4 0dB 8 OVER 9 10 AM 1 2 3 4 5 6 7 PM 8 9 10 11 12 13 14 CLOCK 15 16 17 18 19 20 20 23 24 25 26 27 28 29 30 31 1. 2. 3. 4. 5. 6. 7. 8. 9. 10. 11. 12. 13. 14. 15.
REMOTE CONTROL ■ Names of controls 1 12 13 14 15 16 17 18 19 20 21 2 3 4 5 6 7 8 9 10 11 23 22 1. 2. 3. 4. 5. 6. 7. 8. 9. 10. 11. 12. 13. 14. 15. 16. 17. 18. 19. 20. 21. 22. 23.
CONNECTIONS ■ Digital and analog connections This unit can be connected to your equipment by making a digital or analog connection. ● When recording the playback signals from other equipment using this unit Digital connection Analog connection Digital equipment with an optical output jack or a coaxial output jack Equipment with line output jacks or a headphone jack Stereo system, CD player, MD player, MD recorder, DAT, DSS tuner, etc.
(Continued) ■ When making a digital connection ■ When making an analog connection When connecting the unit to equipment that has square/round optical jacks: When connecting the unit to equipment that has line jacks: Connect the other equipment to the “OPTICAL jacks” on the back of this main unit. Connect the other equipment to the “ANALOG jacks” on the back of this main unit. MD/CD player, etc.
(Continued) ■ Connecting the AC power cord If you will not be using this unit for a prolonged period of time, unplug the AC power cord from the AC outlet. Even when the power is turned off, a small amount of current is still consumed. To an AC outlet AC120V, 60 Hz ■ How to turn the power on or off Press the POWER POWER or button. POWER POWER CLOCK ● When the power is turned on, the display will change. ● Press it again to turn the power off.
SETTING THE CLOCK When recording, the date and time are recorded on the Minidisc (page 18). ENTER DELETE/CLEAR POWER ■ Setting the date TIMER 1 2 3 1 Press the POWER button to turn the power on and press the TIMER button. Within 10 seconds, turn the jog dial until “TIME ADJUST” appears. Within 10 seconds, press the ENTER button. ● The unit will enter the date setting mode. 4 2 Set the “year” using the jog dial. ● When you turn the jog dial and let go, the year will change up or down by one.
(Continued) ■ Setting the time ENTER After step 7, described in the “Setting the date” section DELETE/CLEAR TIMER 8 ● Set the “hour” using the jog dial. ● Turn the jog dial left or right, the hour will increase or decrease by one with every click position. The clock uses the 12-hour system. Pay attention to the AM or PM indicator on the display. AM 0:00 → midnight, PM 0:00 → noon 9 Press the ENTER button to set the “hour”. 10 Adjust the “minute” using the jog dial.
MINIDISC OPERATION EJECT DISPLAY/CHARACTER ■ Loading and playing a MiniDisc 1 Switch the external unit to input the MD signal. 2 Press the MD ■ button 3 Load a MiniDisc in the direction indicated by the arrow on the MiniDisc, with the label side facing up. (Insert the MiniDisc firmly, until a click is heard.) ● After a few seconds, the total number of tracks, total disc playing time and disc name (where recorded) will be displayed.
COMPACT DISC OPERATION ■ Loading and playing CDs 1 2 1 Press the CD ■ button. 2 Press the 7 button to open the disc tray. EJECT 3 CD DIRECT PLAY ● It is not possible to open more than one disc tray at any one time. 3 Place the CDs on the disc tray, label side up. ● Be sure to place 8 cm (3") CDs in the middle of the disc trays. Caution: Do not place more than one CD in any tray position. This can damage the player and the CDs. 4 Press the 7 button to close the disc tray.
(Continued) ■ When choosing a CD for playback 1 POWER 2 3 EJECT Press one of the CD DIRECT PLAY 1 - 3 ( 1 - 3) buttons to select the CD you want to listen to. ● Only the selected CD will be played back. CD DIRECT PLAY When selecting disc tray 1 POWER 1 2 3 When selecting disc tray 2 When selecting disc tray 3 Notes: ● If any disc tray is open, it will be automatically closed.
CD AND MD OPERATIONS ■ Direct-selection play (remote control 1 2 3 4 5 6 7 8 9 10/0 operation) By using the track number input buttons on the remote control, you can play any track you wish directly. 10 1 MD CD 2 1 2 3 3 Select the desired program source, CD or MD, by pressing the CD ■ or MD ■ button. Select the disc to be played by pressing one of the 3 buttons. (Only for CD playback) 1 Use the track number input buttons to enter the desired track number. A.
(Continued) ■ Cue and review 2 3 Hold down the button during playback for audible fast forward, or hold down the button during playback for audible fast reverse. 3 2 ● Normal playback will resume when the or button is released. ● When the beginning of the first track is reached, normal playback will start. ● When the end of the last track is reached, “DISC END” will light, and the unit will pause.
(Continued) PROGRAM ■ APMS DELETE/CLEAR (Automatic Programmable Music Selector) TIMER 1 Select the desired program source, CD or MD, by pressing the CD ■ or MD ■ button. 2 Press the PROGRAM button while in the stop mode. ● Programs cannot be set or canceled while in the playback or pause mode. 1 2 3 4 5 6 7 8 3 If - 9 MD 10/0 1 10 4 PROGRAM CLEAR Select a desired track number by pressing the DIRECT KEY button on the remote control.
(Continued) ■ Music scan play (Remote control operation) PROGRAM MUSIC SCAN 1 CLEAR 2 PLAY MODE MD Select the desired program source, CD or MD, by pressing the CD ■ or MD ■ button. Press the MUSIC SCAN button while in the stop mode. ● "M.SCAN PLAY" will appear. ● Starting from the first track, approximately the first 12 seconds at the beginning of each track will be played. ● After the last track has been played, the unit will stop automatically.
(Continued) ■ Switching the time display (Remote control operation) Each time the TIME button is pressed while in the playback or pause mode, the display will change as described below. See the diagram to the left. 1 The elapsed playing time for each track will be displayed. 2 The remaining playing time for the current track will be dis- TIME played. 3 The total remaining playing time for the disc from the point being played at that time will be displayed.
RECORDING ■ Differences from tape recordings You cannot record music on the reverse side of a MiniDisc. You can check the total or remaining recordable time (possible recording) before recording. This lets you plan a recording session so that the last song will not come to an abrupt end before it has finished. (Page 20) MiniDiscs cannot be incorrectly inserted, i.e. upside down. (Page 40) You don’t need to search for the starting point at which to record.
(Continued) ■ Note about making digital copies Playback Recording MiniDiscs are designed so that second generation digital copies cannot be made. This is a specification of the SCMS (Serial Copy Management System). Digital cable CD player, MD player, etc. Digitally recorded MiniDisc Digital cable Recording Playback Analog recording is possible. ■ How to select the inputs Press the INPUT SELECT button to select the input from which you want to record.
(Continued) START ■ Recording from a CD onto a MiniDisc DISPLAY/CHARACTER (One-Touch Editing) 1 Press the CD ■ button. 2 Load a compact disc and a recordable MiniDisc. ● The total number of tracks and the total playing time on the CD will be displayed. 3 Press the START button. ● Playback of the first track and recording will begin. ● When all discs are recorded, recording will automatically stop.
(Continued) ■ Recording desired tracks from a compact disc onto a MiniDisc (Track Editing) START TRACK RECORD 1 Press the CD ■ button. 2 Load a compact disc and a recordable MiniDisc. 3 Select the track to start recording by turning the jog dial. ● The selected track number appears. 4 Press the TRACK button. ● To record a single track, skip to step 6. 5 Select the last track to record by repeatedly pressing the TRACK button. 6 Press the START button.
(Continued) ■ Sound synchro recording DISPLAY/CHARACTER INPUT SELECT RECORD REC LEVEL MIN MAX When music is played on another piece of equipment, such as a stereo, that is connected to this unit, this unit will automatically start recording on the MD. 1 Press the MD ■ button. 2 Insert a recordable MiniDisc. 3 Press the INPUT SELECT button to select the input. (Page 19) ● If you will be recording from the analog input, adjust the recording level after selecting the input.
(Continued) ■ Recording from the microphone INPUT SELECT RECORD REC LEVEL MIN 1 Connect the stereo microphone to the MIC jack on the main unit. MAX 2 3 4 Insert a recordable MiniDisc. Press the INPUT SELECT button until "ANALOG" appears. Press the RECORD button. ● The unit will enter the recording stand-by mode. MIC 5 Adjust the recording level using the REC LEVEL control. ● Adjust the recording level so that the maximum level does not exceed "0 dB". 6 Press the MD 06 button.
(Continued) ■ To create your own track numbers while re- RECORD cording By creating your own track numbers while recording, you can mark them and later search for any passage you wish. (You can also create your own track numbers during digital recording.) Press the RECORD (REC) button during recording at the point where you want to create a track number. ● After the track number has been written on the disc, the recording will continue.
EDITING We will explain the 5 editing features you can use to create your own original MiniDiscs. Playback-only MiniDiscs cannot be edited. MOVE DIVIDE A track can be divided into two tracks. If two selections were recorded as a single track because there was not enough silent space between the pieces, you can use the DIVIDE function to separate the selections. This feature is also convenient for identifying specific points with one selection so that you can locate those points easily whenever you like.
(Continued) ■ Using the editing function We will show you some examples of how to use the editing functions. You can create a disc of your favorite selections by recording tracks from a variety of input sources such as CDs, tapes, and radio broadcasts.
(Continued) ■ DIVIDE ENTER NAME/TOC EDIT 1 Play the track which you want to divide into two, and press the MD track. 06 button at the point where you want to divide the ● The unit will enter the pause mode. 2 Press the NAME/TOC EDIT button, and then select “DIVIDE” using the jog dial. 3 Within 10 seconds, press the ENTER button. ● To cancel the operation, press the MD ■ button. 1 12 4 0dB 4 Press the ENTER button again.
(Continued) ■ COMBINE ENTER NAME/TOC EDIT 1 While in the stop mode, select the second of the two tracks you want to combine using the jog dial. 06 Or start playing the second of the two tracks you want to combine, and then press the MD button. ● The unit will enter the pause mode. 2 Press the NAME/TOC EDIT button, and then select “COMBINE” using the jog dial. 3 Within 10 seconds, press the ENTER button. 1 ● To cancel the operation, press the MD ■ button.
(Continued) ■ MOVE ENTER NAME/TOC EDIT 1 While in the stop mode, select the track you want to move using the jog dial. 06 Or start playing the track to be moved, and then press the MD button. ● The unit will enter the pause mode. 2 Press the NAME/TOC EDIT button, and then select “MOVE” using the jog dial. 3 Within 10 seconds, press the ENTER button. 1 ● To cancel the operation, press the MD ■ button.
(Continued) ■ ERASE ENTER NAME/TOC EDIT To erase tracks one at a time: 1 While in the stop mode, select the track to be erased using the jog dial. 06 Or start playing the track which you want to erase, and press the MD button. ● The unit will enter the pause mode. 2 Press the NAME/TOC EDIT button, and then select “ERASE” using the jog dial. 1 3 TRACK REMAIN 1 2 3 4 5 6 7 8 9 10 11 12 13 14 15 16 17 18 4 Press the ENTER button again.
(Continued) ENTER DISPLAY/CHARACTER ■ Track/disc name ● Up to 255 tracks can be named on each disc, and each disc can be given a disc name. When naming discs and tracks, the characters should be entered as follows: To select the type of characters: (STEP 1) Press the DISPLAY/CHARACTER button. STEP 1 DISPLAY/CHARACTER To select characters: (STEP 2) Each time the button is pressed, the available characters will switch as follows: Select characters using the jog dial.
(Continued) ■ To create a disc name ENTER DISPLAY/CHARACTER NAME/TOC EDIT DELETE/CLEAR A title for the entire disc. Disc names are displayed when an MD is inserted. TIMER 1 Press the MD ■ button. ● The total number of tracks and the total playing time for an MD will appear. 2 Press the NAME/TOC EDIT button, and then select “DISC NAME” using the jog dial. 3 1 1 2 3 4 5 6 7 8 9 10 11 12 13 14 15 16 17 18 TOTAL Total number of tracks Within 10 seconds, press the ENTER button.
(Continued) ■ To create a track name ENTER DISPLAY/CHARACTER NAME/TOC EDIT DELETE/CLEAR TIMER Name each track. A track’s name will be displayed whenever you select it and during playback. 1 During playback, press the NAME/TOC EDIT button. ● “TRACK NAME” will appear. 2 Within 10 seconds, press the ENTER button. ● The unit will enter the character input mode. ● The track you are listening to will be played repeatedly. 1 3 Press the DISPLAY/CHARACTER button to select the type of characters.
(Continued) ■ To change disc names and track names NAME/TOC EDIT ENTER To change disc names: 1 During playback, press the MD ■ button. 2 Press the NAME/TOC EDIT button. 3 Within 5 seconds, press the ENTER button. ● The unit will enter the character input mode. ● To cancel this operation, press the MD ■ button. Now you can erase or add characters.
(Continued) DISPLAY/CHARACTER NAME/TOC EDIT DELETE/CLEAR TIMER ■ To erase a character After performing steps 1 to 3 on page 34, do the following to erase unwanted characters: ENTER Example: To change “BESUT” to “BEST” 4 Press the 32 / button to make the character you want to erase begin flashing. 5 Press the DELETE/CLEAR button. 6 Press the NAME/TOC EDIT button. 4 (To erase the letter "U") 5 ● The character will disappear.
HOW TO USE THE BUILT-IN TIMER ● Before setting the timer, make sure that the clock setting is correct. (Pages 8 - 9) ● The start time and stop time, which are set with this operation, will be kept in memory until the AC power cord is unplugged or the setting is changed. ENTER ■ Timer playback DELETE/CLEAR TIMER Before timer playback, the following preparations are required. ● Load a CD or MD. ● Select a CD to be played.
(Continued) ENTER DELETE/CLEAR TIMER REC LEVEL MIN MAX ■ Timer recording Before timer recording, the following preparations are required. ● Load a recordable MD. 1 While in the stop mode, press the TIMER button, and then turn the jog dial until "TIMER SET" appears. 2 Within 10 seconds, press the ENTER button, and then select "TIMER REC" using the jog dial. 3 Press the ENTER button. 1 ● The start time setting display will appear. 4 Enter the “hour”, using the jog dial.
(Continued) ■ To check the timer setting ENTER DELETE/CLEAR 1 While in the timer stand-by mode, press the TIMER button. TIMER 2 Turn the jog dial until “TIMER CALL” appears. 3 Press the ENTER button within 10 seconds. ● The timer settings will appear in order, and then the original display will reappear. (Timer confirmation mode) ■ To cancel the timer operation When the power is turned on, the timer will be canceled. The timer operation can also be canceled as follows.
WHAT IS A MINIDISC? The disc is stored in a cartridge. You can handle it easily without worrying about dust, fingerprints, etc. However, dust entering the opening of the cartridge, dirt on the cartridge, warping, etc. may cause malfunctions. Please note the following. ■ To prevent recorded discs from being ■ Handling the MiniDisc erased accidentally (accidental erasure prevention) Do not touch the disc directly! Do not open the shutter or touch the disc directly.
(Continued) ■ Types of discs ■ High-speed access There are two types of discs: playback-only and recordable type. A unique feature of the MiniDisc is the ability to locate the beginning of a desired track at high speed. This is because the track number and track name data is stored in a TOC (Table of Contents). ● Playback-only MiniDisc: This type of MiniDisc is used for commercially available pre-recorded music. This is the same kind of optical disc as CDs.
TROUBLESHOOTING ■ If a problem occurs If this unit functions abnormally during operation, first check the following items. If the unit continues to function abnormally, or if an abnormality appears other than listed below, turn off the player’s power and disconnect the AC power plug, then consult your SHARP dealer or service personnel. General SYMPTOM The clock is wrong. POSSIBLE CAUSE Did a power failure occur? When a button is pressed, the unit does not respond.
(Continued) When an error message is displayed, proceed as follows: Error messages Meaning Remedy BLANK MD ● Nothing is recorded. (Neither music nor a disc name have been recorded on this MD.) ● Replace the disc with a recorded disc. Can’t COPY ● You tried to record from a disc which you are not allowed to copy. ● Replace it with another disc which you can copy from (regular CD). Can’t EDIT ● A track cannot be edited. ● Change the stop position of the track and then try editing it.
(Continued) ■ Moisture condensation ■ If a problem occurs In the following cases, condensation may form inside the unit. If this product is subjected to strong external interference (mechanical shock, excessive static electricity, abnormal supply voltage due to lightning, etc.) or if it is operated incorrectly, it may malfunction or the display may not function correctly. If such a problem occurs, do the following: ● Shortly after turning on a heater.
MAINTENANCE ■ Internal care ● In order to ensure proper operation of the CD player, preventative maintenance (cleaning of the Laser Pick-up lens) should be performed periodically in order to keep the lens dust-free. Lens cleaners are commercially available. Contact your local CD software dealer for options. ■ External care ● Periodically wipe the cabinet with a soft cloth and dilute soap solution, then wipe with a dry cloth. ● Do not use chemically treated cleaning cloths or other chemicals.
MEMO MD-R3
MEMO MD-R3
LIMITED WARRANTY SHARP ELECTRONICS CORPORATION warrants to the first consumer purchaser that this Sharp brand product (the “Product”), when shipped in its original container, will be free from defective workmanship and materials, and agrees that it will at its option, either repair the defect or replace the defective Product or part thereof with a new or remanufactured equivalent at no charge to the purchaser for parts or labor for the period(s) set forth below.