
Operation Manual, User's Manual
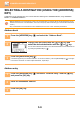
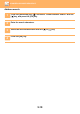
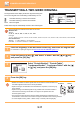

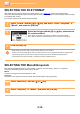
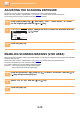
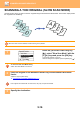
Table Of Contents

5-14
SCANNER►SCANNER SEQUENCE
SELECTING THE FILE FORMAT
After selecting scan mode and placing the original (steps 1 to 3 on page 5-5), perform the procedure below.
The factory default settings are "PDF" for the file type and "Multi" for the file creation method (multiple scanned images
are combined into one file).
If you need to change the file format, follow these steps.
SELECTING THE Mono2/Greyscale
After pressing the [B/W START] key, select whether you want to scan the image in “Mono2” or “Greyscale”.
The factory default setting for the colour mode is “Mono2”.
Mono2
Colours in the original are scanned as black or white.
Greyscale
The colours in the original are scanned in black and white as shades of grey (greyscale).
1
Select "Format" with the [ ] or [ ] key, and select "Colour / Greyscale" or
"Mono2", and press the [OK] key.
2
Select the file type with the [ ] or [ ] key, and select the
file creation method.
When "Single" is selected, a one-page file is created for the scanned image.
When "Multi" is selected, all scanned images can be combined into a single file.
3
Press the [OK] key.
• When the file type is set to "TIFF", the file creation method can only be select.
• To open the scanned image without using the software program in the accompanied CD-ROM, the recipient must
have a viewer program that can open the image format (file type) that was selected as explained above.
If the recipient cannot open the image, try sending the image in a different format.
1
Select "Mono/Grey" with the [ ] or [ ] key.
2
Select "Greyscale", or "Mono2", and press the [OK] key.