
User Manual
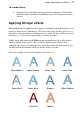

64 Image Adjustments and Effects
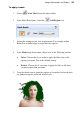
6. Click Accept.
7. Apply your adjustments as described previously, which will make a
change to your masked regions.
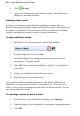
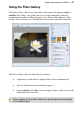
Adding multiple masks
So far we've looked at an individual mask applied to an image. However,
PhotoFix also supports multiple masks where a different set of adjustments can
be applied to each mask. You can therefore build up a patchwork of masked
regions for absolute and selective control of image adjustments.
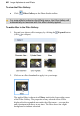
To apply additional masks:
1. In PhotoFix, click the down arrow on the Filters heading.
2. From the drop-down list, select New....
3. In the Mask Brush pane, change settings and paint as described
previously in "To apply a mask".
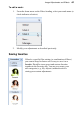
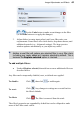
4. Click OK. The new mask, named Mask 1, Mask 2, etc. is applied to
your image.
5. Apply your adjustments as described previously.
6. Repeat the process for further masks.
Once applied, masks are applied cumulatively. The default global mask is
applied to your image first, then Mask 1, then Mask 2, etc., if present. As a
result, you may wish to rearrange the mask order for different results. You can
also rename and delete masks.
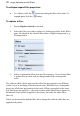
To rearrange, rename or delete a mask:
1. From the down arrow on the Filters heading, select Manage....
2. From the dialog, select a mask and use appropriate supporting buttons.
3. Click OK.