Instruction Manual
Manuals
Brands
SecurityMan Manuals
Video surveillance systems
iCamDVR (after Dec. 2011 shipment)
91
92
93
94
95
96
97
98
99
100
95 | SecurityMan
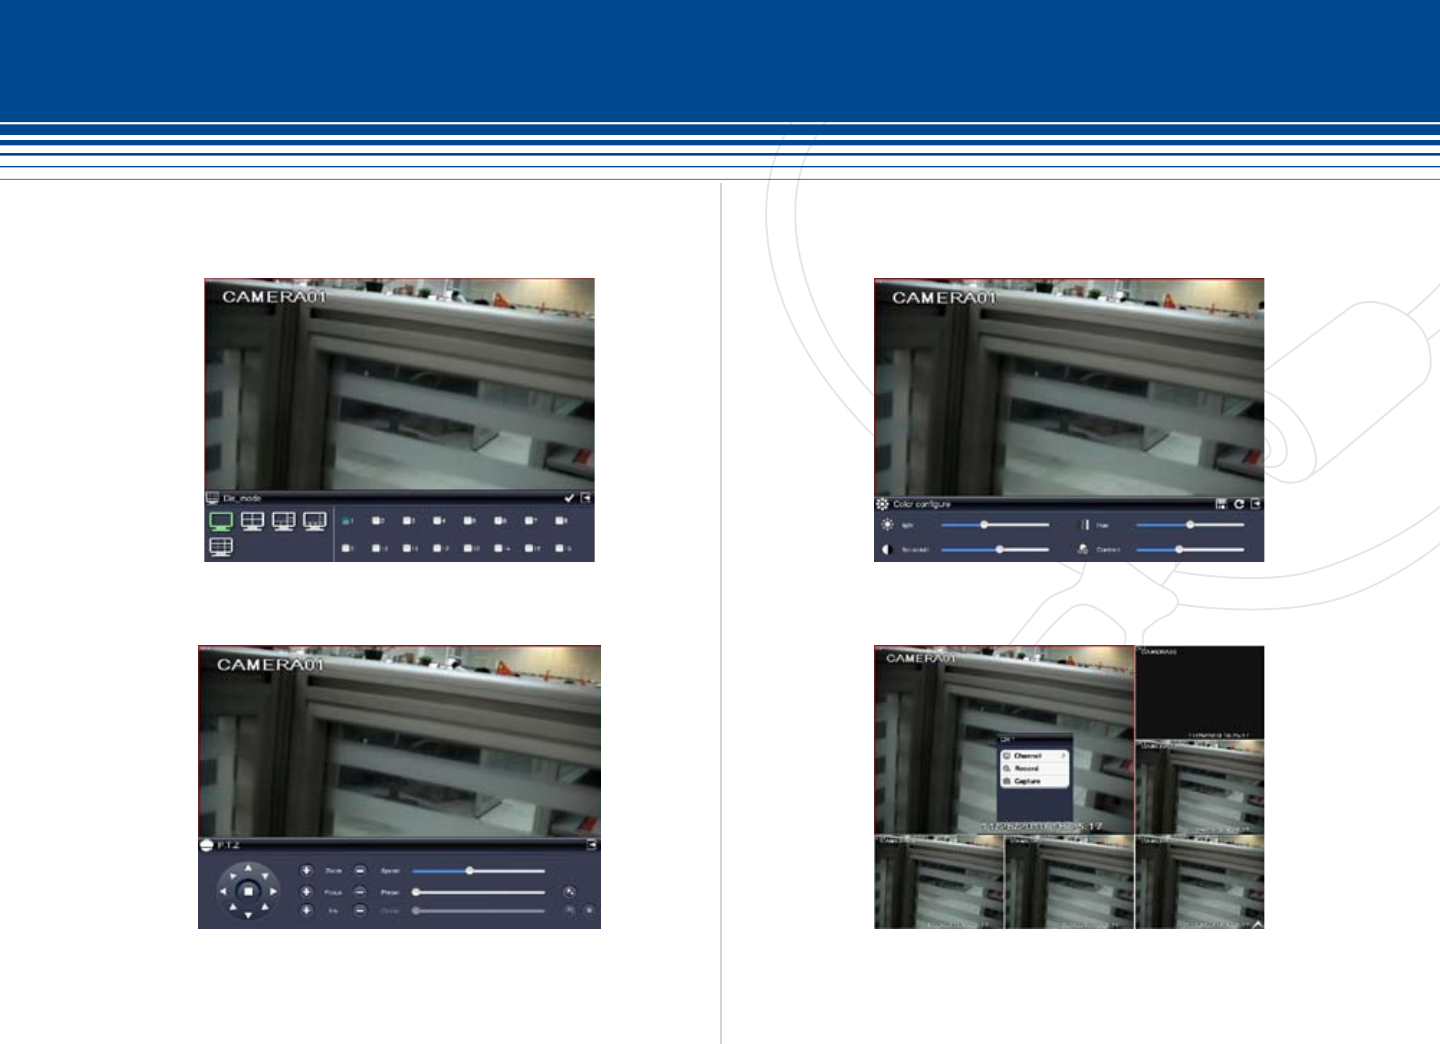
Figure 3
Figure 4
Figure 5
Figure 6
1
...
...
93
94
95
96
97
...
...
106