
Installation guide
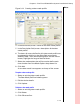
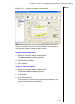
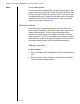
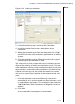
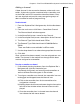

Table Of Contents
- 1 Introduction
- 2 Architectural Overview
- 3 First-Time NT500 Offline System Installation & Setup
- System requirements
- Navigating the software
- Installing the system
- Defining the system
- Setting up organization options
- Creating time and mode profiles
- Setting up hardware
- Creating cardholders and operators
- Configuring a lock using a laptop
- Configuring an office admin kit as an enrollment station
- Viewing events, diagnostic information, and reports
- Database backup and restoration
- Glossary of Terms
Chapter 3: First-Time NT500 Offline System Installation & Setup
3 – 30
Notes To remove a controller from a channel
1 Right click the controller.
2 Select Unconfigure Controller from the drop-down list.
With channels, controllers and their associated door(s) now
represented in the access system database, doors can be
assigned to specific areas. Doors and the areas they gate are
linked in the database through the door details window.
To associate doors and areas
1 On the Explorer Bar's Navigator tab, click the Door icon.
2 Select a door by double clicking on the appropriate door
icon.
The Door Details window appears.
3 The door Name and Description can be modified if
desired.
4 To assign a door mode profile to the door, select a door
profile from the drop-down list.
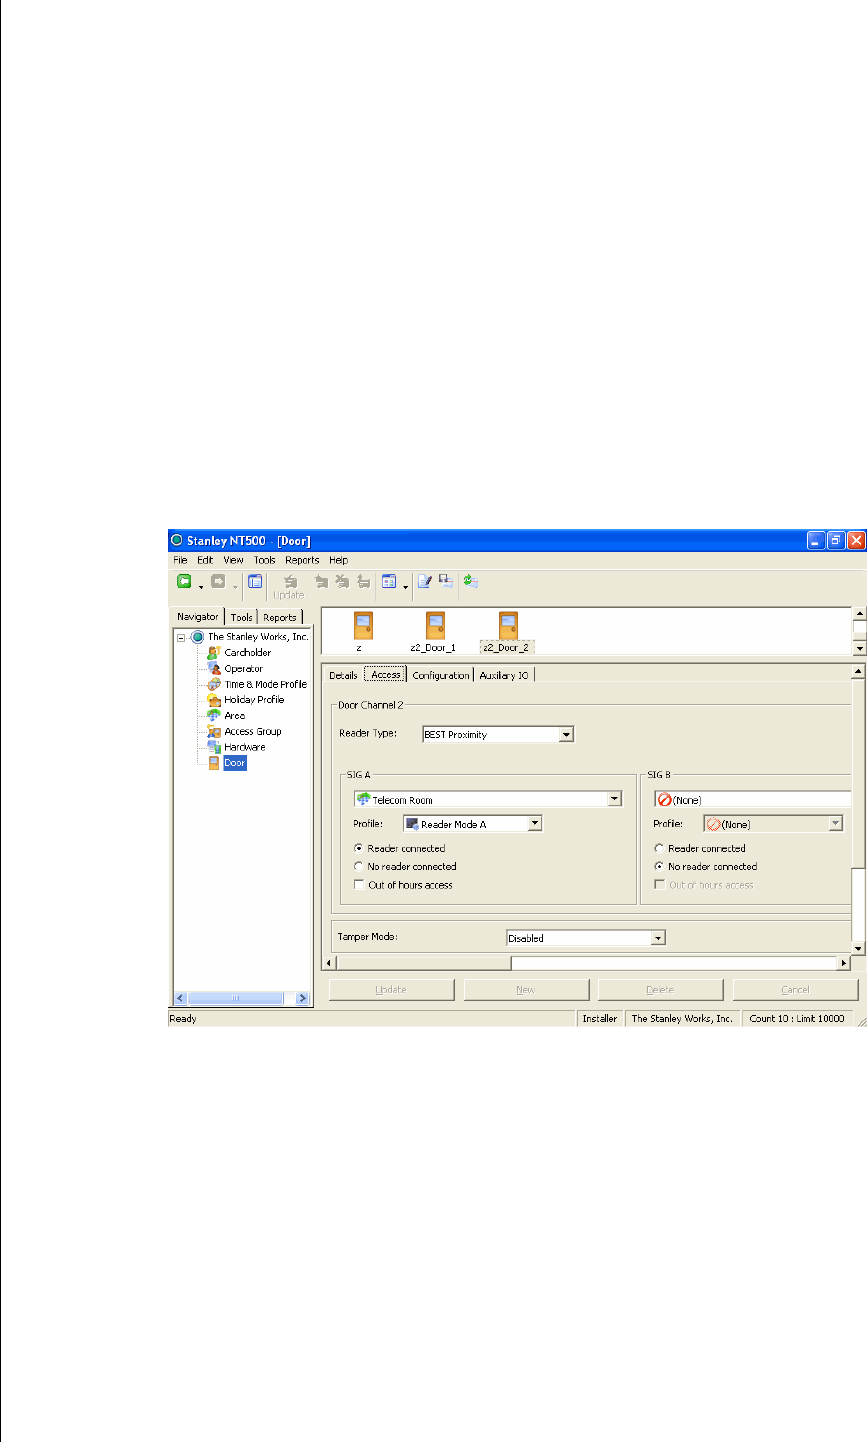
5 To assign an area profile to the door, click the access tab.
6 Select a reader type from the drop-down list.
7 Select the areas gated by the door from the drop-down
lists under SIG A and SIG B.
8 Click Update.
Figure 3.17 Adding door details