
Service manual


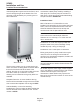
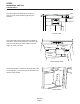

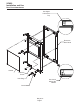


Table Of Contents
- Table of Contents
- Product Description: Page 2
- Cabinet Dimensions Page 3
- Location Recommendations: Page 4
- Familiarization Page 5
- Decorating Features: Page 6
- Door Panel Attachment Page 7
- Door Swing Page 8
- Plumbing - Pump Model Page 9
- Plumbing: Gravity Drain Model Page 10
- Electrical and Start Up Page 11
- Use Page 12
- Maintenance Page 13
- How to remove scale from the ice making system. Page 14
- Service Table of Contents
- SCN60 service Page 1
- Components: Page 2
- Evaporator and Auger Page 3
- Control System Page 4
- Water System Page 5
- Storage Page 6
- Performance and Technical Specs Page 7
- Electrical Sequence Page 8
- Service Diagnosis Page 9
- Service Diagnosis Page 10
- Component Diagnostics Page 11
- Ice Capacity Page 12
- Removal and Replacement Page 13
- SCN60 Gearbox Access & Removal Page 14
- Water Seal Replacement Page 16
- Evaporator Replacement Page 18
- Drain Pump (if equipped) Page 19
- Compressor replacement. Page 20
- Bin and Cabinet Page 21
- Table of Contents
Door Swing
The door swing is reversible.
The door can be attached to open with hinges on
the left or right using new hinge brackets shipped
loose in the ice bin. Retain all screws for re-use.
To change:
1. Remove hinge cover and innermost screw
holding each hinge to cabinet, loosen the other.
2. Slide hinges to the side and remove door from
cabinet. Remove screws loosened in step 1 from
both cross braces.
3. Remove two screws securing top panel to back,
pull top panel back and remove from cabinet.
4. Remove two screws at the top and lift the upper
bracket out of the cabinet. Replace with the one
supplied loose with the machine.
Fasten it to the cabinet using the original screws.
5. Return the top panel to the cabinet and fasten it
with the original screws.
6. Remove kickplate and front service panel.
7. Remove two front screws and two bottom
screws holding the bottom door bracket to the
cabinet.
8. Replace the bracket with the one supplied loose
with the machine. Secure it using the original
screws.
9. Remove the upper hinge and move it to the
door’s opposite side, bottom location. Secure using
the original screws.
Note: If door panel is attached, it must be removed
to access hinge screws.
10. Remove the original lower hinge and move it to
the door’s opposite side, upper location. Secure
using the original screws.
11. Install a screw removed in step 2 in outermost
hole of upper and lower cross braces.
12. Attach the door to the cabinet using the original
screws.
13. Return kickplate and front service panel to their
original positions and attach to the cabinet using
the original screws.
May 2011
Page 8
SCN60
Installation and Use
Ice
Making
Check
Water
Time to
Clean
Clean
Reset
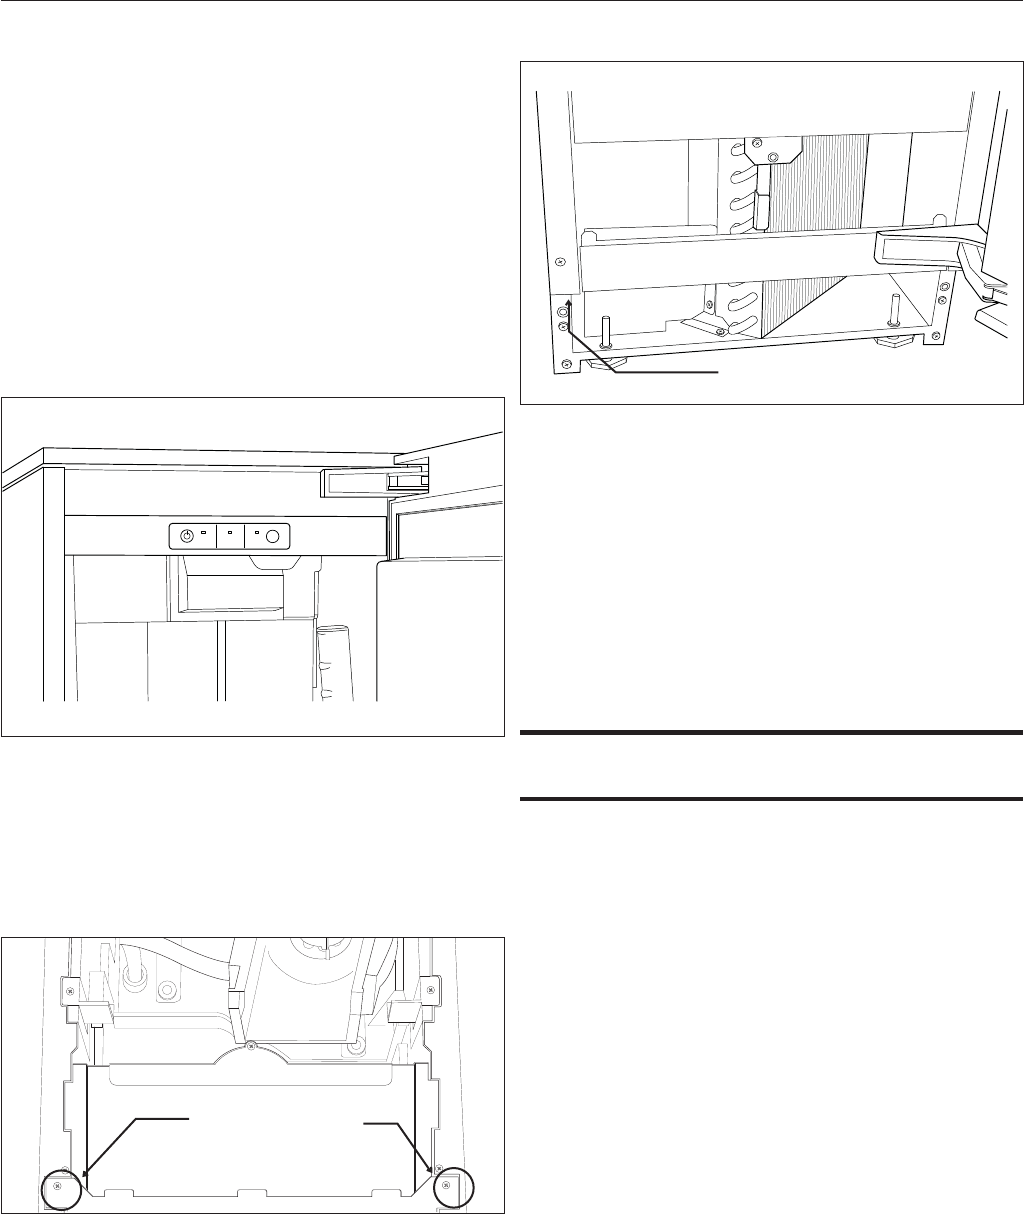
Remove Screws
Screw Below