
Service manual

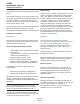

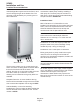
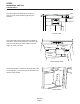


Table Of Contents
- Table of Contents
- Product Description: Page 2
- Cabinet Dimensions Page 3
- Location Recommendations: Page 4
- Familiarization Page 5
- Decorating Features: Page 6
- Door Panel Attachment Page 7
- Door Swing Page 8
- Plumbing - Pump Model Page 9
- Plumbing: Gravity Drain Model Page 10
- Electrical and Start Up Page 11
- Use Page 12
- Maintenance Page 13
- How to remove scale from the ice making system. Page 14
- Service Table of Contents
- SCN60 service Page 1
- Components: Page 2
- Evaporator and Auger Page 3
- Control System Page 4
- Water System Page 5
- Storage Page 6
- Performance and Technical Specs Page 7
- Electrical Sequence Page 8
- Service Diagnosis Page 9
- Service Diagnosis Page 10
- Component Diagnostics Page 11
- Ice Capacity Page 12
- Removal and Replacement Page 13
- SCN60 Gearbox Access & Removal Page 14
- Water Seal Replacement Page 16
- Evaporator Replacement Page 18
- Drain Pump (if equipped) Page 19
- Compressor replacement. Page 20
- Bin and Cabinet Page 21
- Table of Contents
Decorating Features:
The machine ships unfinished, allowing the
attachment of a decorator door panel or a metal
panel from Scotsman.
Door Panel
The ice machine is supplied without a conventional
door covering so it can be decorated to the user’s
preference. Scotsman offers several coverings
including white, black and stainless steel. In
addition, a custom built panel can be placed onto
the door.
Door Panels
: Finished door panels are available
from Scotsman for attachment to the machine, or a
custom panel can be made. The panel kits are:
Kit Number Panel Finish Handle Finish
KDFW White White
KDFWS White Stainless Steel
KDFB Black Black
KDFBS Black Stainless Steel
KDFS Stainless Steel Stainless Steel
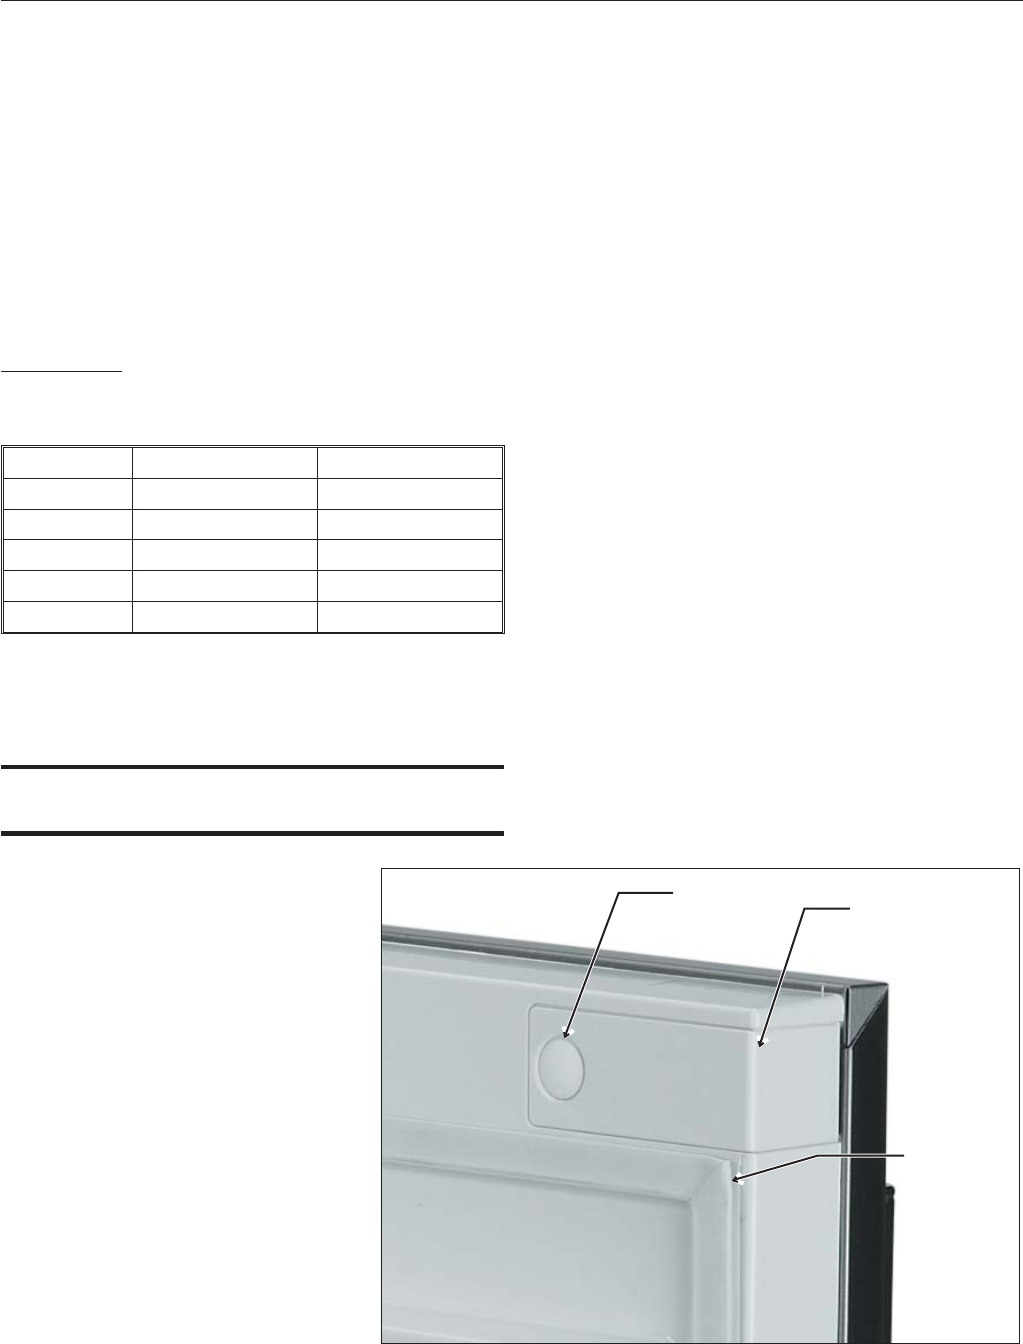
Door Panel Attachment
To attach a Scotsman supplied panel:
Note: If door swing is to be changed, it must be
done before panel is attached.
The panel will be held on by 6 sheet
metal screws and 2 machine screws.
1. Remove the gasket and retain for
later use.
2. If the door panel is stainless steel,
remove any plastic covering the
stainless steel panel.
3. Place the panel onto the outside
of the door, and secure it to the door
using two machine screws, located
at the left center and right center.
4. Fasten the panel to the door using
the 6 sheet metal screws. In the
hinge area, use the outermost screw
holes.
5. Place the covers over the hinge areas, and
secure each cover to the door using a sheet metal
screw.
6. Insert hole plug over screw installed in step 5.
7. Return the gasket to its original position.
Custom Panel
A custom panel of wood or other material not
exceeding 15 lb can be attached to the door.
Attachment is from the ice side of the door. Holes
are provided in the door for this purpose.
See instructions in information packet to create and
attach a custom panel
May 2011
Page 6
SCN60
Installation and Use
Hole Plug
Cover
Gasket