
Operation Manual

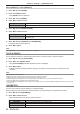
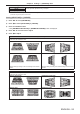
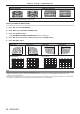
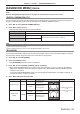
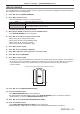
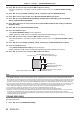

Table Of Contents
- Read this first!
- Chapter 1 Preparation
- Chapter 2 Getting Started
- Chapter 3 Basic Operations
- Switching on/off the projector
- Projecting
- Operating with the remote control
- Switching the input
- Using the shutter function
- Using the on-screen display function
- Using the automatic setup function
- Switching the image aspect ratio
- Using the function button
- Displaying internal test pattern
- Using the status function
- Using the AC voltage monitor function
- Setting ID number of the remote control
- Chapter 4 Settings
- Menu navigation
- [PICTURE] menu
- [POSITION] menu
- [ADVANCED MENU] menu
- [DISPLAY LANGUAGE] menu
- [3D SETTINGS] menu
- [DISPLAY OPTION] menu
- [COLOR MATCHING]
- [LARGE SCREEN CORRECTION]
- [SCREEN SETTING]
- [AUTO SIGNAL]
- [AUTO SETUP]
- [BACKUP INPUT SETTING]
- [SIMUL INPUT SETTING]
- [RGB IN]
- [DVI-D IN]
- [HDMI IN]
- [DIGITAL LINK IN]
- [SDI IN]
- [ON-SCREEN DISPLAY]
- [IMAGE ROTATION]
- [BACK COLOR]
- [STARTUP LOGO]
- [UNIFORMITY]
- [SHUTTER SETTING]
- [FREEZE]
- [WAVEFORM MONITOR]
- [CUT OFF]
- [PROJECTOR SETUP] menu
- [PROJECTOR ID]
- [PROJECTION METHOD]
- [OPERATION SETTING]
- [LIGHT OUTPUT]
- [BRIGHTNESS CONTROL]
- [STANDBY MODE]
- [NO SIGNAL SHUT-OFF]
- [NO SIGNAL LIGHTS-OUT]
- [INITIAL STARTUP]
- [STARTUP INPUT SELECT]
- [DATE AND TIME]
- [SCHEDULE]
- [RS-232C]
- [REMOTE2 MODE]
- [FUNCTION BUTTON]
- [LENS CALIBRATION]
- [LENS MEMORY]
- [STATUS]
- [AC VOLTAGE MONITOR]
- [SAVE ALL USER DATA]
- [LOAD ALL USER DATA]
- [INITIALIZE]
- [SERVICE PASSWORD]
- [P IN P] menu
- [TEST PATTERN] menu
- [SIGNAL LIST] menu
- [SECURITY] menu
- [NETWORK] menu
- Chapter 5 Maintenance
- Chapter 6 Appendix
Chapter 4 Settings — [ADVANCED MENU] menu
ENGLISH - 97
[EDGE BLENDING]
The edge blending function allows multiple projector images to be seamlessly overlapped by using the inclination
of the brightness at the overlapped area.
1) Press as to select [EDGE BLENDING].
2) Press qw to switch the item.
f The items will switch each time you press the button.
[OFF] Sets the edge blending function to off.
[ON] Use the setting value preset in the projector for the inclination of the edge blending area.
[USER]
Use the user-setting value for the inclination of the edge blending area. (Conguration/registration
requires separate software. Consult your dealer.)
f To adjust edge blending, proceed to Step 3).
3) When [ON] or [USER] is selected, press the <ENTER> button.
f The [EDGE BLENDING] screen is displayed.
4) Press as to specify the location to be corrected.
f When joining at top: Set [UPPER] to [ON]
f When joining at bottom: Set [LOWER] to [ON]
f When joining at left: Set [LEFT] to [ON]
f When joining at right: Set [RIGHT] to [ON]
5) Press qw to switch to [ON].
6) Press as to select [START] or [WIDTH].
7) Press qw to adjust the starting position or correction width.
8) Press as to select [MARKER].
9) Press qw to switch to [ON].
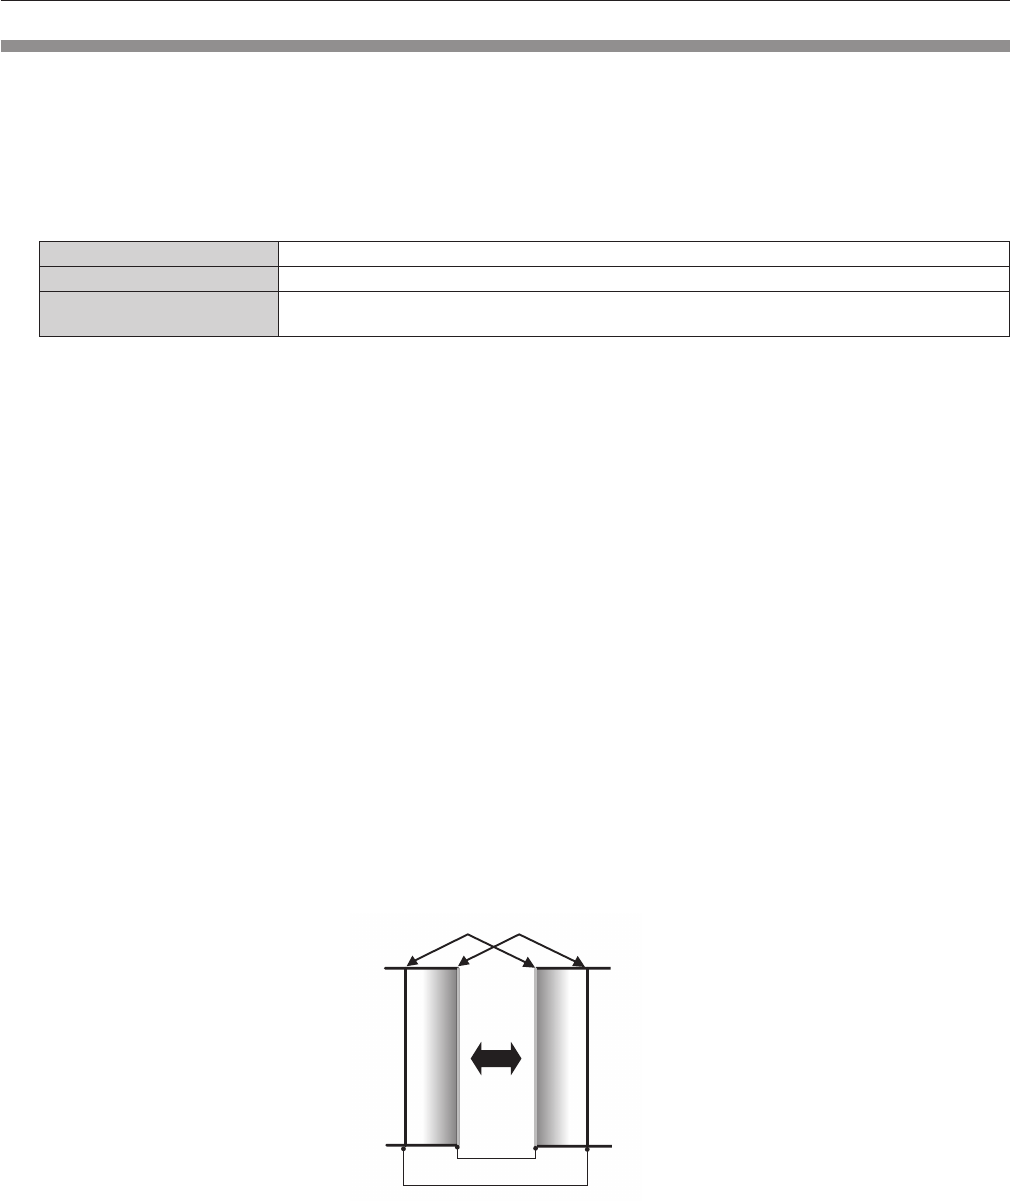
f A marker for image position adjustment is displayed. The position where the red and green lines overlap for
the projectors to be joined will be the optimal point. Make sure to set the correction width for the projectors
to be joined with the same value. Optimal joining is not possible with projectors that have different
correction widths.
The optimal point is the point at which these lines overlap.
Green line
Red line
10) Press as to select [BRIGHTNESS ADJUST].
11) Press the <ENTER> button.
f The [BRIGHTNESS ADJUST] screen is displayed.
f By setting [AUTO TESTPATTERN] to [ON] on the [EDGE BLENDING] screen, the black test pattern is
displayed when you enter the [BRIGHTNESS ADJUST] screen.
12) Press as to select [NON-OVERLAPPED BLACK LEVEL].
13) Press the <ENTER> button.
f The [NON-OVERLAPPED BLACK LEVEL] screen is displayed.
f [RED], [GREEN], and [BLUE] can be adjusted individually if [INTERLOCKED] is set to [OFF].