
Operation Manual


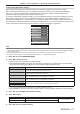
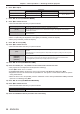
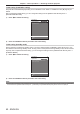
Table Of Contents
- Read this first!
- Chapter 1 Preparation
- Chapter 2 Getting Started
- Chapter 3 Basic Operations
- Switching on/off the projector
- Projecting
- Operating with the remote control
- Switching the input
- Using the shutter function
- Using the on-screen display function
- Using the automatic setup function
- Switching the image aspect ratio
- Using the function button
- Displaying internal test pattern
- Using the status function
- Using the AC voltage monitor function
- Setting ID number of the remote control
- Chapter 4 Settings
- Menu navigation
- [PICTURE] menu
- [POSITION] menu
- [ADVANCED MENU] menu
- [DISPLAY LANGUAGE] menu
- [3D SETTINGS] menu
- [DISPLAY OPTION] menu
- [COLOR MATCHING]
- [LARGE SCREEN CORRECTION]
- [SCREEN SETTING]
- [AUTO SIGNAL]
- [AUTO SETUP]
- [BACKUP INPUT SETTING]
- [SIMUL INPUT SETTING]
- [RGB IN]
- [DVI-D IN]
- [HDMI IN]
- [DIGITAL LINK IN]
- [SDI IN]
- [ON-SCREEN DISPLAY]
- [IMAGE ROTATION]
- [BACK COLOR]
- [STARTUP LOGO]
- [UNIFORMITY]
- [SHUTTER SETTING]
- [FREEZE]
- [WAVEFORM MONITOR]
- [CUT OFF]
- [PROJECTOR SETUP] menu
- [PROJECTOR ID]
- [PROJECTION METHOD]
- [OPERATION SETTING]
- [LIGHT OUTPUT]
- [BRIGHTNESS CONTROL]
- [STANDBY MODE]
- [NO SIGNAL SHUT-OFF]
- [NO SIGNAL LIGHTS-OUT]
- [INITIAL STARTUP]
- [STARTUP INPUT SELECT]
- [DATE AND TIME]
- [SCHEDULE]
- [RS-232C]
- [REMOTE2 MODE]
- [FUNCTION BUTTON]
- [LENS CALIBRATION]
- [LENS MEMORY]
- [STATUS]
- [AC VOLTAGE MONITOR]
- [SAVE ALL USER DATA]
- [LOAD ALL USER DATA]
- [INITIALIZE]
- [SERVICE PASSWORD]
- [P IN P] menu
- [TEST PATTERN] menu
- [SIGNAL LIST] menu
- [SECURITY] menu
- [NETWORK] menu
- Chapter 5 Maintenance
- Chapter 6 Appendix
Chapter 3 Basic Operations — Switching on/off the projector
56 - ENGLISH
When the initial setting screen is displayed
When the projector is switched on for the rst time after purchase, as well as when [ALL USER DATA] is executed
from the [PROJECTOR SETUP] menu → [INITIALIZE], the focus adjustment screen is displayed after projection
starts, then the [INITIAL SETTING] screen is displayed. Set them according to the circumstances.
In other occasions, you can change the settings by menu operations.
If you press the <MENU> button while the [INITIAL SETTING] screen is displayed, you can go back to the
previous screen.
Focus adjustment
Adjust the focus to display the menu screen clearly.
You may also need to adjust the zoom and shift.
Refer to “How to adjust focus, zoom, and shift” (x page 64) for details.
1) Press asqw to adjust the focus.
52
FOCUS POSITION
LENS
FOCUS
ADJUST
2) Press the <MENU> button to proceed to the initial setting.
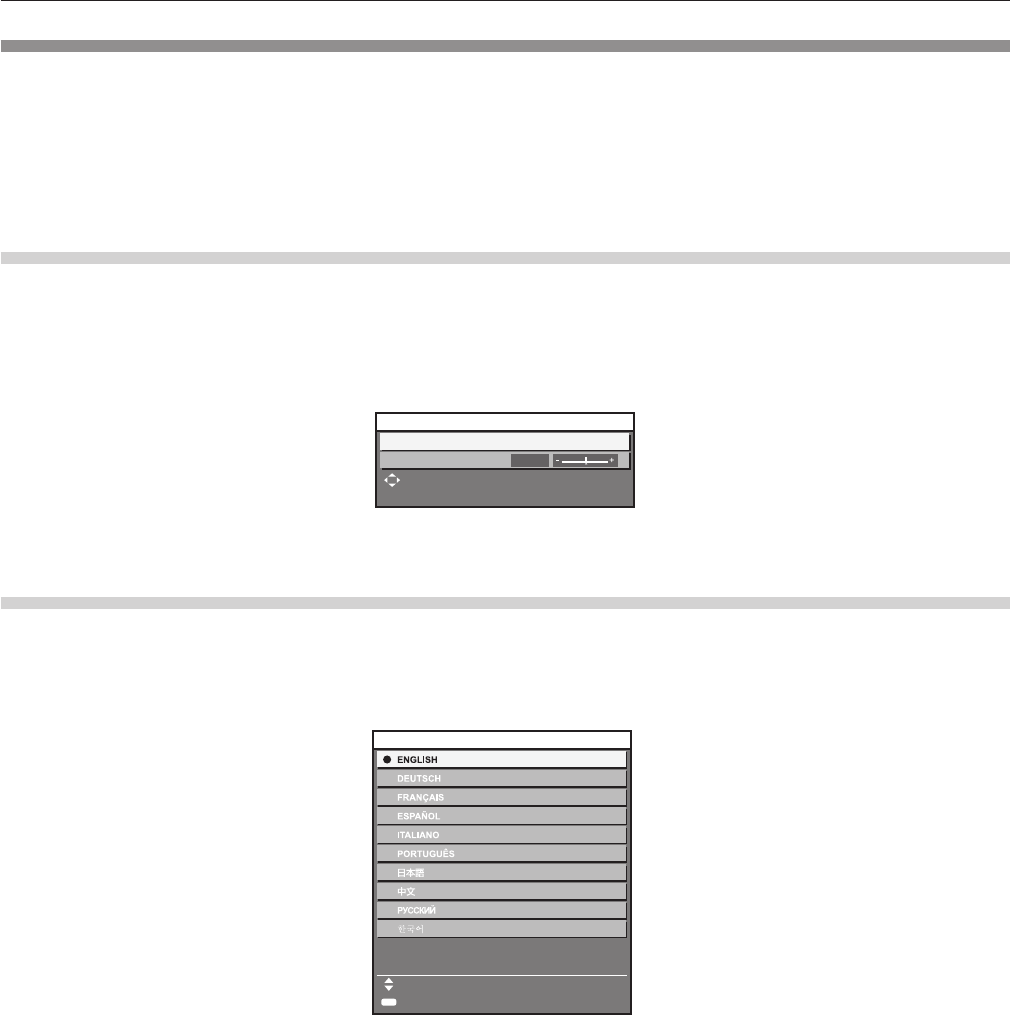
Initial setting (display language)
Select the language to show on the screen.
After completed the initial setting, you can change the display language from the [DISPLAY LANGUAGE] menu.
1) Press as to select the display language.
ENTER
1/7
Please select DISPLAY LANGUAGE.
INITIAL SETTING
SELECT
SET
2) Press the <ENTER> button to proceed to the initial setting.