
Operation Manual
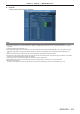
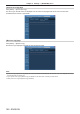
Table Of Contents
- Read this first!
- Chapter 1 Preparation
- Chapter 2 Getting Started
- Chapter 3 Basic Operations
- Switching on/off the projector
- Projecting
- Operating with the remote control
- Switching the input
- Using the shutter function
- Using the on-screen display function
- Using the automatic setup function
- Switching the image aspect ratio
- Using the function button
- Displaying internal test pattern
- Using the status function
- Using the AC voltage monitor function
- Setting ID number of the remote control
- Chapter 4 Settings
- Menu navigation
- [PICTURE] menu
- [POSITION] menu
- [ADVANCED MENU] menu
- [DISPLAY LANGUAGE] menu
- [3D SETTINGS] menu
- [DISPLAY OPTION] menu
- [COLOR MATCHING]
- [LARGE SCREEN CORRECTION]
- [SCREEN SETTING]
- [AUTO SIGNAL]
- [AUTO SETUP]
- [BACKUP INPUT SETTING]
- [SIMUL INPUT SETTING]
- [RGB IN]
- [DVI-D IN]
- [HDMI IN]
- [DIGITAL LINK IN]
- [SDI IN]
- [ON-SCREEN DISPLAY]
- [IMAGE ROTATION]
- [BACK COLOR]
- [STARTUP LOGO]
- [UNIFORMITY]
- [SHUTTER SETTING]
- [FREEZE]
- [WAVEFORM MONITOR]
- [CUT OFF]
- [PROJECTOR SETUP] menu
- [PROJECTOR ID]
- [PROJECTION METHOD]
- [OPERATION SETTING]
- [LIGHT OUTPUT]
- [BRIGHTNESS CONTROL]
- [STANDBY MODE]
- [NO SIGNAL SHUT-OFF]
- [NO SIGNAL LIGHTS-OUT]
- [INITIAL STARTUP]
- [STARTUP INPUT SELECT]
- [DATE AND TIME]
- [SCHEDULE]
- [RS-232C]
- [REMOTE2 MODE]
- [FUNCTION BUTTON]
- [LENS CALIBRATION]
- [LENS MEMORY]
- [STATUS]
- [AC VOLTAGE MONITOR]
- [SAVE ALL USER DATA]
- [LOAD ALL USER DATA]
- [INITIALIZE]
- [SERVICE PASSWORD]
- [P IN P] menu
- [TEST PATTERN] menu
- [SIGNAL LIST] menu
- [SECURITY] menu
- [NETWORK] menu
- Chapter 5 Maintenance
- Chapter 6 Appendix
Chapter 4 Settings — [NETWORK] menu
ENGLISH - 167
Item Description
[BRIGHTNESS SENSOR]
There is a problem with the luminance sensor. If problems persist even after switching
on the power, consult your dealer.
[PHOSPHOR WHEEL1]
There is a problem with the phosphor wheel 1 or phosphor wheel 1 drive circuit. Consult
your dealer.
[PHOSPHOR WHEEL2]
There is a problem with the phosphor wheel 2 or phosphor wheel 2 drive circuit. Consult
your dealer.
[FILTER UNIT]
The air lter unit is not attached. Check the connection of the air lter unit.
(x page 184)
r [WARNING] items
Item Description
[INTAKE AIR TEMPERATURE]
The intake temperature is high. The projector may be used in an environment where the
temperature is high, such as near a heating appliance.
[OPTICS MODULE TEMPERATURE]
The temperature around the optics module inside the projector is high. The projector
may be used in an environment where the temperature is high, such as near a heating
appliance.
[EXHAUST AIR TEMPERATURE]
The exhaust air temperature is high. The projector may be used in an environment
where the temperature is high, such as near a heating appliance. Or the air exhaust port
may be blocked.
[LD1 TEMPERATURE] The temperature of the light source is high. The projector may be used in an
environment where the temperature is high, such as near a heating appliance.
[LD2 TEMPERATURE]
[POWER CIRCUIT TEMPERATURE] The temperature around the power circuit is high. The air intake port may be blocked.
[FPGA TEMPERATURE] The temperature inside the projector is high. The air intake port may be blocked.
[BATTERY] Battery replacement is required. Consult your dealer.
[AIR FILTER]
There is too much dust accumulated in the air lter. Set the <MAIN POWER> switch to
<OFF> (x page 63), and clean the air lter. (x page 184)
[AC VOLTAGE]
The input supply voltage is low. Use electric wiring that can sufciently withstand the
power consumption of the projector.
[LOW-TEMPERATURE]
The temperature around the optics module inside the projector is low. Projection cannot
be started until the optics module becomes warm.
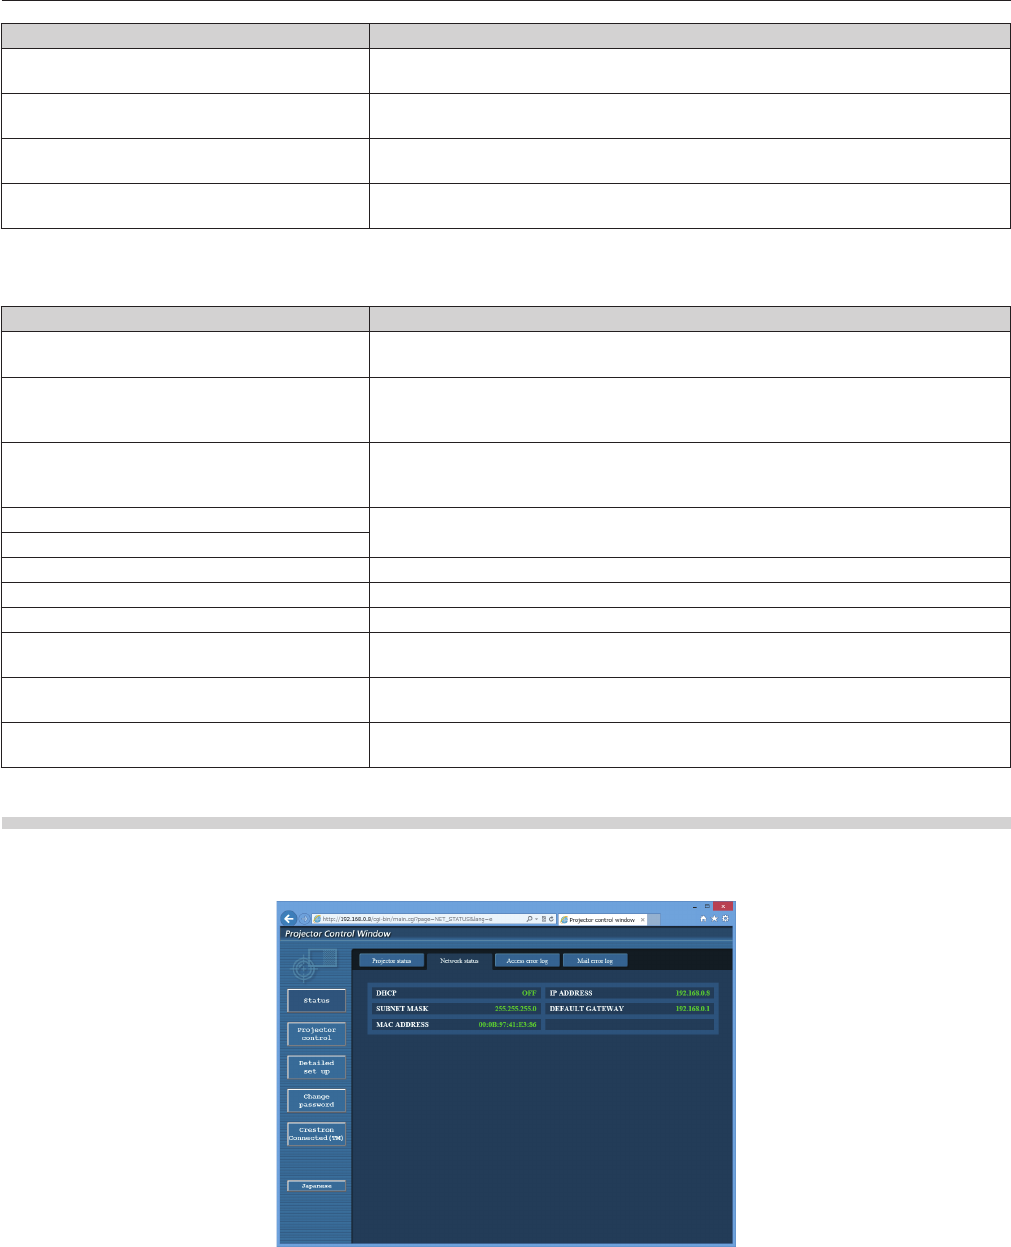
[Network status] page
Click [Status] → [Network status].
The current network setting status is displayed.