
User's Manual

Setting
47
Setting
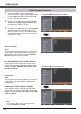
Capture
Capture
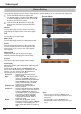
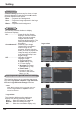
This function enables you to capture an image
being projected to use it for a starting-up
display or interval of presentations.
Select Capture and press the SELECT button.
A confirmation box appears and select to
capture the projected image.
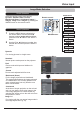
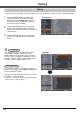
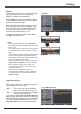
After capturing the projected image, go to the
Logo select function and set it to . Then
the captured image will be displayed the next
time you turn on the projector or when you
press the NO SHOW button (p. 26).
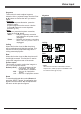
To cancel the capture function, select in
the confirmation box.
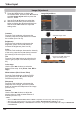
• Beforecapturinganimage,selectStandard in
the Image select Menu to capture a proper image
(pp. 32 ,39).
• Theoutputimageresolutionfromacomputercan
be supported up to the panel resolution (1280 x
800).
• Whencapturingtheimagethathasbeenadjusted
by the Keystone function, the adjusted data is
automatically reset and the projector captures an
image without keystone correction.
• WhenLogoPINcodelockfunctionissettoOn,
Logo select and Capture can not be selected.
• Whenstartingtocaptureanewimage,the
previously stored image is cleared even if you
cancel the capturing.
• Whenthereisnocapturedimageoritis
interrupted while capturing an image, can
not be selected, you can only switch between
and .
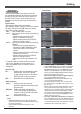
This function prevents an unauthorized person
from changing the screen logo.
.......... The screen logo can be changed
freely from the Logo Menu (p. 46).
On .......... The screen logo cannot be changed
without a Logo PIN code.
If you want to change the
setting, press the SELECT button and the Logo
PIN code dialog box appears. Enter a Logo PIN
code by following the steps below. The initial
is set to “4321” at the factory.