
User manual
41
5
5
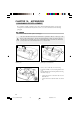
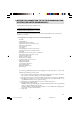
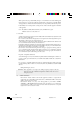
Insert the small roller in its housing: check that the
gear axe (3) is correctly positioned in the slot (4),
and that the other axe (5) is also correctly positioned
(6) in the slot.
Pull off the adhesive strip (2) from the ink ribbon .
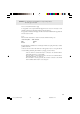
INK RIBBON GAUGE
The gauge enables screen display, after printout, of remaining ink ribbon.
7
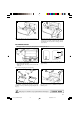
Remove the gauge compartment flap (7):
• slip the flap backward, then
• lift the front part of the flap to remove it from the
main unit.
Remove the worm gauge from its housing.
Remove the (pre-cut) gauge (9) from the ribbon
gauge card (8).
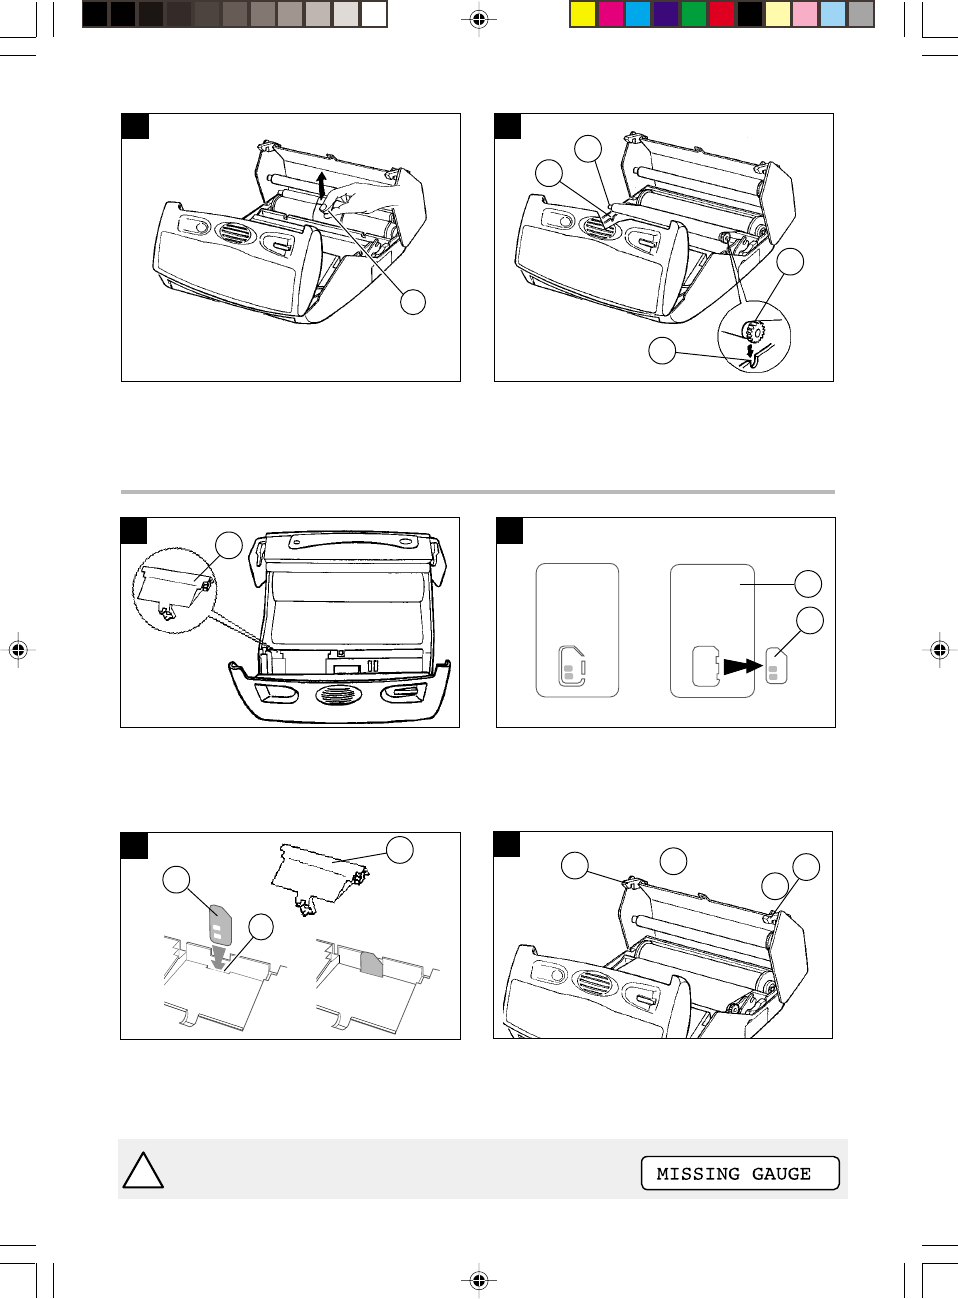
Close the rear cover: press down simultaneously on
both sides of the cover (11) until the two latches (1)
click into place.
Insert the gauge (9) into the slit (10) of the gauge
compartment, ensuring that the chip faces you and the
bevelled corner is positioned top right. Replace the
flap (7).
If the gauge is not installed or not properly installed, the unit displays:
!
9
9
10
7
8
9
5
6
2
3
4
7
11
11
11
➋
➋
6
8
4
Liasse2_23227944-0.p65 07/06/2000, 11:4841