
Specifications


Table Of Contents
- TWO YEAR LIMITED WARRANTY
- Safety Precautions
- 1. Introduction
- 2. Controls and Functions
- 3. Installation
- 3.1 Remote Control
- 3.2 Quick Setup
- 3.3 Installation Considerations
- 3.4 Installing the Projection Lens, Lamp and Cooling
- 3.5 Installing the Optional CineWide Lens Mount
- 3.6 Mounting the SC-1
- 3.7 Connections to the SC-1 and DHD Controller
- Input Panel Access
- Connecting the DHD Controller to the SC-1
- Connecting Source Components to the DHD Controller
- RS-232 Controller Connection
- Connecting 12-volt Trigger Outputs to External Equipment
- Connecting an External IR Receiver to the DHD Controller
- Connecting an External Power Supply/Ballast to the Projection Head
- Connecting to AC Power
- 3.8 Turning on the Power
- 3.9 Maximizing Light Output
- 3.10 Adjusting the Picture Orientation
- 3.11 Primary Lens Adjustments
- 3.12 Installing and Adjusting the CineWide Anamorphic Lens
- 3.13 Calibrating Projector Input 2 (DVI)
- 3.14 Working With the Lamp
- 4. Operation
- 5. Maintenance and Troubleshooting
- 6. Serial Communications
- 7. Specifications
Installation
Runco SC-1 Owner’s Operating Manual 59
PRE
L
IMINAR
Y
To unlock a channel:
1. Select Channel Setup from the Main Menu to display the Channel Setup menu.
2. The active channel should be highlighted. Press ENTER to go to the Channel Edit
submenu.
3. Select Locked from the Channel Setup menu and press ENTER to clear the check
box.
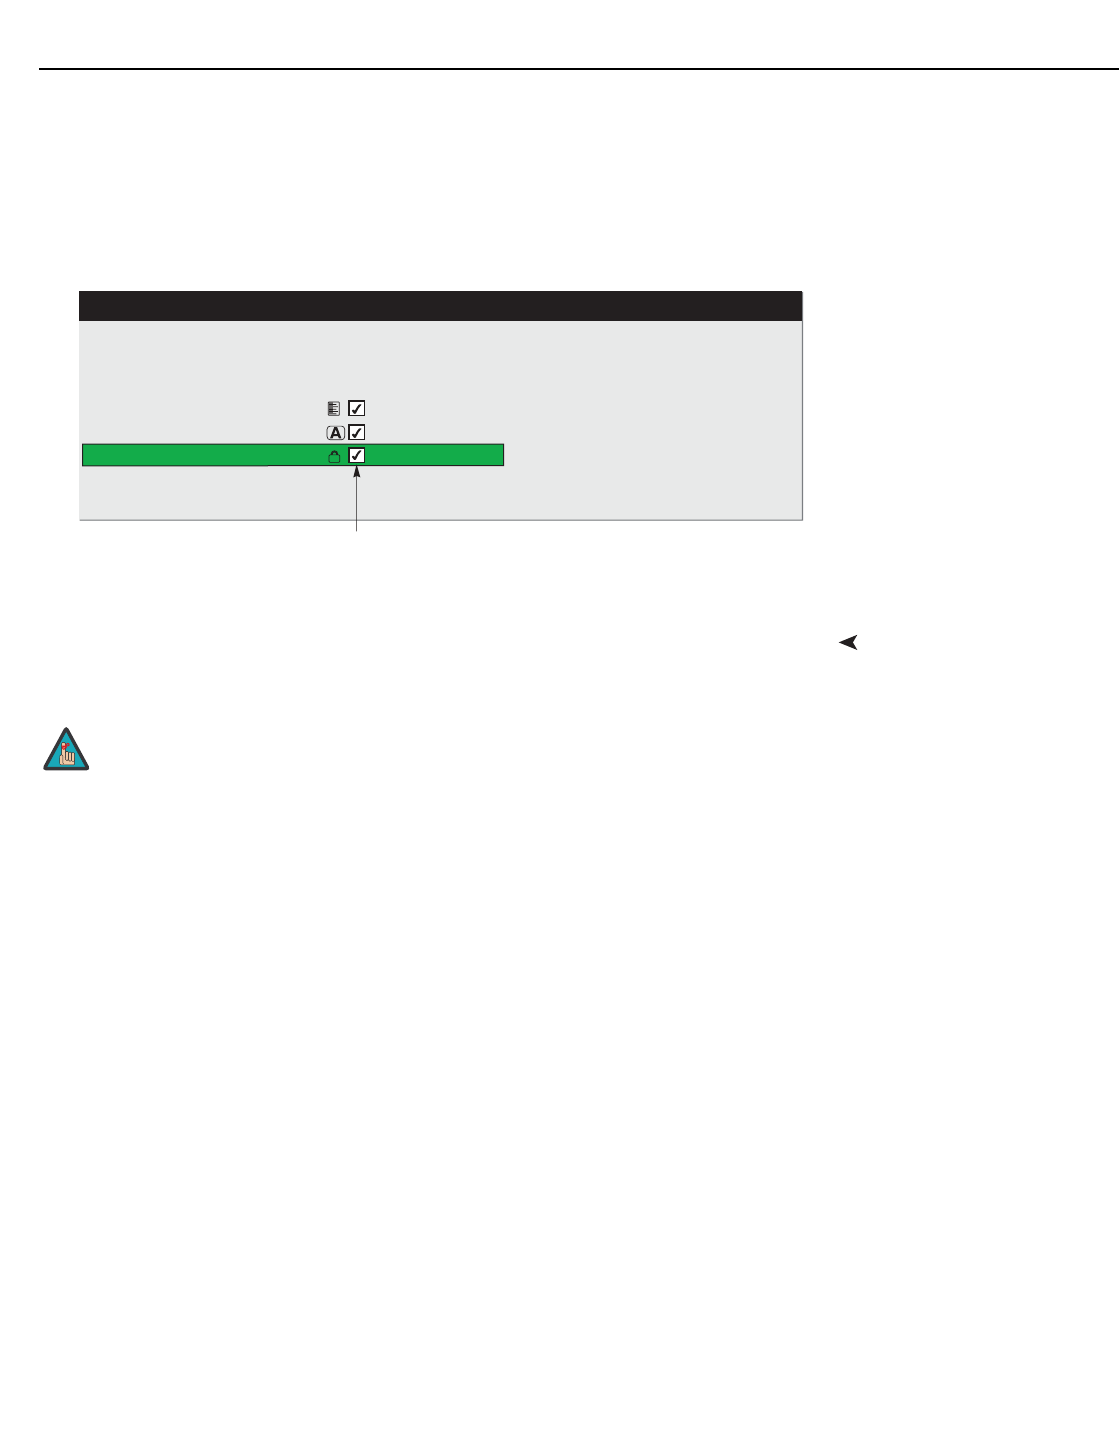
Figure 3-31. Unlocking a Channel
Auto SetupUse the Auto Setup feature of the SC-1 as a convenient starting point for calibrating the
projector inputs for optimum picture quality.
Auto Setup is an automated process in which the projector quickly optimizes critical
display parameters such as size, position and pixel tracking, based on the type of
incoming video signal. An Auto Setup allows you to quickly get the image “in the ballpark”
after which you can perform further calibration, if necessary.
To perform an Auto Setup, do one of the following:
On the Theater Master Remote Control: Press FUNCS, then AUTO followed by
ENTER. When the Auto Setup completes, press Enter again to keep the new settings.
On the Projector Rear Keypad: Press AUTO SETUP followed by ENTER. When the
Auto Setup completes, press ENTER again to keep the new settings.
On the DHD Controller Remote Control: Press MENU, then select Service from the
Main menu. Select Display Device from the Service Menu. Finally, select Configure from
the Display Device menu, then select Auto Setup.
What an “Auto Setup” Does: Auto Setup sets the following parameters to their default
values:
• Contrast and Brightness
• Auto Input Level (off)
• Detail (if video source)
• Filter
• Luma Delay
1. Name 16x9 night
2. Number 02
3. Input 2
4. In Menu
5. Auto Source
6. Locked
7. Previous Channel
8. Next Channel
Sync Type: Digital Encrypted
H-Sync: 26.97 kHz
V-Sync: 23.98 Hz
Interlace: No
Channel Edit
Clear this check box to unlock the channel
You cannot use Auto Setup with a locked channel; you must unlock
it first. Refer to
Unlocking Channels on page 58.
Note