
Software Start-Up and Ref. Owner manual
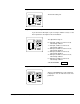
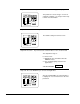
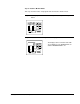
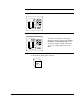
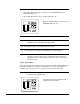
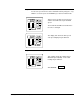
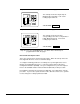
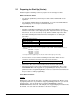
Table Of Contents
- GV3000/SE AC General Purpose (V/Hz) and Vector Duty Drive, 1 - 20 HP, 230V AC Software Start-Up and Reference Manual D2-3387-5
- Important User Information
- Document Update
- Summary of Changes
- Table of Contents
- List of Figures
- List of Tables
- Preface
- Chapter 1 - Starting Up the Drive for Volts/Hertz Regulation
- Chapter 2 - Starting Up the Drive for Vector Regulation
- Chapter 3 - Using the Keypad/Display To Program, Monitor, and Control the Drive
- Chapter 4 - Programming Reference
- Chapter 5 - Troubleshooting the Drive Using Error Codes
- Appendix A - Alphabetical Listing of Parameters
- Appendix B - Record of User Parameter Settings
- Appendix C - Power Module-Dependent Parameter Default Values (230 V Series)
- Appendix D - Default Parameter Settings
- Appendix E - Configuring the Digital Inputs When the RMI Board Is Installed in the Drive
- Appendix F - Using the Terminal Strip Analog Input
- Appendix G - Drive Regulation Overview
- Back Cover / Publication D2-3387-5 July 2013
1-22
GV3000/SE 230 VAC Drive, Software Reference Version 6.04
Step 7.9
• If the rotation direction is NOT correct, press the STOP/RESET key and
continue with Step 7.10.
• If the rotation direction is correct, continue with Step 7.14.
AUTO
MAN
Forward
Reverse
PROGRAM
RUN
JOG
STOP
RESET
START
ENTER
SPEED
VOLTS
AMPS
Hz
Kw
TORQUE
Password
RUNNING
REMOTE
JOG
AUTO
FORWARD
REVERSE
PROGRAM
When the STOP/RESET key is pressed, the
RUNNING LED turns out.
Step 7.10 Turn off and lock out or tag power to the drive.
Step 7.11 Verify that the DC bus capacitors are discharged. Refer to the
hardware reference manual for this procedure.
Step 7.12 Switch any two of the motor leads (U, V, or W).
Step 7.13 Turn power on, and press the START key. Repeat Step 7.8.
Step 7.14 To make sure that the drive is not inadvertently started, turn off and
lock out or tag power to the drive. Verify that the motor direction is
appropriate for the required machine direction, and then connect the
motor to the load.
Step 8. Run the Drive
This step describes how to adjust the speed reference from the keypad and run the
motor up to maximum speed in Hz. At maximum Hz, you must check values in
monitor mode. This step assumes you have connected motor to the load.
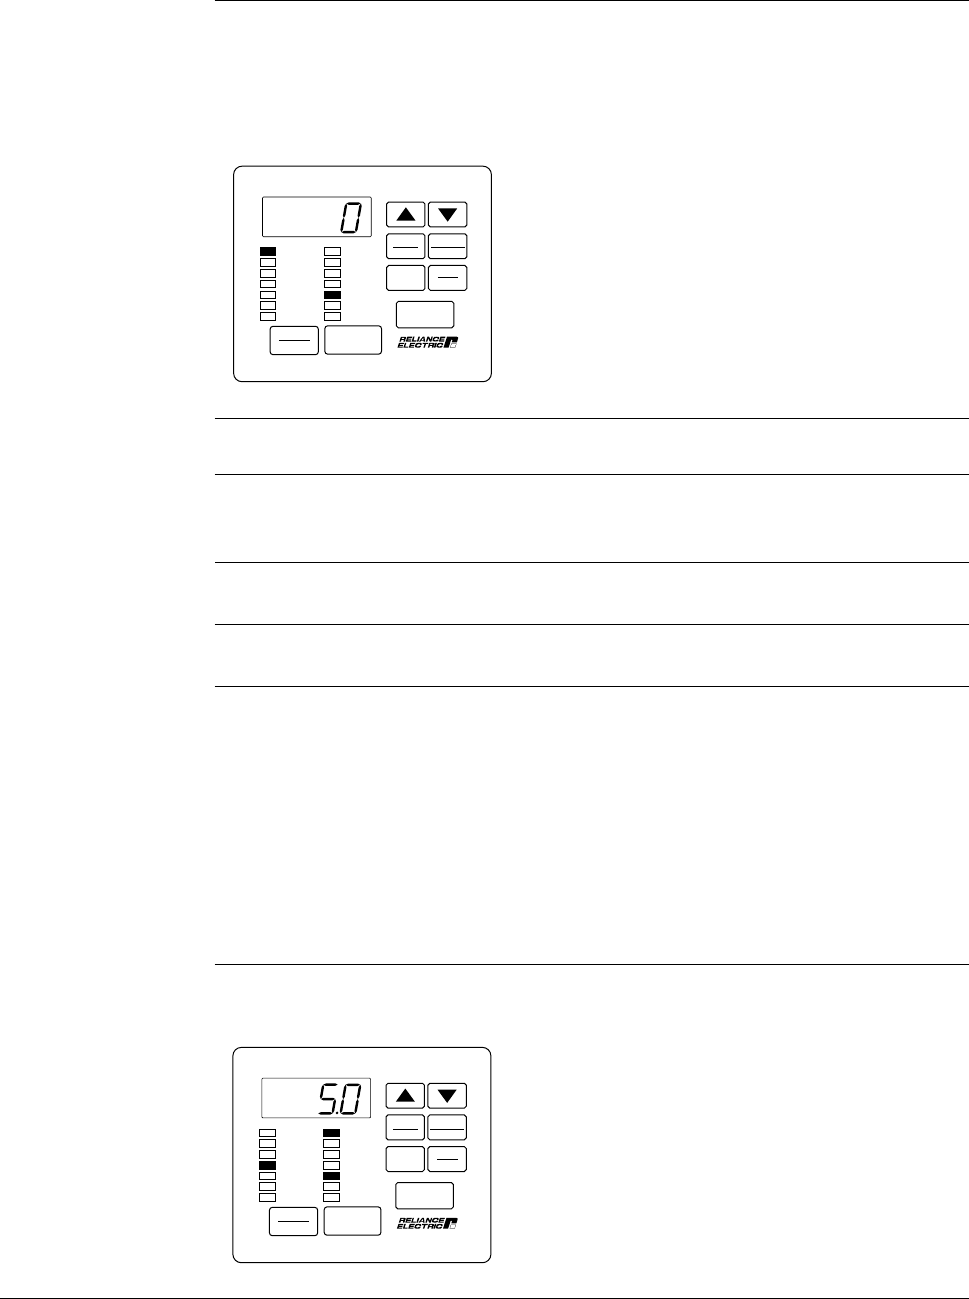
Step 8.1 Press the ENTER key until the Hz LED turns on. (If the drive is not
running, press the START key.)
This example shows the minimum hertz
setting of parameter P.003.
AUTO
MAN
Forward
Reverse
PROGRAM
RUN
JOG
STOP
RESET
START
ENTER
SPEED
VOLTS
AMPS
Hz
Kw
TORQUE
Password
RUNNING
REMOTE
JOG
AUTO
FORWARD
REVERSE
PROGRAM