User guide
Table Of Contents
- Front Cover
- Important User Information
- Table of Contents
- Preface
- 1 - Scanner Features
- 2 - Installing Your Hardware
- Important Notes on Scanner Systems
- 1. Unpacking the Equipment
- 2. Setting the Address of the Base/Charger Unit
- 3. Connecting the Host Cable to the Base/Charger Unit
- 4. Mounting the Base/Charger Unit
- 5. Mounting the Power Supply
- 6. Connecting the Power Supply to the Base/Charger Unit and Power Receptacle
- 7. Connecting the Host Cable to the Host Device
- 8. Charging the Battery
- 9. Pairing the Scanner to the Base/Charger Unit
- 3 - Configuring Your Scanner
- 4 - Scanner Operation
- 5 - Maintenance and Troubleshooting
- A - Specifications
- B - Cable Pinouts
- C - Advanced Data Formatting
- Glossary
- Index
- Test Symbols
- Back Cover

Maintenance and Troubleshooting 5–7
Publication 2755-6.3
The power supply manages and conditions the power input to the
charger, eliminating the need for a replaceable fuse. Should a
power surge occur, the power supply connected to the charger
temporarily interrupts the current supply until the condition is
corrected. If an extreme surge occurred, the power light on the
power supply remains off and the power supply needs to be
replaced.
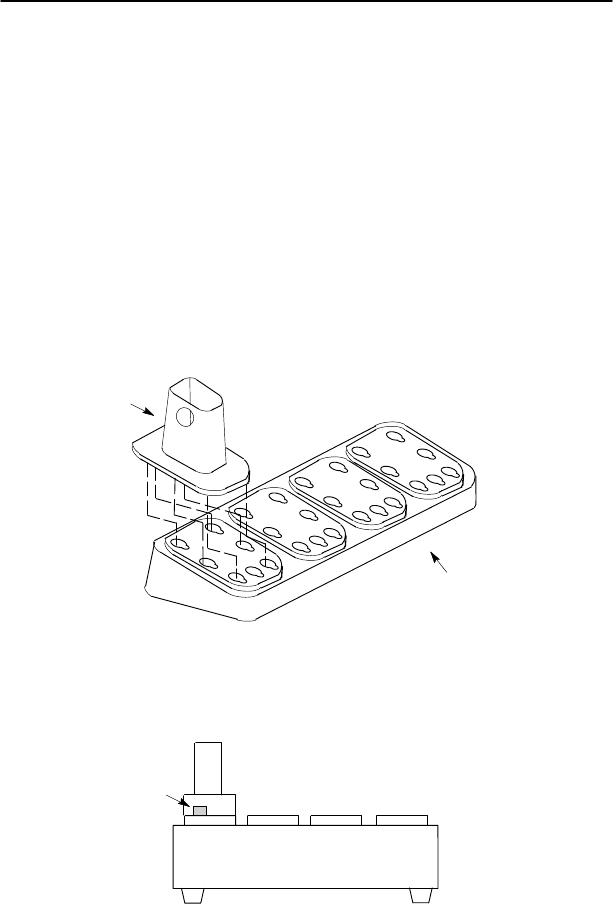
4. Attach the battery adapter (Catalog No. 2755-HCP-B3) to the
battery charger by aligning the adapter to the charger and sliding
the adapter downward, locking into place.
4-Slot Battery Charger
Battery Adapter
To remove the adapter, push the tab up and slide the adapter
outward.
Tab
4-Slot Battery Charger


