
User guide
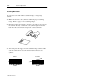

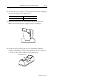
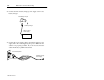
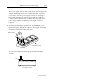
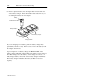
Table Of Contents
- Front Cover
- Important User Information
- Table of Contents
- Preface
- 1 - Scanner Features
- 2 - Installing Your Hardware
- Important Notes on Scanner Systems
- 1. Unpacking the Equipment
- 2. Setting the Address of the Base/Charger Unit
- 3. Connecting the Host Cable to the Base/Charger Unit
- 4. Mounting the Base/Charger Unit
- 5. Mounting the Power Supply
- 6. Connecting the Power Supply to the Base/Charger Unit and Power Receptacle
- 7. Connecting the Host Cable to the Host Device
- 8. Charging the Battery
- 9. Pairing the Scanner to the Base/Charger Unit
- 3 - Configuring Your Scanner
- 4 - Scanner Operation
- 5 - Maintenance and Troubleshooting
- A - Specifications
- B - Cable Pinouts
- C - Advanced Data Formatting
- Glossary
- Index
- Test Symbols
- Back Cover
Scanner Operation 4–3
Publication 2755-6.3
For the long range scanner, you need to press the trigger partially
to center the aiming beam on the bar code and then press the
trigger fully to emit the full width scanning beam on the bar code.
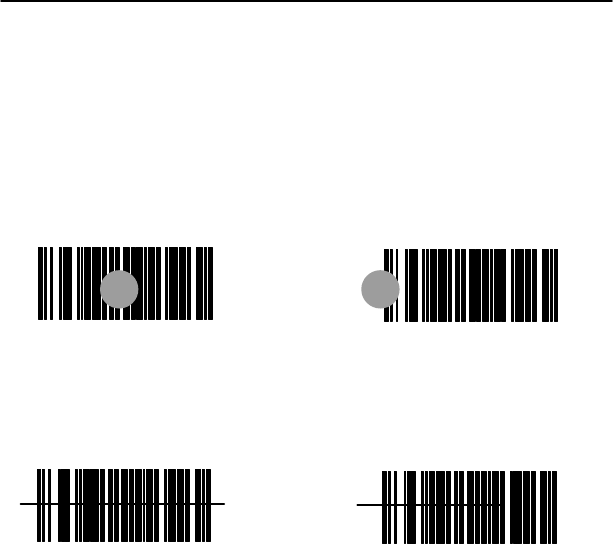
Correct Incorrect
012345
012345
Correct Incorrect
012345
012345
First Trigger Position
Second Trigger Position
For both scanners, you should see the scan beam across the bar
code and the red LED on the back of the scanner should be on. If
the scanner has made a successful read, you will hear one beep
and the green LED on the back of the scanner turns on. The
green LED stays on for up to one second if the the trigger is down
or until you release the trigger. If the scanner has made an
unsuccessful attempt to read the bar code, you will hear 4 error
beeps. Refer to Troubleshooting on page 5–13 for more
information regarding scanning errors.