
Quick Start User Manual

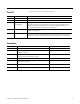
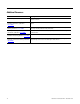
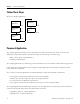
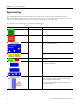
Table Of Contents
- 2711C-QS001F-EN-P PanelView Component HMI Quick Start
- Where to Start
- Preface
- Chapter 1
- Chapter 2
- Chapter 3
- Chapter 4
- Chapter 5
- Chapter 6
- Create the Motor Status Screen
- Introduction
- Before You Begin
- What You Need
- Follow These Steps
- Change the Screen Name
- Change the Grid Attributes
- Create the Start Motor Push Button
- Create the Stop Motor Push Button
- Create the Motor Speed Screen Button
- Create a Goto Config Button
- Create the Motor Control List Selector
- Create the Motor Status Indicators
- Save the Motor Status Screen
- Create the Motor Status Screen
- Chapter 7
- Create the Motor Speed Screen
- Introduction
- Before You Begin
- What You Need
- Follow These Steps
- Create a New Screen
- Create the Motor Status Screen Button
- Create a Numeric Entry Object
- Create a Heading for the Numeric Entry Object
- Create a Increment Decrement Object
- Create Increment Decrement Keys
- Create a Bar Graph
- Create a Bar Graph Scale
- Create Text Labels for the Scale
- Create a Bar Graph Heading
- Create a Numeric Display
- Create a Heading for the Numeric Display
- Update the Motor Speed Screen Button
- Create the Motor Speed Screen
- Chapter 8
- Chapter 9
- Appendix A
- Back Cover
Publication 2711C-QS001F-EN-P - November 2010 13
Parts List
This quick start uses the following hardware.
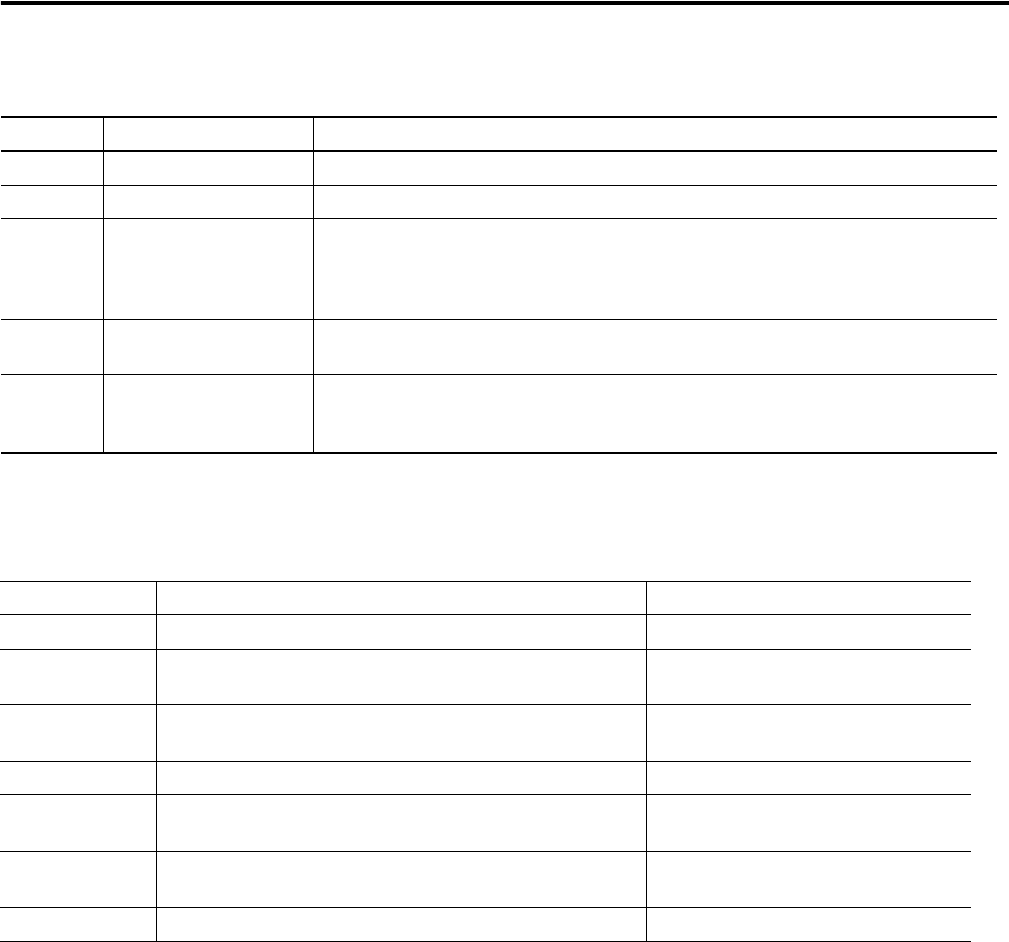
Conventions
Quantity Catalog Number Description
1 2711C-T6C PanelView Component C600 touch-screen, color terminal
1 1763-L16xxx MicroLogix 1100 controller
2 or 3 Standard Ethernet cable or
2711P-CBL-EX04
Standard Ethernet cable or crossover Ethernet cable
This cable is used to connect the terminal to the computer using the Ethernet port of the
terminal for design-time configuration. It is also used to connect the terminal to the
MicroLogix 1100 controller for Ethernet runtime configuration.
1 2711C-CBL-UU02 USB cable used to connect a computer to the terminal using the USB port of the terminal for
design-time configuration.
1 1761-CBL-PM02 Cable used to connect the PanelView Component terminal to the MicroLogix 1100 controller
using a DF1 connection. The 9-pin D-shell connector connects to the RS-232 serial port on
the terminal; the 8-pin mini DIN connector connects to the Channel 0 port of the controller.
Convention Meaning Example
Check or uncheck Click to activate or deactivate a checkbox. Check the Font Italics checkbox.
Click Click the left mouse button once while the cursor is positioned on
an object or selection.
Click the Delete button.
Double-click Click the left mouse button twice in quick succession while the
cursor is positioned on an object or selection.
Double-click the object.
Expand Click the cursor to the left of a tab or panel. Expand the Drawing Tools tab.
Right-click Click the right mouse button once while the cursor is positioned
on an object or selection.
Right-click the object.
Select Click to highlight a row or list choice. Select the write tag from the pull-down
list.
Drag Hold down the left mouse button while dragging object. Drag the Text tool to the screen.