
Operating instructions


Table Of Contents
Rinnai New Zealand Ltd. RDV36 Heat Transfer Kit Installaon 11700-E 05-11
9
Installing and wiring the fan and switch
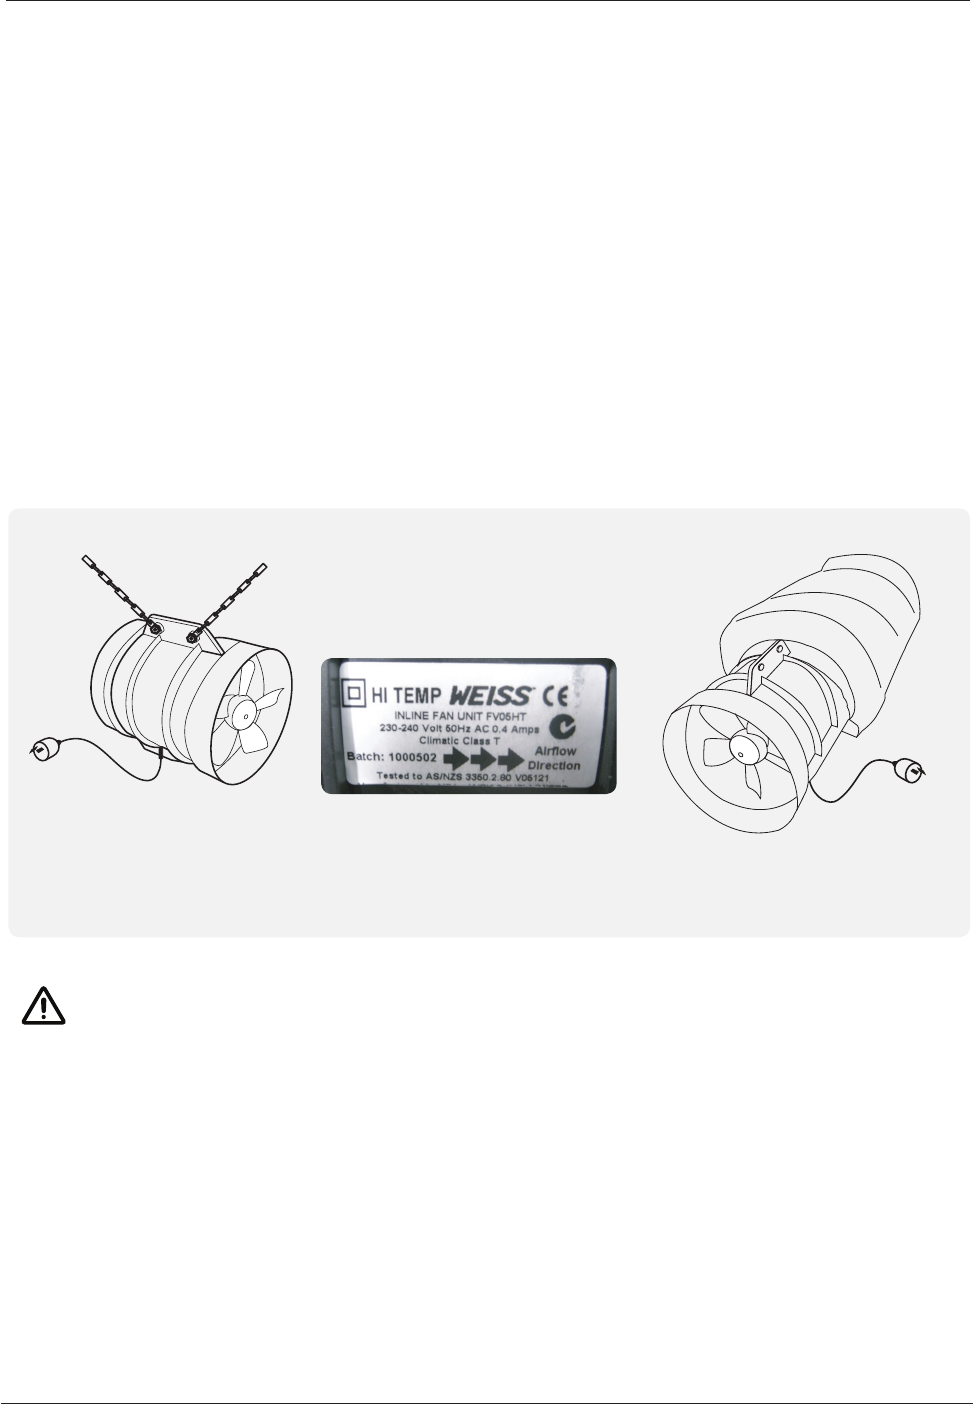
1. Install the fan using the hanging chain included in the kit. The fan is designed to be
suspended as this helps reduce noise and vibration. Positioning the fan as far away as
possible from the outlet will also help to reduce fan noise.
Note the direction of air through the fan is correct, this is indicated with an arrow on the
side of the fan housing.
For ease of servicing, the fan is supplied with the 3-pin plug. Rinnai recommends installation
of the fan with the cord down.
2. Install the wall switch and wire to the socket for the fan. The wall switch is best installed
inside the doorway of the room being heated.
3. Attach the 6 m ducting to the fan using the high temperature duct tape provided.
Install fan on hanging strip and
complete wiring.
A licensed electrician is required to install the wall switch.
All duct work, securing and positioning of the fan unit should be completed prior to
connection of the electrical supply (W).
DO NOT remove the 3-pin plug and hard-wire the fan. The warranty will not cover costs
associated with removing and replacing hard-wired fans.
IMPORTANT
Arrow indicates direcon of air
through the fan.
Aach 6 m duct to fan using
duct tape.