
Quadra User's Guide

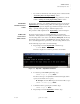
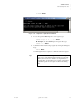


Table Of Contents
- Table of Contents
- Introduction
- Installation and Setup
- Operations
- In This Chapter
- Introduction to Operations
- Setting Output Format
- Testing Outputs
- Selecting an Input Source
- Enabling and Disabling Outputs
- Understanding Auto Sync
- Cropping an Image
- Zooming an Image
- Panning an Image
- Sizing the Output Image
- Using Position
- Adjusting Brightness and Contrast
- Adjusting Hue and Saturation
- Adjusting Sharpness
- Creating a Background
- Creating a 2x2 Monitor Wall
- Command Line Interface
- Image Concepts
- Communications Setup
- Connector Types
- Firmware Upgrades and Troubleshooting
- Technical Specifications
OPERATIONS
Cropping an Image
350-7951 Quadra User’s Guide 38
. . . . .
. . . . . . . . . . . . . . . . . . . . . . . . . . . . .
CROPPING AN IMAGE
This section provides basic instructions for using the WSR command
(WindowSourceRectangle
). The command enables you to define a precise
portion of an input source, which is then mapped to the output using the WDR
command (WindowDestinationRectangle
).
Please note:
• By default, WSR shows the entire source image as defined by the
horizontal and vertical dimensions of the selected RGB input.
• For a video input, WSR defaults to 720 x 480 for NTSC and 720 x 574
for PAL.
Using the command, you can “jump” a source image’s size and position from
one setting to another instantly, or transition the image between settings with a
duration of up to 128 seconds.
Use the following steps to crop a source image.
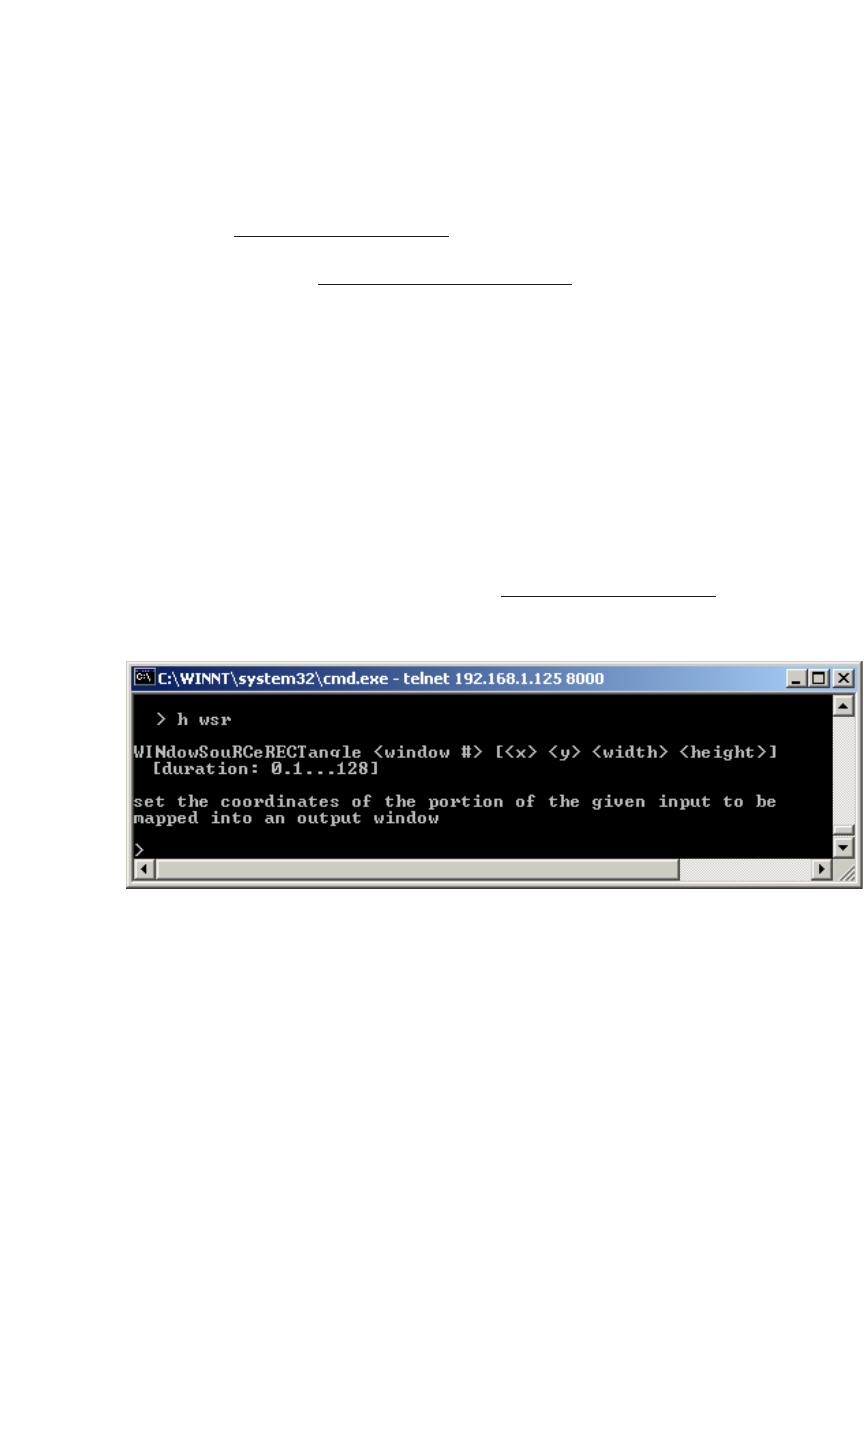
1. Request help text for the WindowSourceRectangle
command. Type:
H WSR Enter
Figure 3-11.
Help Text — Window Source Rectangle Command
2. Query the input timing to verify the actual dimensions of the source.
This gives you a basis for further scaling. Type:
INTM <input #> Enter
3. Query the current size and position of the image: Type:
WSR <input #> Enter
4. If desired, reset the source image to its default full screen value. Type:
RSR <input #> Enter
5. Scale and position the image as desired. Type:
WSR <input #> <x> <y> <width> <height>
<duration>
Enter
Note that the x and y parameters define the coordinates of the first
pixel located at the top left of the image. The width and height
parameters then define the size of the image.