
Quadra User's Guide

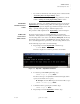
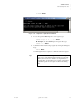


Table Of Contents
- Table of Contents
- Introduction
- Installation and Setup
- Operations
- In This Chapter
- Introduction to Operations
- Setting Output Format
- Testing Outputs
- Selecting an Input Source
- Enabling and Disabling Outputs
- Understanding Auto Sync
- Cropping an Image
- Zooming an Image
- Panning an Image
- Sizing the Output Image
- Using Position
- Adjusting Brightness and Contrast
- Adjusting Hue and Saturation
- Adjusting Sharpness
- Creating a Background
- Creating a 2x2 Monitor Wall
- Command Line Interface
- Image Concepts
- Communications Setup
- Connector Types
- Firmware Upgrades and Troubleshooting
- Technical Specifications
OPERATIONS
Understanding Auto Sync
350-7951 Quadra User’s Guide 35
. . . . .
Once a close match is found for each RGB input, Quadra tries to lock to it — or
continues down the list until a “lock” is achieved.
LOADING INPUT
. . . . . . . . .
TIMING VALUES
To load a different set of parameters or “create” your own, Auto Sync can be
disabled — and you can force Quadra to load a custom set of parameters.
Use the following steps to load timing values:
1. To discover which set of timing parameters are currently loaded, query
the INputTiMing
command for a selected input. Type:
INTM <input #> Enter
The display shows the input name and all the various parameters. If
the name “Auto_1” appears, this indicates the active register for
automatic settings when Auto Sync is enabled. (There are four
“Auto_1” registers, one for each Quadra input.)
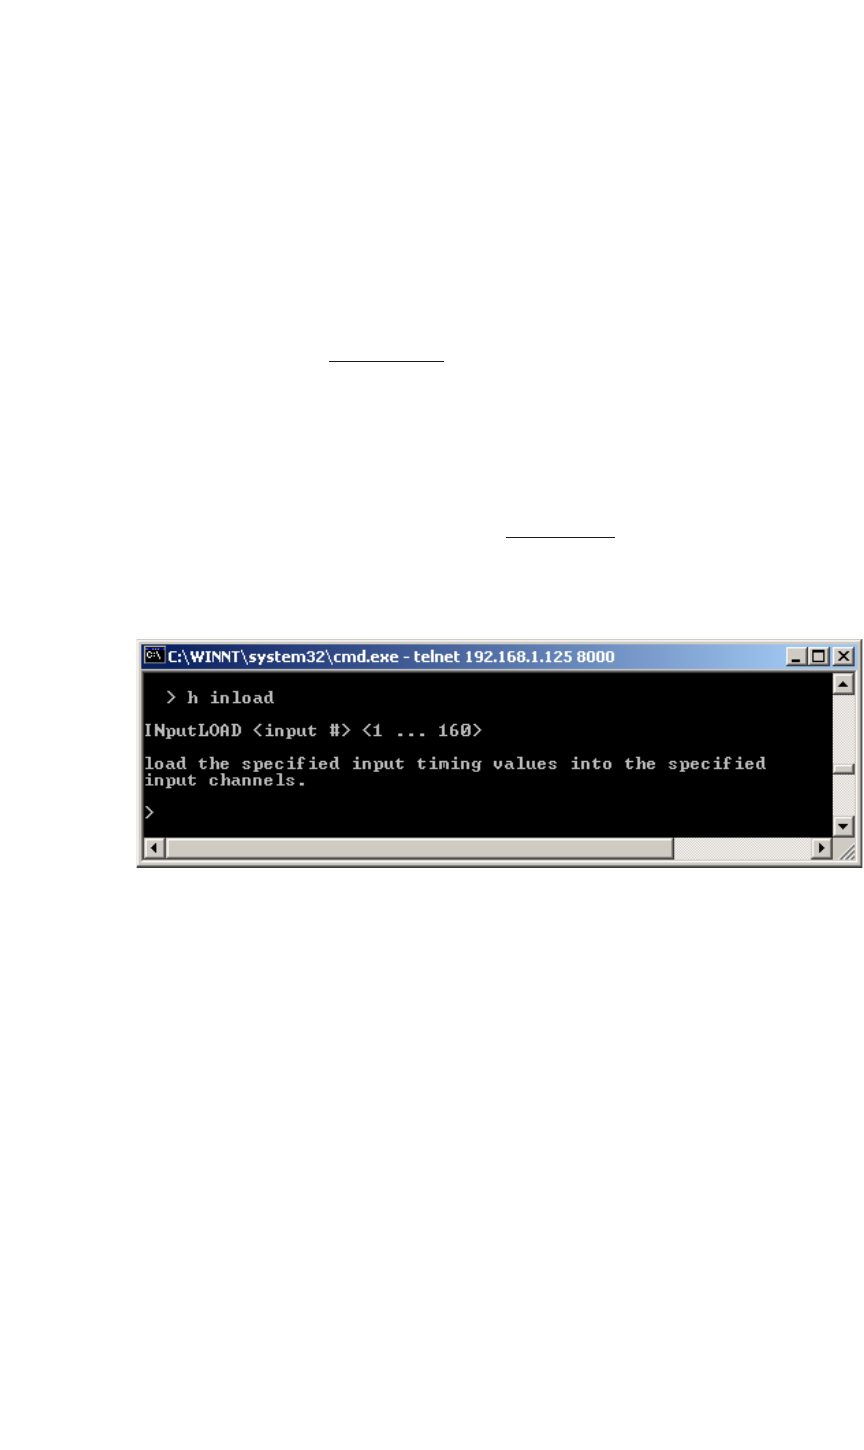
2. Request help text for the INputLOAD
command. Type:
H INLOAD Enter
This action displays the command’s parameters and variables.
Figure 3-8.
Help Text — Input Load Command
3. Show the timing list. Type:
TMLIST Enter
4. Review the Factory Timing List in detail, and note the timing
parameters that most closely match the specifications of your input.
5. Turn off Auto Sync for the selected input. Type:
INAS <input #> OFF Enter
6. Load the desired timing parameters for the selected input. Type:
INLOAD <input #> <register #> Enter
7. Verify that the parameters are loaded by querying the command and
the input. Type:
INTM <input #> Enter
8. Repeat from step 1 to load custom timings for additional inputs.
Please note: