
Quadra User's Guide
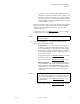

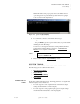
Table Of Contents
- Table of Contents
- Introduction
- Installation and Setup
- Operations
- In This Chapter
- Introduction to Operations
- Setting Output Format
- Testing Outputs
- Selecting an Input Source
- Enabling and Disabling Outputs
- Understanding Auto Sync
- Cropping an Image
- Zooming an Image
- Panning an Image
- Sizing the Output Image
- Using Position
- Adjusting Brightness and Contrast
- Adjusting Hue and Saturation
- Adjusting Sharpness
- Creating a Background
- Creating a 2x2 Monitor Wall
- Command Line Interface
- Image Concepts
- Communications Setup
- Connector Types
- Firmware Upgrades and Troubleshooting
- Technical Specifications
INSTALLATION AND SETUP
System Control Setup
350-7951 Quadra User’s Guide 17
. . . . .
~ Data bits: 8
~ Parity: None
~ Stop bits: 1
~ Flow control: XOn / XOff
Quadra can be configured to operate at baud rates from 9600 baud to
115 kbaud. In Chapter 4, refer to the “Serial Port Commands
”
section for details about changing baud rates.
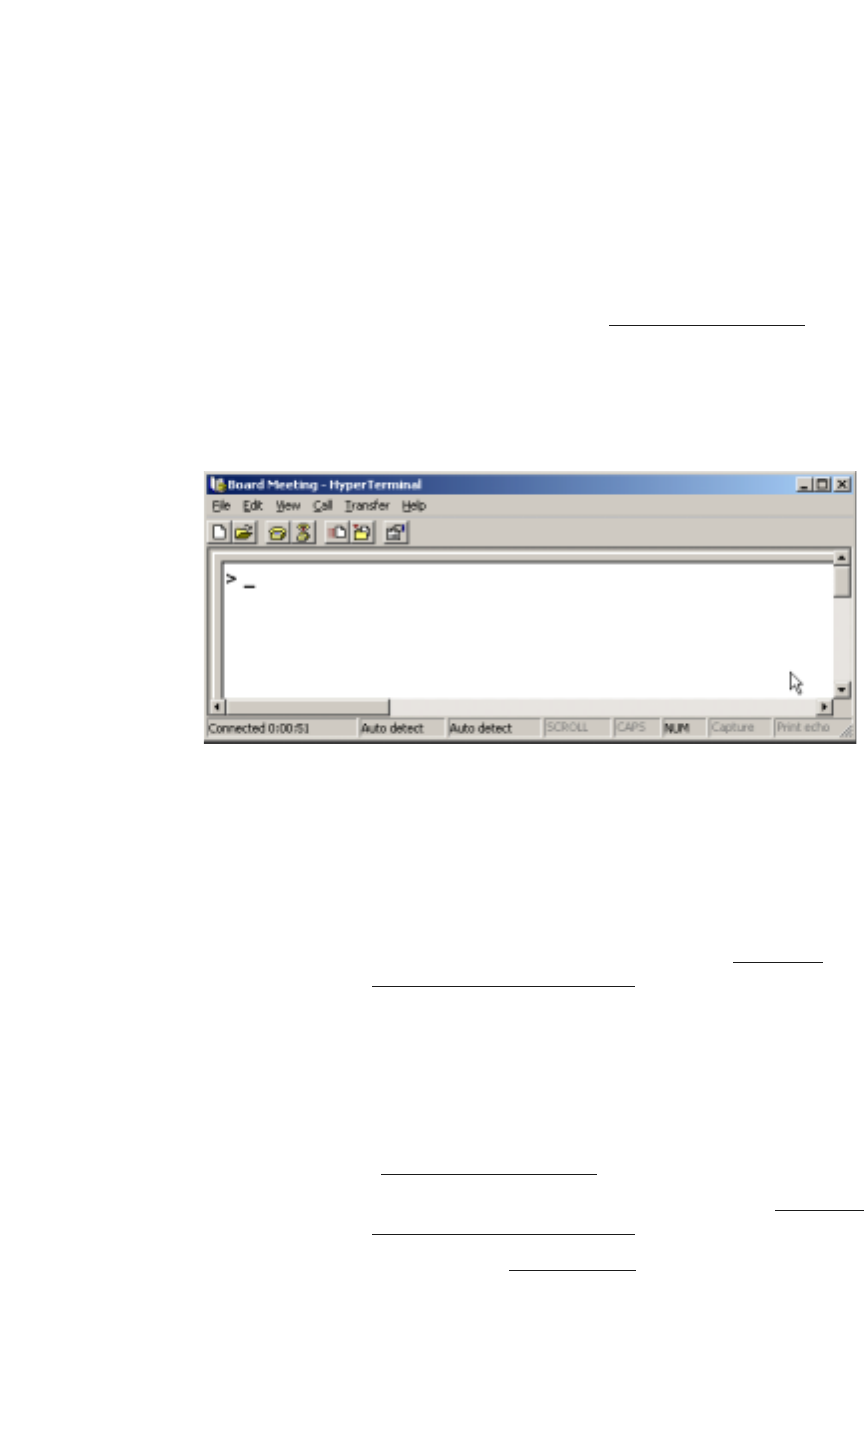
4. Click OK to display the Hyperterminal window.
5. Select the “phone” icon to connect the PC to the Quadra.
6. When the window is open, press ENTER.
Figure 2-4.
Hyperterminal Window (Sample)
Please note:
~ If a prompt is displayed in the window (as shown above),
your PC is successfully connected to Quadra.
~ If you do not see a prompt (or any characters), there is a
connection problem. Refer to Appendix D, “Firmware
Upgrades and Troubleshooting” for troubleshooting steps.
7. If a prompt is displayed, you can test out the system. Type:
HELP
… and press Enter.
~ If communications have been set up correctly, Quadra
responds with a list of commands. Refer to Chapter 4,
“Command Line Interface
” for details.
~ If Quadra does not respond, refer to Appendix D, “Firmware
Upgrades and Troubleshooting” for instructions.
8. Please continue with the “System Timing
” section.