
User guide


Revision 1.2D Page 14 of 17
www.resourcedm.com
ML Switch User Guide
Warning
Please Note
The specifications of the product detailed on this
Set-Up Guide may change without notice. RDM
Ltd. shall not be liable for errors or for incidental
or consequential damages, directly and indirectly,
in connection with the furnishing, performance or
misuse of this product or document.
Ensure that all power is
switched off before
installing or maintaining
this product
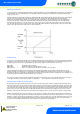
Setup Mode
Setup through front buttons
To enter the software menu for setup mode, hold the Enter and Down buttons together for approximately 3 seconds until the message
“Ent” appears on the display. Release both buttons and now press the Enter button again to enter the software menu. IO is the first item
to be displayed. Scroll up or down to go through the menu items which are highlighted below.
Setup Function Menu
Display
Option
Explained in
Paragraph
IO
View Input and Output States
IO
PArA
View or change Parameters
PArA
ID
View or change ID
ID
tyPE
View or change Controller Type
type
nEt
View or change the Network Settings
Net
SoFt
View the Software version
ESC
Escape the menu
Recommended set-up method
Firstly configure the ML Switch Type. The Type can be set from the display or by viewing the webpage’s directly via its IP address; The
Type cannot be set from the Data Manager. The next stage is to network the ML Switch. Once complete configure the desired
Parameters for the ML Switch.
Set/View Type
a. From the function menu scroll to select type and press enter
b. The current type is shown. Use the up/down buttons to scroll through the configuration types.
c. Select the desired number and press enter.
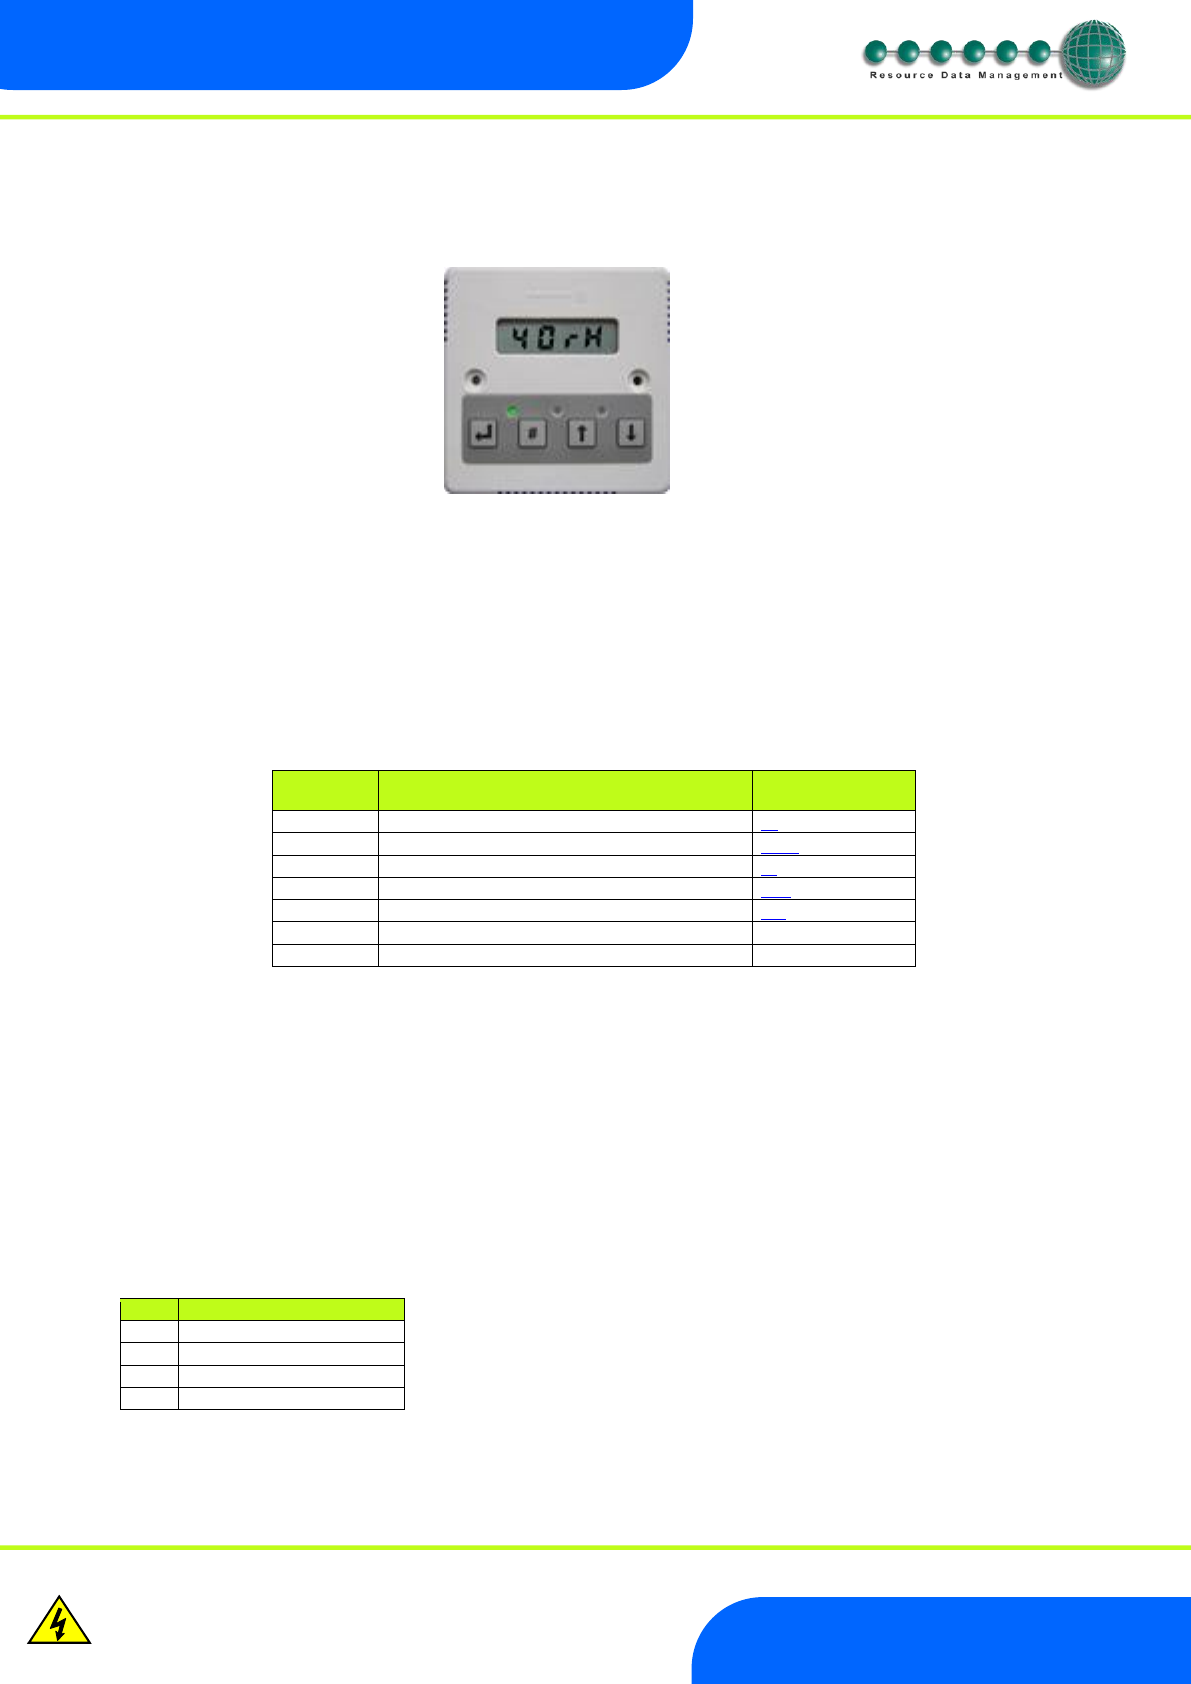
There are 4 types: -
Type
Description
1
Degree C/ Bar
2
Degree C/ PSI
3
Degree F/ Bar
4
Degree F/ PSI