
User manual


These operating instructions are published by Conrad Electronic SE, Klaus-Conrad-Str. 1, D-92240 Hirschau (www.conrad.com).
All rights including translation reserved. Reproduction by any method, e.g. photocopy, microlming, or the capture in electronic data
processing systems require the prior written approval by the editor. Reprinting, also in part, is prohibited.
These operating instructions represent the technical status at the time of printing. Changes in technology and equipment reserved.
© Copyright 2014 by Conrad Electronic SE.
V1_0414_02-TS
• Guide the mains cord through the opening on the backside of the product.
• Place the product on the threaded ends of the wall mount. Make sure not to squeeze
the cables of the mains cord.
• Attach the product to the wall mount using the cap nuts.
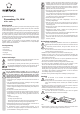
• Remove the cover from the terminal block.
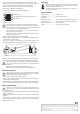
• Connect the mains cord with the terminal block (g. 2):
N
L
g. 2
Blue cable = N
Brown cable = L
Green/yellow cable = PE/ground wire, grounding symbol
The ground wire must be connected to the terminal block under all
circumstances.
If the product is serving as a replacement for an existing light and there
is no ground wire, do not install the product. First install the appropriate
supply leads.
Make sure that the cables are not bare for too long as this may cause
short-circuiting.
Make sure that all screw connections on both sides of the terminal block
are tight.
• Reattach the cover to the terminal block.
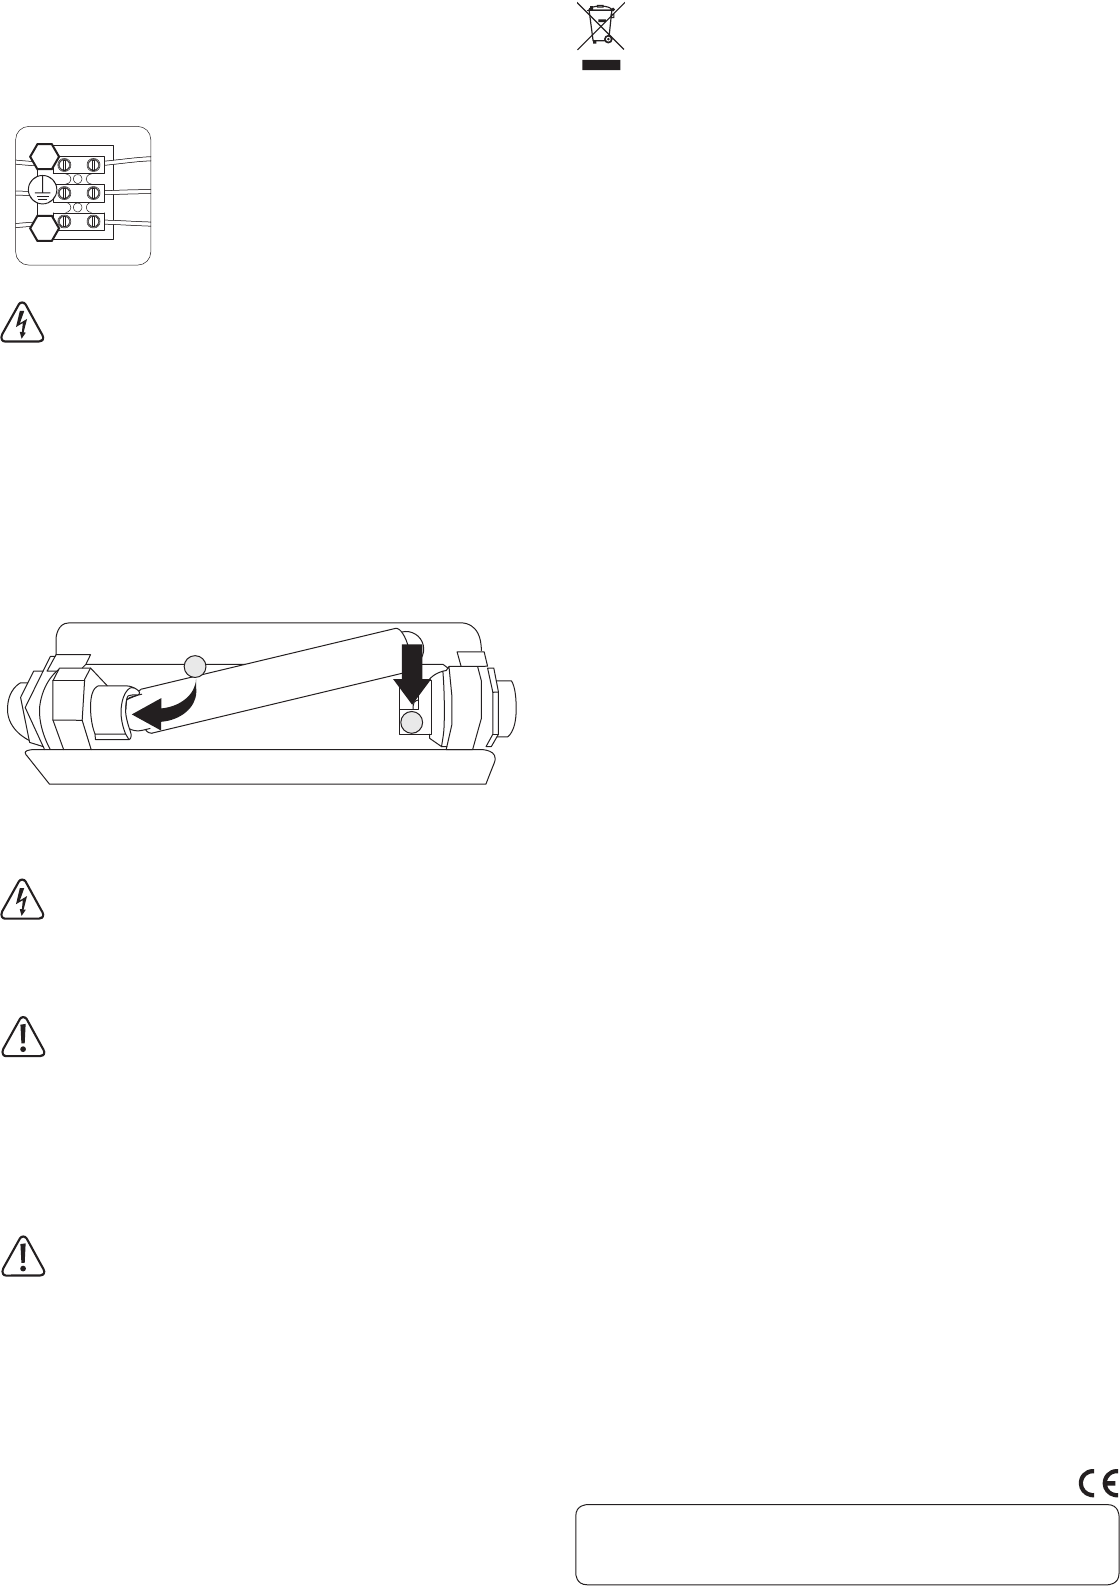
• Remove the glass cover above the lamp socket by pulling one of the two clamps
from the socket.
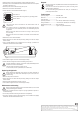
• Insert a suitable illuminant (not included) into the socket (g. 3). Observe the
information contained under Technical Data.
g. 3
1
2
• Then reattach the glass cover to the socket using the clamps.
• Connect the mains voltage and check the functioning of the product.
If the light bulb does not light up, cut the power supply immediately (remove
the fuse or turn o the circuit breaker).
Then check the connection to the power circuit.
In case of doubt, contact a professional (i.e. an electrician).
Replacing the light bulb
Before replacing the light bulb, let the product cool down suciently. If
the light bulb is not cooled down suciently and you touch it, there is a
risk of burning!
• Make sure the product is turned o.
• Remove the glass cover above the lamp socket by pulling one of the two clamps
from the socket.
• Remove the defective light bulb and insert a new one.
• Then reattach the glass cover to the socket using the clamps.
Maintenance and cleaning
Never use aggressive cleaning agents or chemical solutions, as such would
damage the housing (discolorations).
• The product is maintenance-free except for any light replacement required or
occasional cleaning.
• Turn o the product before cleaning and then let it cool completely.
• Use a clean, soft and dry cloth to clean the housing. For more stubborn dirt, slightly
moisten the cloth with a little lukewarm water.
Disposal
Electronic devices are recyclable waste and must not be disposed of in the
household waste.
At the end of its service life, dispose of the product according to the
relevant statutory regulations.
You thus full the legal requirements and make your contribution to
protecting the environment.
Technical data
Operating voltage................................230 V/AC, 50 Hz
Illuminant .............................................. R7s, J78mm, max. 100 W
Protection class ..................................I
Operating conditions ..........................0 to +40 °C, 40 - 90 % RH (non-condensing)
Storage conditions..............................-20 to +50 °C, 40 - 70 % RH (non-condensing)
Dimensions (W x H x D)......................365 x 170 x 70 mm
Weight ...................................................approx. 2.3 kg (without illuminant)