
User's Manual


- 7 -
Charging the XTR39 and Charging Cradle LED Indicator
Plug the included power supply into the charging cradle. Then plug the power supply into a power
receptacle. The Charging Cradle LED will blink an ‘orange’ color 3 times. This indicates the Charging
Cradle is ready for use.
Making sure the battery has been installed (see ‘Connecting the Battery Pack’), place the XTR39 on
the charging cradle. The XTR39 must be charged at least 10 hours straight without being used. Not
doing so may harm the life span of the battery.
When the XTR39 is placed on the Charging Cradle, the LED indicator will be either ‘red’ or ‘green’.
A ‘red’ LED indicates that the XTR39 battery is charging.
A ‘green’ LED indicates that the XTR39 battery is charged and ready for use.
Battery Indicator (Touch-screen)
The XTR39 also has a battery strength indicator. A completely filled in battery icon indicates a fully
charged battery.
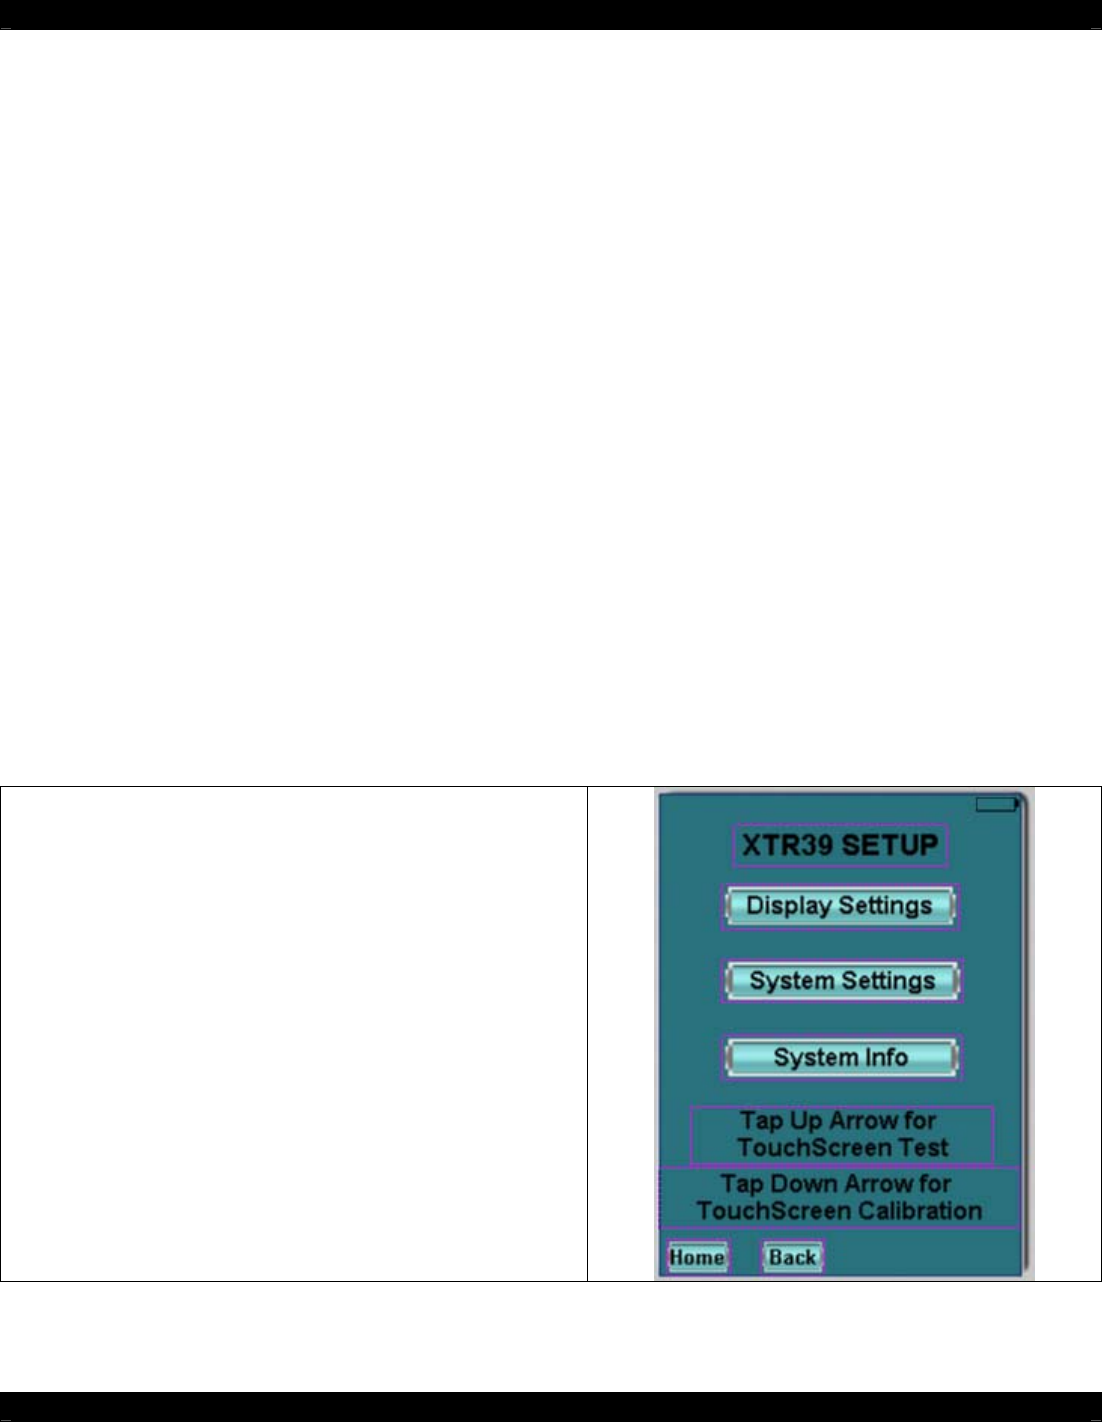
SYSTEM SETUP
Entering and Exiting the Setup Page
Specific settings can be adjusted on the XTR39
directly. To enter the Display Settings mode, press
and hold the “MUTE” button for 5 seconds. A new
“XTR39 SETUP” screen will appear.