
Manual
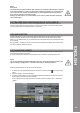
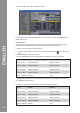
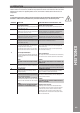
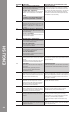
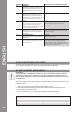
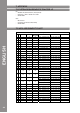
Table Of Contents
- DEUTSCH
- Inhaltsverzeichnis
- Sicherheitshinweise
- Bestimmungsmäßige Verwendung
- Wartung
- 1. Aufbau
- 1.1 Bedienelemente
- 1.2 Anschlüsse
- 2. Geräteinstallation
- 3. Computer-Konfiguration
- 3.1 Grundschritte
- 3.2 Traktor LE-Einrichtung
- 3.2.1 Installation
- 3.2.2 Konfiguration
- 3.3 Traktor Pro-Konfiguration [gegebenenfalls]
- 3.3.1 Audio Setup
- 3.3.2 Mapping-Import
- 4. Bedienung
- 5. Geräteeinstellungen und -tests
- 5.1 MIDI-Channel-Zuweisung
- 5.2 Jog Wheel-Kalibrierung
- 5.3 LED-Funktionstest
- 6. Updates & Support
- 7. Anhang
- 7.1 Systemanforderungen Traktor LE
- 7.2 MIDI-Zuweisungstabelle
- 7.3 Tipps zur Fehlerbehebung
- 7.4 Technische Daten
- ENGLISH
- Table of contents
- Safety Instructions
- Application In Accordance With Regulations
- Maintenance
- 1. Setup
- 1.1 Control Elements
- 1.2 Connections
- 2. Device Setup
- 3. Computer Configuration
- 3.1 Basic Steps
- 3.2 Traktor LE Setup
- 3.2.1 Installation
- 3.2.2 Configuration
- 3.3 Traktor Pro Configuration (if applicable)
- 3.3.1 Audio Setup
- 3.3.2 Mapping Import
- 4. Operation
- 5. Device Settings and Tests
- 5.1 MIDI Channel Assignment
- 5.2 Jog Wheel Calibration
- 5.3 LED Functionality Test
- 6. Updates & Support
- 7. Appendix
- 7.1 System Requirements Traktor LE
- 7.2 MIDI Assignment Chart
- 7.3 Troubleshooting
- 7.4 Technical Specification
- FRANCAIS
- Sommaire
- Consignes De Sécurité
- Utilisation Conforme
- Entretien
- 1. Installation
- 1.1 Éléments de commande
- 1.2 Connectique
- 2. Installation de l‘équipement
- 3. Configuration de l‘ordinateur
- 3.1 Étapes de base
- 3.2 Installation Traktor
- 3.2.1 Installation
- 3.2.2 Configuration
- 3.3 Configuration Traktor Pro [le cas échéant]
- 3.3.1 Audio Setup
- 3.3.2 Importation De Mappage
- 4. Utilisation
- 5. Réglages et tests de l‘équipement
- 5.1 Affectation des canaux MIDI
- 5.2 Calibrage de la Jog Wheel
- 5.3 Test de fonctionnement des DEL
- 6. Mises à jours & assistance
- 7. Annexe
- 7.1 Matériel requis Traktor LE
- 7.2 Table d‘affectation MIDI
- 7.3 Conseils de dépannage
- 7.4 Caractéristiques
There are a few settings and tests which can be carried out directly with Contour without the need
for a computer. In the following a few points will be explained more thoroughly.
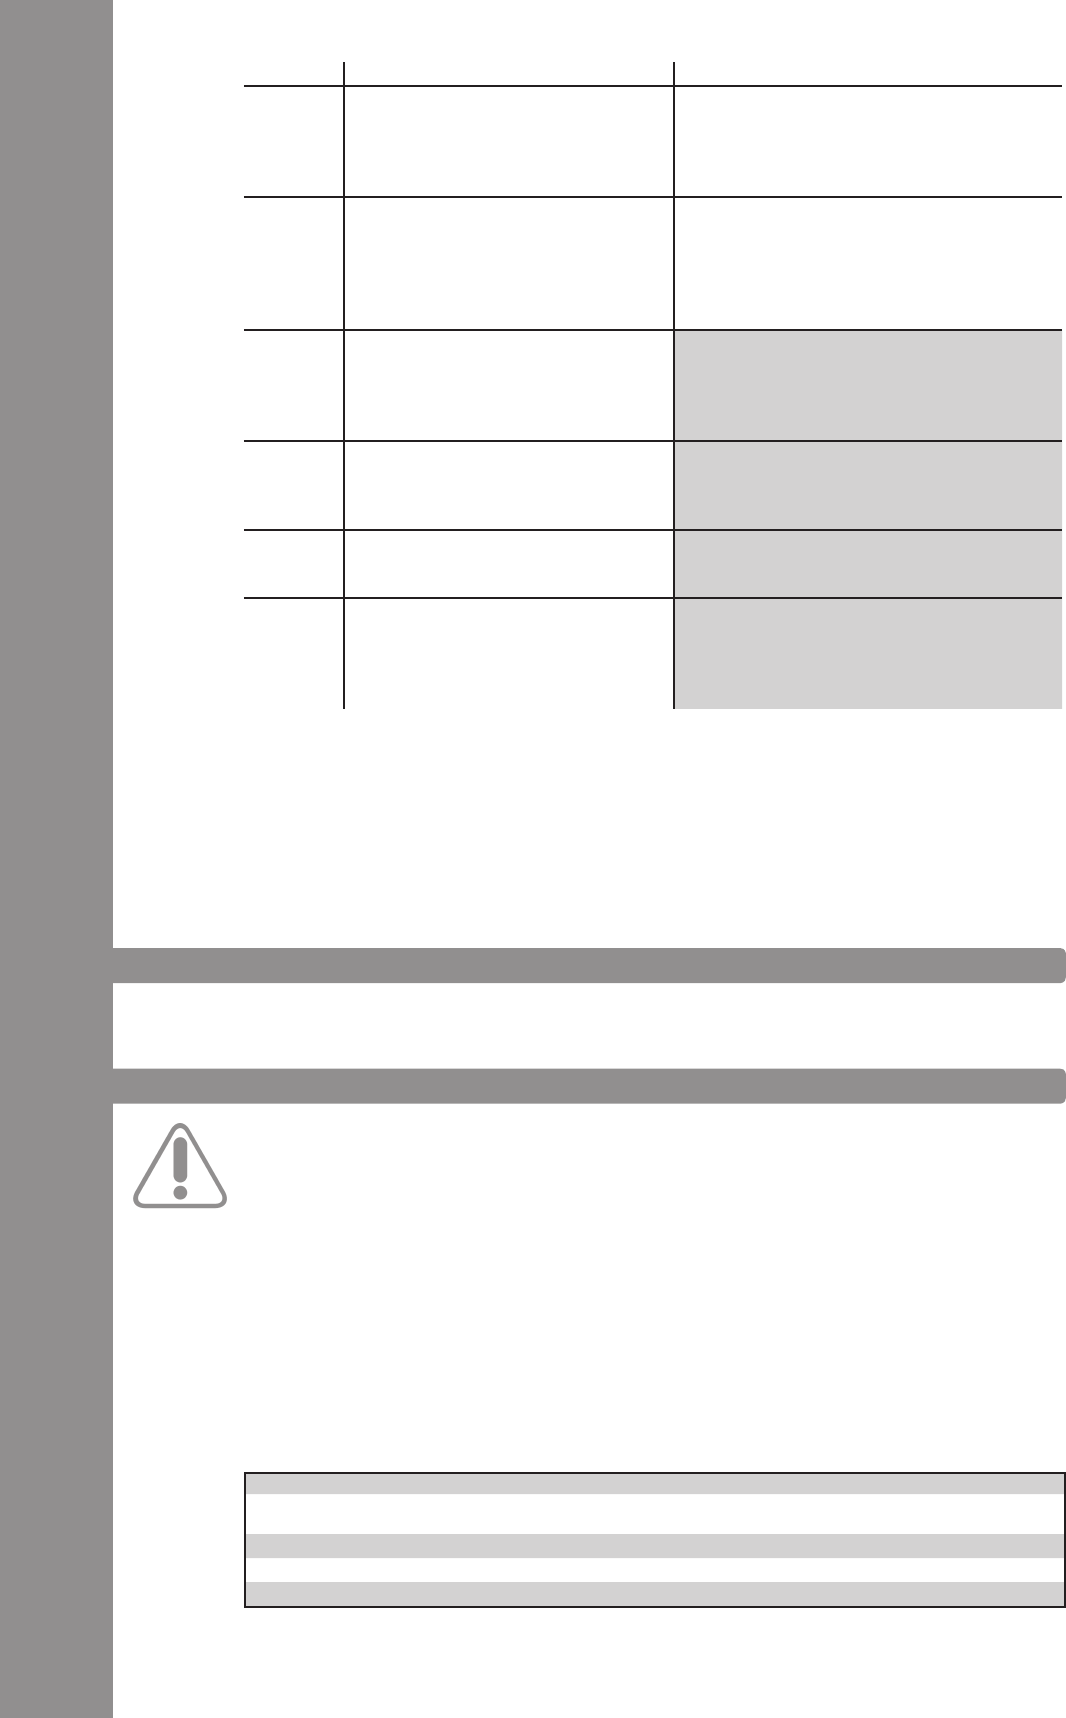
Should you, however, wish to assign the decks to the MIDI channel combination 5-8, 9-12, or 13-16
proceed as follows.
1. Make sure that Contour is turned off (see ON/OFF Button -B34-).
2. Press and hold the Shift Button -T29- and turn on Contour via the ON/OFF Button -B34-.
3. Now release the Shift Button -T29-.
4. via the FX Buttons -T1 – T4- you can select the desired channel combination.
1 - 4 1
5 - 8 2
9 - 12 3
13 - 16 4
T28
Herewith it is possible to control vari-
ous functions. Please observe the Jog
Wheel Mode Buttons -T27- regarding
this.
T29
By pressing this button all control
elements on the device will receive a
further function. The assignment can
be found in the right column of this
chart.
T30
As long as this button is pressed the
deck will return to the last set cue
point and then stop. When the button is
released, playback will start.
Causes the return to the ActCue point.
T31
Herewith the cue point will be called
up and played as long as the button is
being held.
The deck jumps from the current position to
the next cue point.
T32
Starts and pauses the track‘s playback
respectively.
(De)activates Keylock.
T33
The current deck‘s speed is synced to
the master deck.
Determines the track‘s BPM, depending
on how fast the button is repeatedly being
pressed. Ideally it will be pressed to every beat
in case the grid should not t.