
Operation Manual

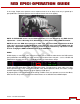
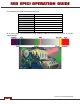


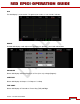
Table Of Contents
- RED EPIC® OPERATION GUIDE
- TABLE OF CONTENTS
- DISCLAIMER
- COMPLIANCE
- BEFORE YOU START
- THEORY OF OPERATION
- CAMERA OPERATIONAL CONTROLS
- BASIC OPERATION
- FIRST TIME USE – SETTING UP YOUR RED EPIC
- MENU CONTROLS
- MAIN MENU
- SECONDARY MENUS
- APPENDIX A: UPGRADING CAMERA FIRMWARE
- APPENDIX B: MANAGING DIGITAL MEDIA
- APPENDIX C: CHARGING BATTERIES
- APPENDIX D: INPUT / OUTPUT CONNECTORS
- APPENDIX E: REDMOTE OPERATION
- APPENDIX F: 3D SETUP / OPERATION
- APPENDIX G: EXPOSURE – USING FALSE COLOR AND ISO
- APPENDIX H: POST PRODUCTION
- APPENDIX I: TROUBLESHOOTING
- APPENDIX J: MAINTENANCE
- APPENDIX K: TECHNICAL DATA
- APPENDIX L: MENU MAPS
Version 1.4.0 SVN 29352 BETA
©2011 RED.COM INC. APRIL 19, 2011
72 72
DISPLAY
The Display menu permits the operator to adjust the GUI elements displayed on the Viewfinder output(s)
Available options are FALSE COLOR, ZERA, OVERLAY, MODES, FRAME GUIDE, AREA GUIDES, and
MONITOR.
FALSE COLOR
When selected, forces the Viewfinder output(s) to display one of three false color modes - EXPOSURE,
VIDEO, FOCUS - plus RAW and MAGNIFY view modes. Default is OFF.
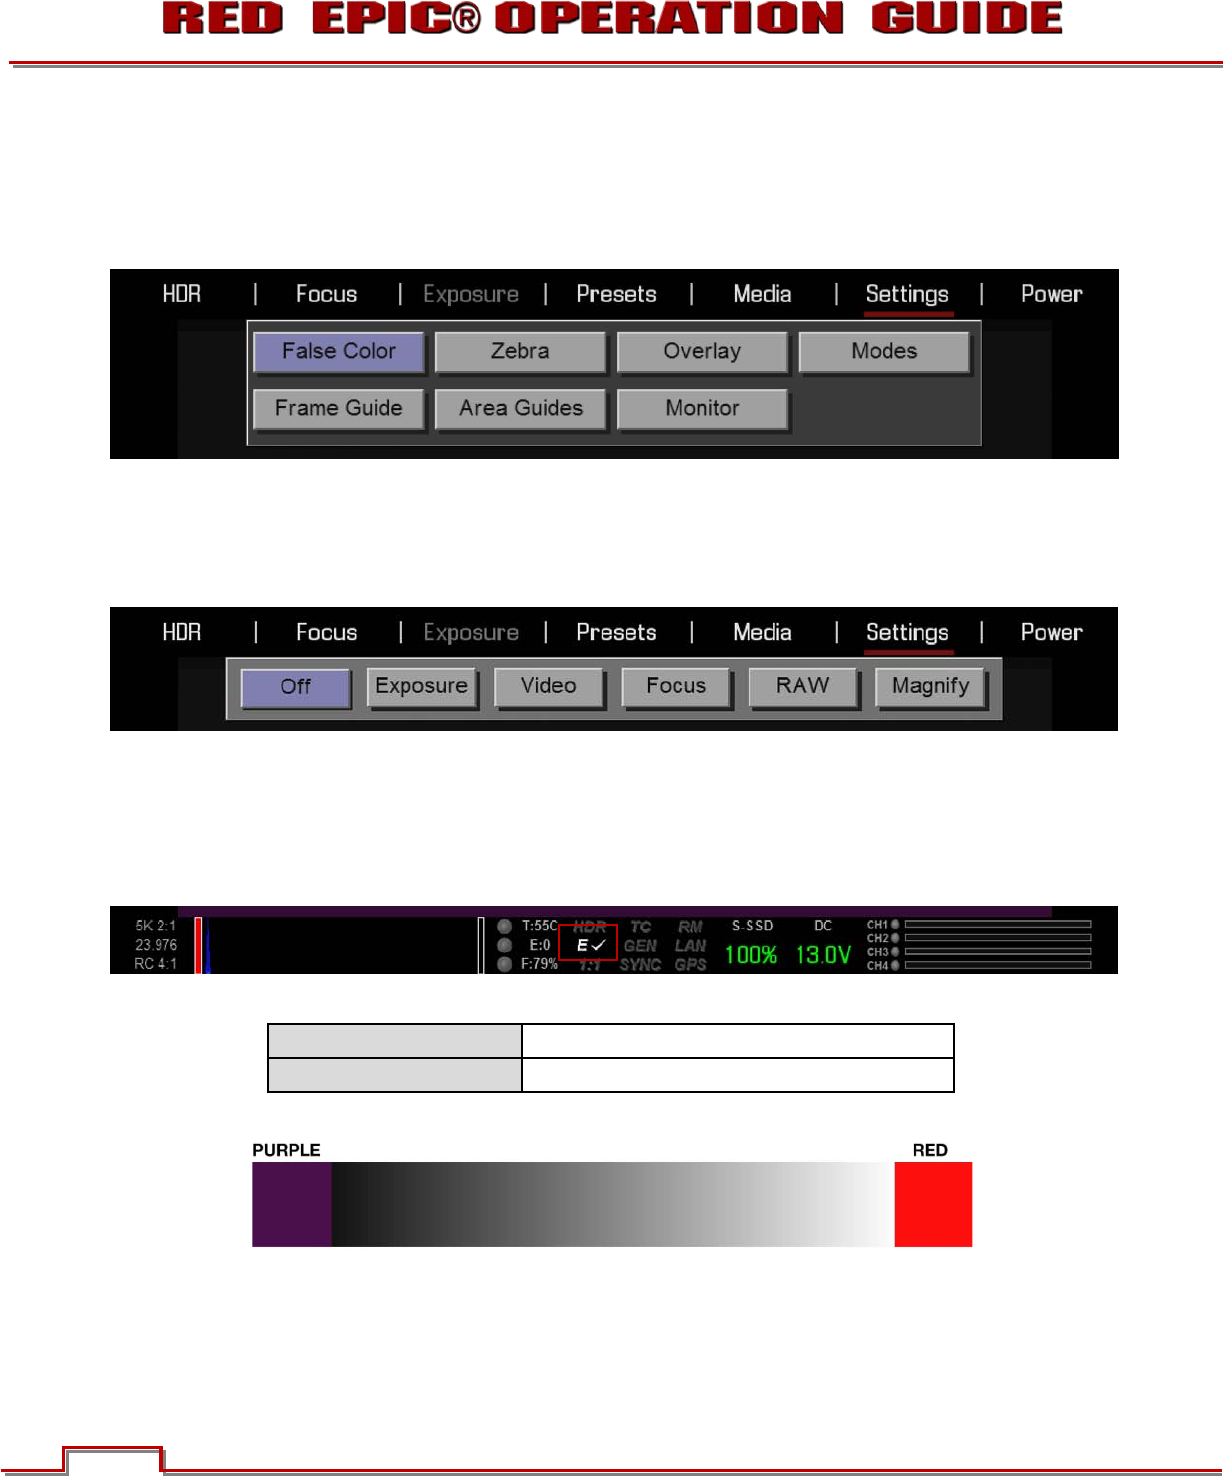
EXPOSURE
EXPOSURE displays a 2-color overlay that allows you to check minimum and maximum exposure levels
of the RAW sensor data, and hence prevent underexposed or overexposed images. When selected, the
icon “E√” will be displayed in the Lower Status Group.
The EXPOSURE meter’s color bands provide the following information:
PURPLE Minimum Exposure
RED Maximum Exposure
Between minimum and maximum exposure values, the image is displayed as a monochrome image.