
Operation Manual
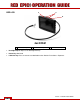


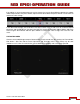

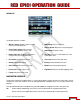
Table Of Contents
- RED EPIC® OPERATION GUIDE
- TABLE OF CONTENTS
- DISCLAIMER
- COMPLIANCE
- BEFORE YOU START
- THEORY OF OPERATION
- CAMERA OPERATIONAL CONTROLS
- BASIC OPERATION
- FIRST TIME USE – SETTING UP YOUR RED EPIC
- MENU CONTROLS
- MAIN MENU
- SECONDARY MENUS
- APPENDIX A: UPGRADING CAMERA FIRMWARE
- APPENDIX B: MANAGING DIGITAL MEDIA
- APPENDIX C: CHARGING BATTERIES
- APPENDIX D: INPUT / OUTPUT CONNECTORS
- APPENDIX E: REDMOTE OPERATION
- APPENDIX F: 3D SETUP / OPERATION
- APPENDIX G: EXPOSURE – USING FALSE COLOR AND ISO
- APPENDIX H: POST PRODUCTION
- APPENDIX I: TROUBLESHOOTING
- APPENDIX J: MAINTENANCE
- APPENDIX K: TECHNICAL DATA
- APPENDIX L: MENU MAPS
Version 1.4.0 SVN 29352 BETA
APRIL 19, 2011 ©2011 RED.COM INC.
37
If the red bar is not on the parameter you wish to change, first use the Scroll Wheel to position the red bar
under that parameter, then press ENTER, adjust with the Scroll Wheel and press ENTER a second time to
confirm the value change.
In the above GUI example, the Scroll Wheel has been used to move the red cursor to the Shutter Speed
parameter; and the ENTER key has been pressed. This reveals the Parameter Adjust Widow. Adjust the
value using the Scroll Wheel and then press ENTER to confirm the value change, then close the sub-
menu.
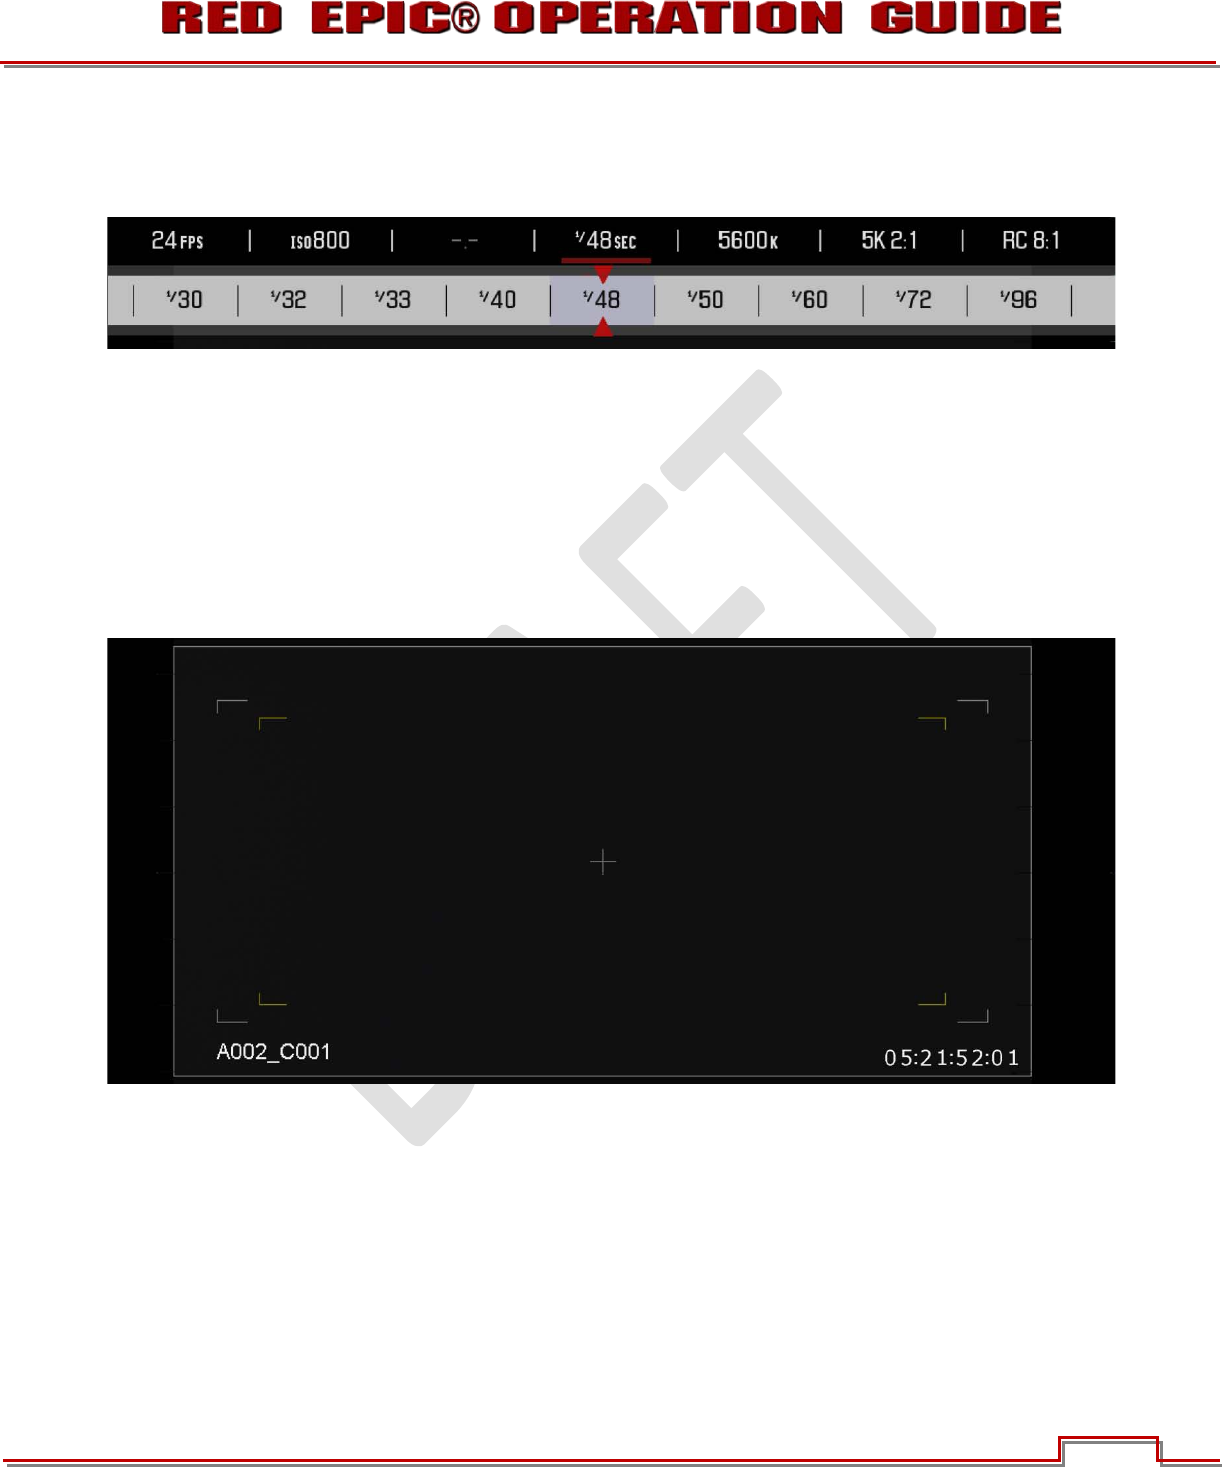
LIVE ACTION AREA
Contains the recorded image area plus Surround View™ look around area, plus overlays for Frame Guide,
Safe Action / Safe Title and the current Clip Name and Timecode values. Each overlay may be color
coded in one of 5 colors to maximize the contrast between the guide(s) and scene being captured.