
Operation Manual
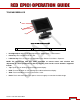


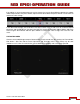

Table Of Contents
- RED EPIC® OPERATION GUIDE
- TABLE OF CONTENTS
- DISCLAIMER
- COMPLIANCE
- BEFORE YOU START
- THEORY OF OPERATION
- CAMERA OPERATIONAL CONTROLS
- BASIC OPERATION
- FIRST TIME USE – SETTING UP YOUR RED EPIC
- MENU CONTROLS
- MAIN MENU
- SECONDARY MENUS
- APPENDIX A: UPGRADING CAMERA FIRMWARE
- APPENDIX B: MANAGING DIGITAL MEDIA
- APPENDIX C: CHARGING BATTERIES
- APPENDIX D: INPUT / OUTPUT CONNECTORS
- APPENDIX E: REDMOTE OPERATION
- APPENDIX F: 3D SETUP / OPERATION
- APPENDIX G: EXPOSURE – USING FALSE COLOR AND ISO
- APPENDIX H: POST PRODUCTION
- APPENDIX I: TROUBLESHOOTING
- APPENDIX J: MAINTENANCE
- APPENDIX K: TECHNICAL DATA
- APPENDIX L: MENU MAPS
Version 1.4.0 SVN 29352 BETA
APRIL 19, 2011 ©2011 RED.COM INC.
33
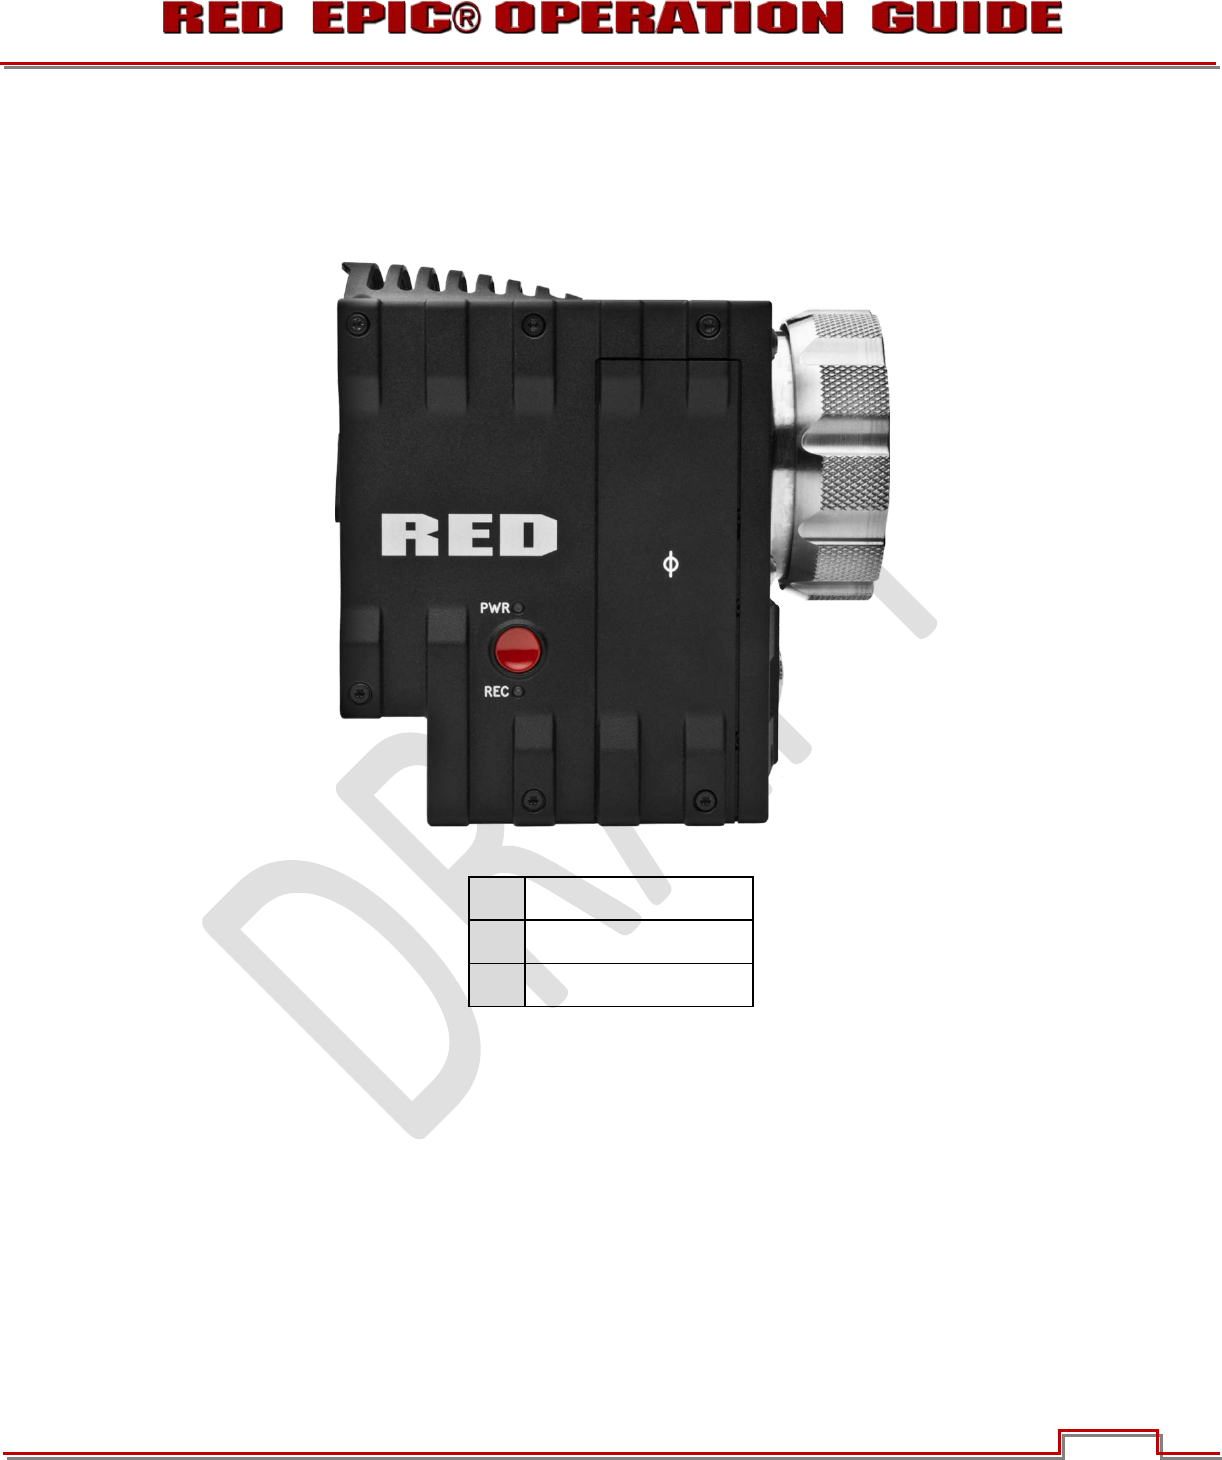
POWER UP
Locate the camera’s Power / Record button on the right face of the Brain.
NOTE: This button also serves as a Record Start / Stop button once the camera is powered up.
A
Power Status LED
B
Power / Record Button
C
Media Status LED
Figure 16: Power / Record Button / Status LEDs
When an appropriate power source is connected to the Brain, the Power Status LED will illuminate Red. If
it is illuminated, depress and then release the Power / Record button. The Power Status LED will initially
go out and within 5 seconds illuminate Orange to confirm the camera is powering up, then it will illuminate
Green, confirming the camera is powered up and ready to use.
If a formatted REDMAG 1.8” SSD is attached to the Brain, once powered up the Media Status LED will
illuminate Green. If this LED is not illuminated, verify a formatted REDMAG 1.8” SSD is inserted into the
Side SSD Module and / or format the SSD if it has not previously been formatted on the camera.
NOTE: Once powered up, if the Power Status LED illuminates Red, it indicates low remaining
battery capacity and a battery exchange or switch over to external DC power is recommended.
A
B
A
C