
Operation Manual
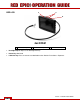
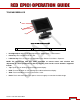


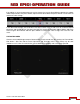

Table Of Contents
- RED EPIC® OPERATION GUIDE
- TABLE OF CONTENTS
- DISCLAIMER
- COMPLIANCE
- BEFORE YOU START
- THEORY OF OPERATION
- CAMERA OPERATIONAL CONTROLS
- BASIC OPERATION
- FIRST TIME USE – SETTING UP YOUR RED EPIC
- MENU CONTROLS
- MAIN MENU
- SECONDARY MENUS
- APPENDIX A: UPGRADING CAMERA FIRMWARE
- APPENDIX B: MANAGING DIGITAL MEDIA
- APPENDIX C: CHARGING BATTERIES
- APPENDIX D: INPUT / OUTPUT CONNECTORS
- APPENDIX E: REDMOTE OPERATION
- APPENDIX F: 3D SETUP / OPERATION
- APPENDIX G: EXPOSURE – USING FALSE COLOR AND ISO
- APPENDIX H: POST PRODUCTION
- APPENDIX I: TROUBLESHOOTING
- APPENDIX J: MAINTENANCE
- APPENDIX K: TECHNICAL DATA
- APPENDIX L: MENU MAPS
Version 1.4.0 SVN 29352 BETA
APRIL 19, 2011 ©2011 RED.COM INC.
31
TOUCHSCREEN LCD
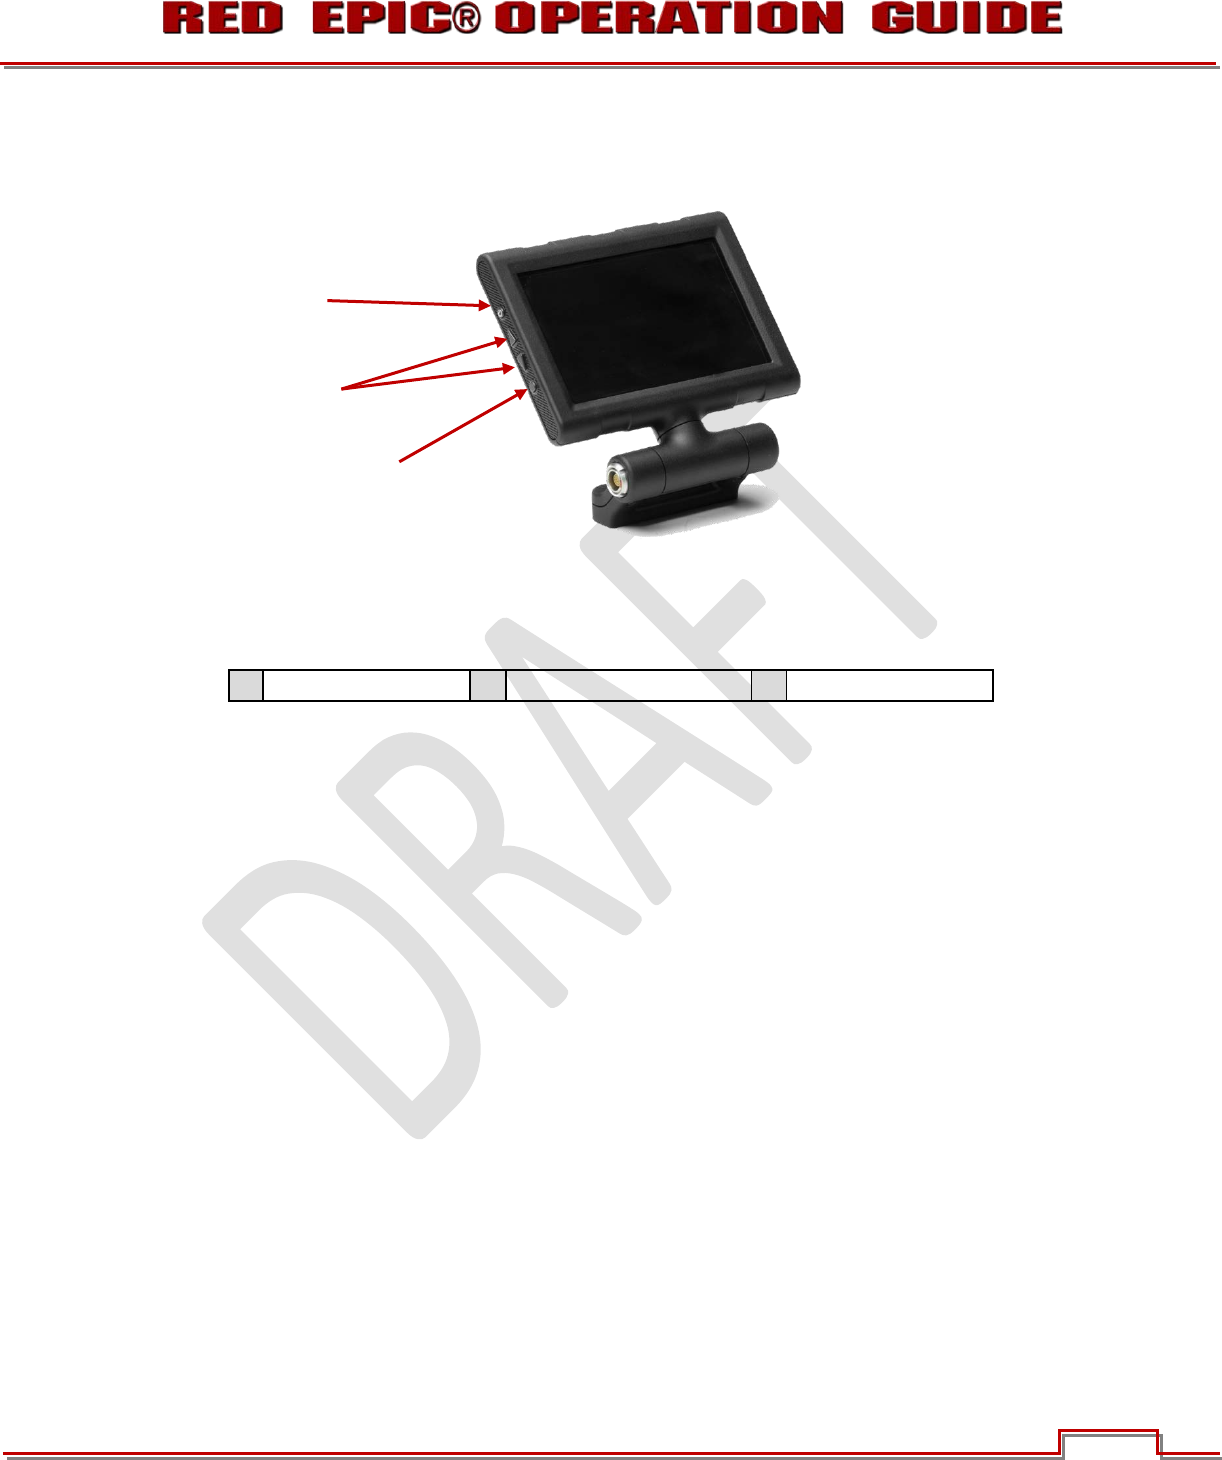
Figure 14: RED Touchscreen LCD
A
Backlight Adjust
B
Power On/Off
C
LCD User Key
x Backlight Adjust: Adjusts LCD backlight intensity. Upper button +, Lower button -
x Power Key: Press to power LCD On / Off.
x LCD User Key: Press to execute user defined function. Default: False Color > Exposure.
NOTE: The touchscreen LCD also allows navigation of camera menus and selection and
adjustment of camera parameters by directly touching icons on the screen. Gestures supported
include:
x Tap: Tap on an icon to bring up a quick adjustment display.
x Hold: Touch and hold on an icon to bring up an advanced interface display.
x Slide: Touch and slide on an icon to increment a value.
x Pinch: Touch with two fingers, then open or close to magnify or normalize the video image
B
A
C