
Operation Manual

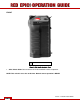
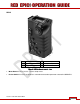
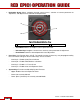
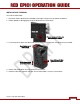

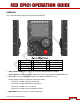
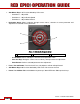
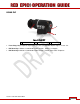
Table Of Contents
- RED EPIC® OPERATION GUIDE
- TABLE OF CONTENTS
- DISCLAIMER
- COMPLIANCE
- BEFORE YOU START
- THEORY OF OPERATION
- CAMERA OPERATIONAL CONTROLS
- BASIC OPERATION
- FIRST TIME USE – SETTING UP YOUR RED EPIC
- MENU CONTROLS
- MAIN MENU
- SECONDARY MENUS
- APPENDIX A: UPGRADING CAMERA FIRMWARE
- APPENDIX B: MANAGING DIGITAL MEDIA
- APPENDIX C: CHARGING BATTERIES
- APPENDIX D: INPUT / OUTPUT CONNECTORS
- APPENDIX E: REDMOTE OPERATION
- APPENDIX F: 3D SETUP / OPERATION
- APPENDIX G: EXPOSURE – USING FALSE COLOR AND ISO
- APPENDIX H: POST PRODUCTION
- APPENDIX I: TROUBLESHOOTING
- APPENDIX J: MAINTENANCE
- APPENDIX K: TECHNICAL DATA
- APPENDIX L: MENU MAPS
Version 1.4.0 SVN 29352 BETA
APRIL 19, 2011 ©2011 RED.COM INC.
25
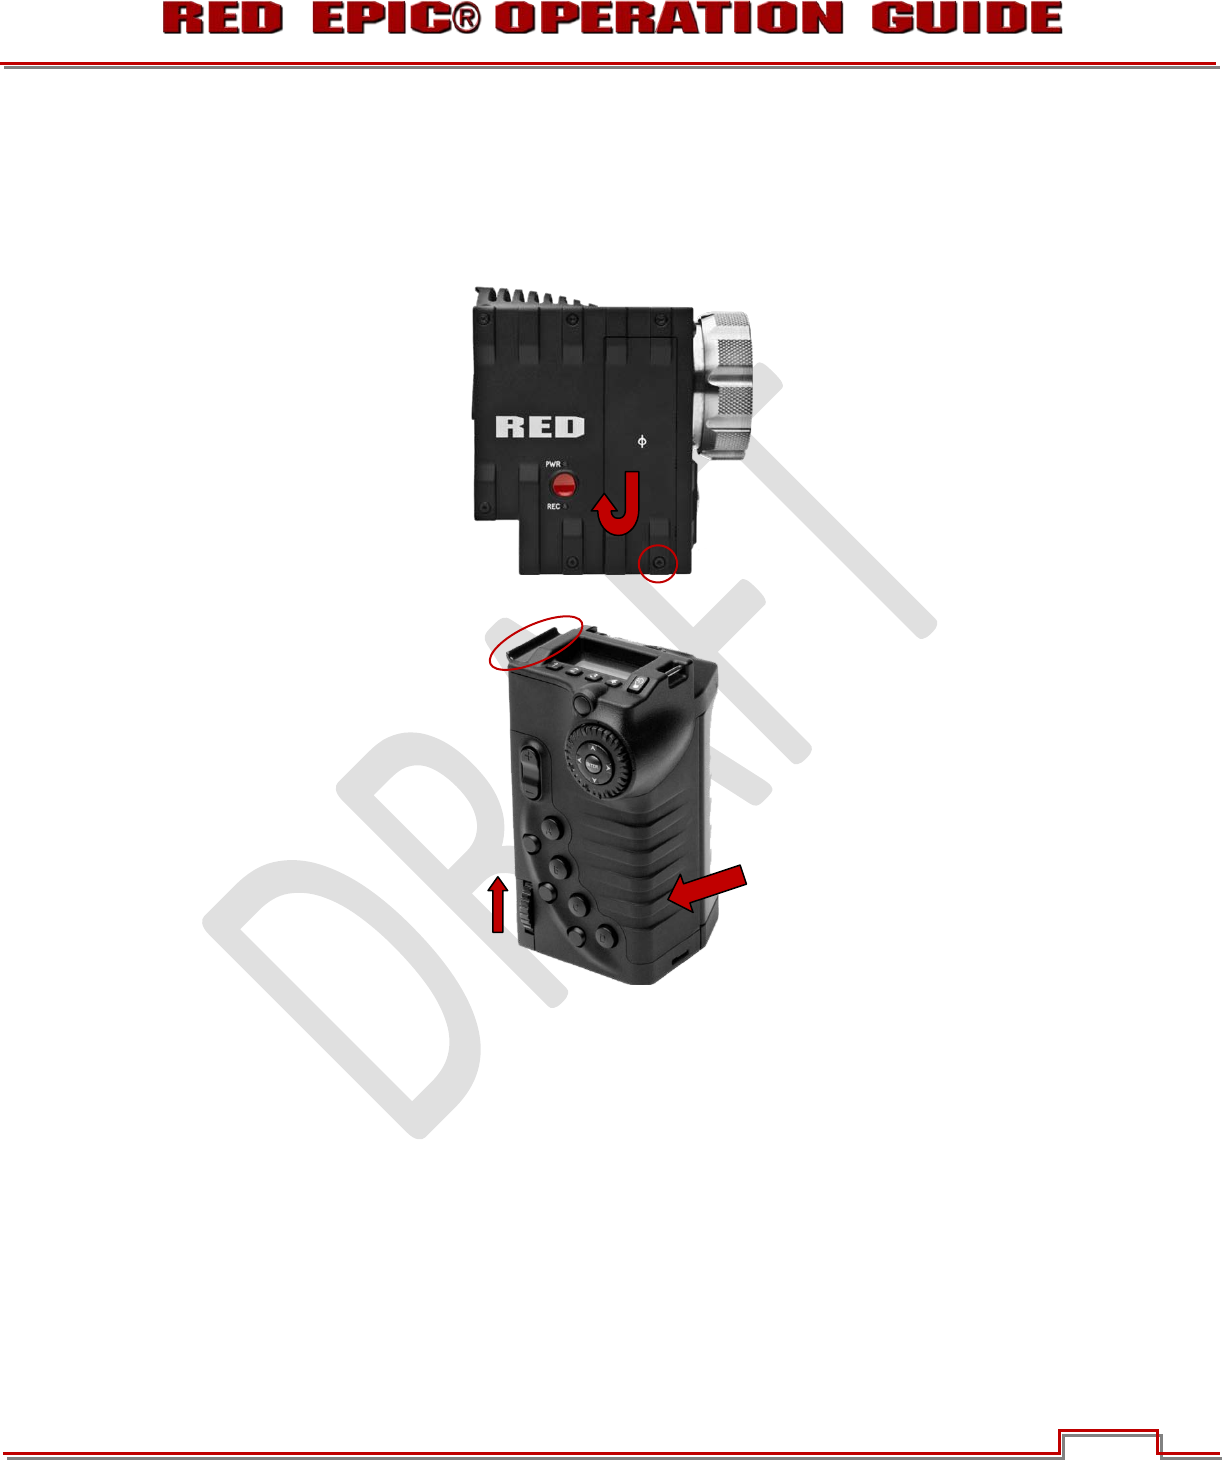
INSTALLATION / REMOVAL
To install the side handle:
1. Remove the brain side plate (if installed) by removing the single screw located at the bottom.
2. Rotate upwards to disengage lip at top of side plate from camera brain.
3. Insert the lip at the top of the side handle into the area where the lip from the side plate was installed.
4. Rotate side handle down flush along side of camera brain.
5. Rotate thumbscrew upwards until tight. Ensure side handle is secure to camera brain.
Remove screw and rotate side
plate upwards to remove.
Insert lip into top of
camera brain.
Press side handle flush
against camera brain.
Rotate thumbscrew
upwards until tight.