
Operation Manual
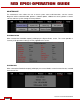
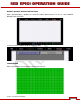
Table Of Contents
- RED EPIC® OPERATION GUIDE
- TABLE OF CONTENTS
- DISCLAIMER
- COMPLIANCE
- BEFORE YOU START
- THEORY OF OPERATION
- CAMERA OPERATIONAL CONTROLS
- BASIC OPERATION
- FIRST TIME USE – SETTING UP YOUR RED EPIC
- MENU CONTROLS
- MAIN MENU
- SECONDARY MENUS
- APPENDIX A: UPGRADING CAMERA FIRMWARE
- APPENDIX B: MANAGING DIGITAL MEDIA
- APPENDIX C: CHARGING BATTERIES
- APPENDIX D: INPUT / OUTPUT CONNECTORS
- APPENDIX E: REDMOTE OPERATION
- APPENDIX F: 3D SETUP / OPERATION
- APPENDIX G: EXPOSURE – USING FALSE COLOR AND ISO
- APPENDIX H: POST PRODUCTION
- APPENDIX I: TROUBLESHOOTING
- APPENDIX J: MAINTENANCE
- APPENDIX K: TECHNICAL DATA
- APPENDIX L: MENU MAPS
Version 1.4.0 SVN 29352 BETA
©2011 RED.COM INC. APRIL 19, 2011
106 106
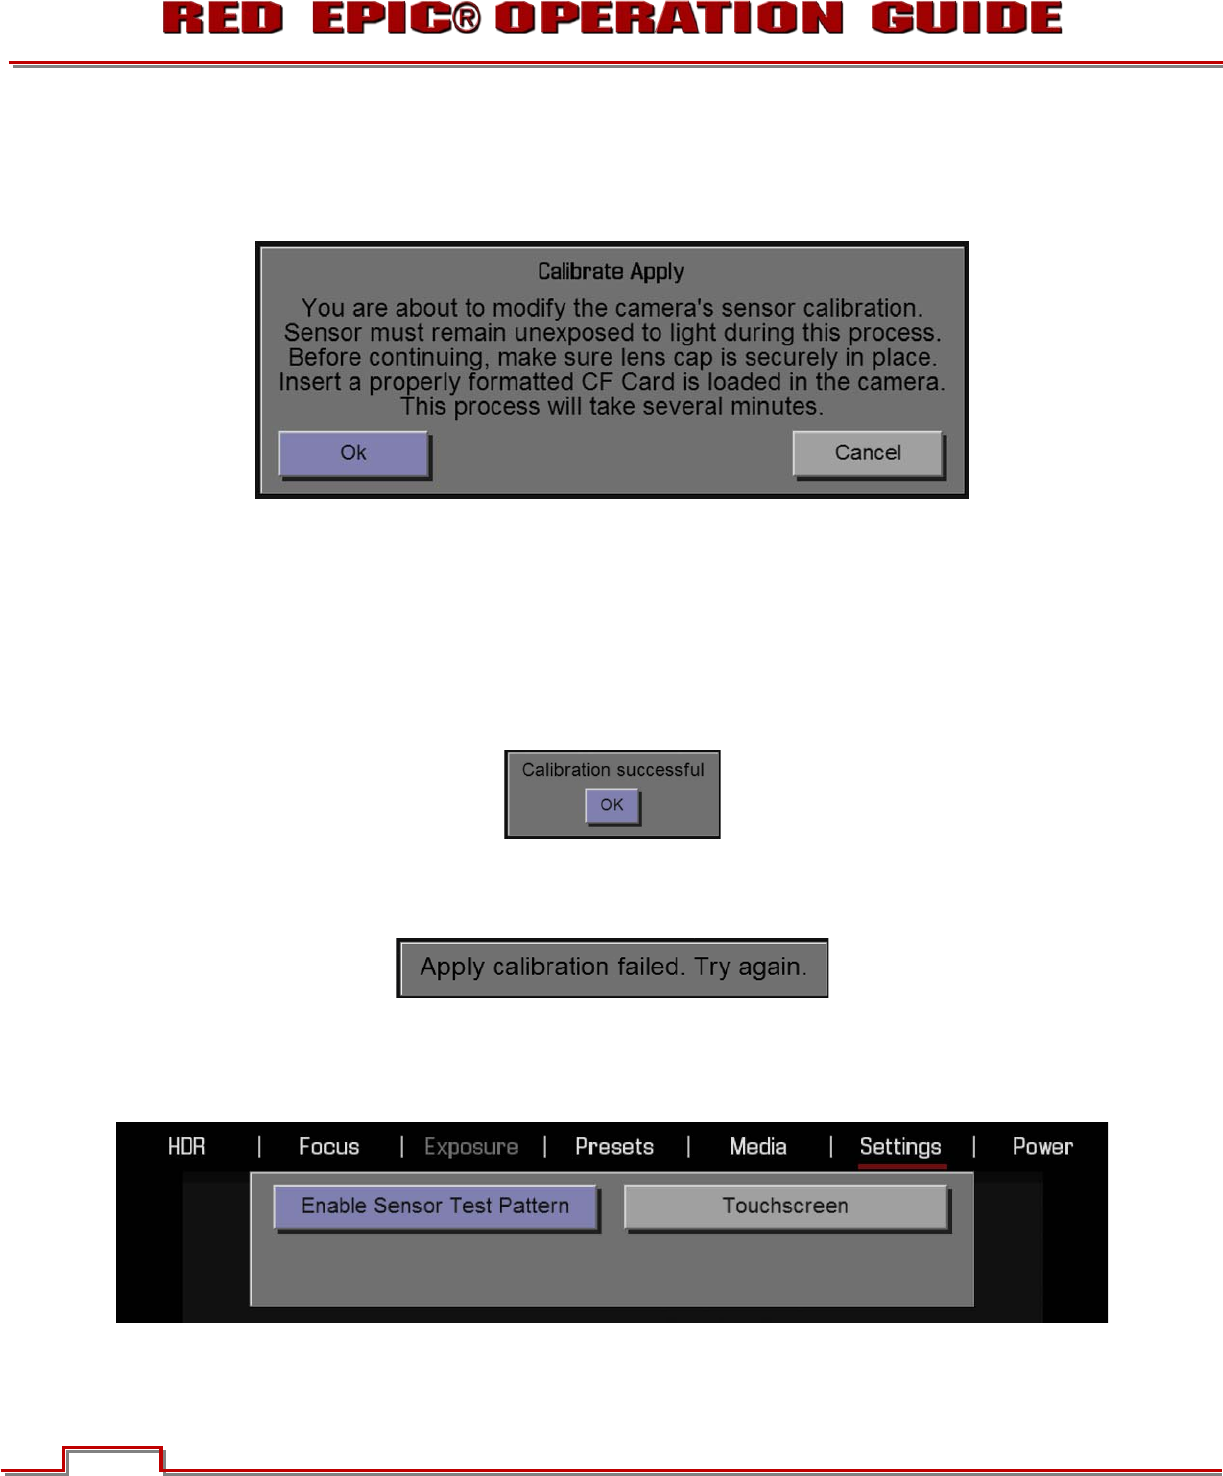
APPLY CAL
This will apply any of the performed calibrations. When selected, the Calibrate Apply screen will appear
asking you to confirm if you want to modify the camera’s sensor calibration.
Before performing the Calibrate Apply procedure, ensure the following is performed:
1. Ensure the lens cap is securely covering the sensor, preventing entry of any light source.
2. Ensure a properly formatted SSD is attached to the camera and properly formatted.
3. Select OK to perform the Calibrate Apply procedure. A status screen will appear showing progress in
percent.
4. When the Calibrate Apply procedure is complete, CALIBRATION COMPLETE will be displayed.
Select OK.
NOTE: If the Calibrate Apply procedure fails, APPLY CALIBRATION FAILED. TRY AGAIN will be
displayed. Perform the APPLY CALIBRATION procedure again.
SELF TEST
When selected allows you to perform a self-test for the sensor and LCD Touchscreen.