
Installation guide
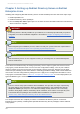


1. Get the Admin Server port number from the Listen parameter in the console.conf
configuration file.
grep \^Listen /etc/dirsrv/adm in-serv/console.conf
Listen 0.0.0.0:9830
2. Using the Admin Server port number, launch the Console.
/usr/bin/redhat-idm -console -a http://localhost:9830
NOTE
If you do not pass the Admin Server port number with the redhat-idm-console command,
then you are prompted for it at the Console login screen.
3.4. Typical Setup
The typical setup process is the most commonly-used setup process. It offers control over the ports for
the Directory and Admin Servers, the domain name, and directory suffix.
WARNING
If Directory Server is already installed on your machine, it is extremely important that you perform
a migration, not a fresh installation. Migration is described in Chapter 5, Migrating from Previous
Versions.
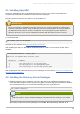
1. After the Directory Server packages are installed as described in Section 3.2, “Installing the
Directory Server Packages”, then launch the setup-ds-admin.pl script.
# /usr/sbin/setup-ds-admin.pl
This script allows parameters to be passed with it or to specify configuration files to use. The
options are described more in Section 1.3, “About the setup-ds-admin.pl Script”.
NOTE
Run the setup-ds-adm in.pl script as root.
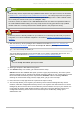
2. Select y to accept the Red Hat licensing terms.
3. T he dsktune utility runs. Select y to continue with the setup.
dsktune checks the available disk space, processor type, physical memory, and other system
data and settings such as T CP/IP ports and file descriptor settings. If your system does not meet
these basic Red Hat Directory Server requirements, dsktune returns a warning. dsktune
warnings do not block the setup process; simply enter y to go to the next step.
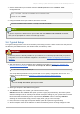
4. Next, choose the setup type. Accept the default, option 2, to perform a typical setup.
5. Set the computer name of the machine on which the Directory Server is being configured. This
Chapter 3. Setting up Red Hat Directory Server on Red Hat Enterprise Linux
33