
Installation guide

22
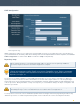
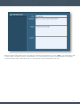
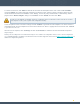
Click “Load Policy Template” and select “Full Safe Scan – Common Ports”. A page similar to the one below is
displayed:
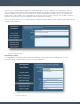
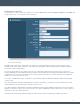
Modify any of the predefined “Basic” settings within this screen based on your scan target environment. For example, if
scanning a router that is sensitive to multiple connections, consider lowering the “Max Checks Per Host” and “Max TCP
Connections” to a level less likely to cause issues. Click “Next” for each screen, making changes as appropriate, until the
“Preferences” screen is displayed and then click “Submit” to save your test policy.
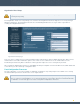
Note that Nessus uses smart scanning technology to launch only plugins determined to match the remote host.
This occurs even if all plugins are enabled within the policy.
Run a Test Scan
In this section we will create a sample scan of a single host to validate the settings configured in the previous steps. Many
other critical configuration items and important processes are covered further in the additional SecurityCenter
documentation.
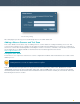
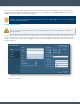
The first step to generating a scan is to log in as the correct user. The “admin” user that we used for the initial
configuration of SecurityCenter is used for application management and is not able to perform Nessus scans. Log in as
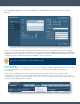
the “Organization Head” user created during the setup process or any other Organizational user with scan privileges. After
logging in, click “Scanning” and then “Scans”.