
Installation Guide


10
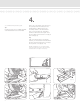
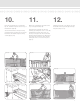
4.
Insert mounting brackets (H) in each end
of bottom beam (Fig. 11); ensure proper
alignment. Set the bottom beam in posi-
tion between the posts. (Fig. 12)
Secure the brackets to the post using
mounting screws (J) (Fig. 13). Secure the
brackets to the beam using mounting
screws (K).
Tip:
A wood plank can be placed between
your posts to establish the bottom rail
space.
(Fig. 7)
(Fig. 9)
(Fig. 8)
(Fig. 6)
(Fig. 10)
(Fig. 13)
(Fig. 12)
(Fig. 11)
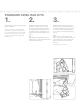
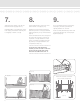
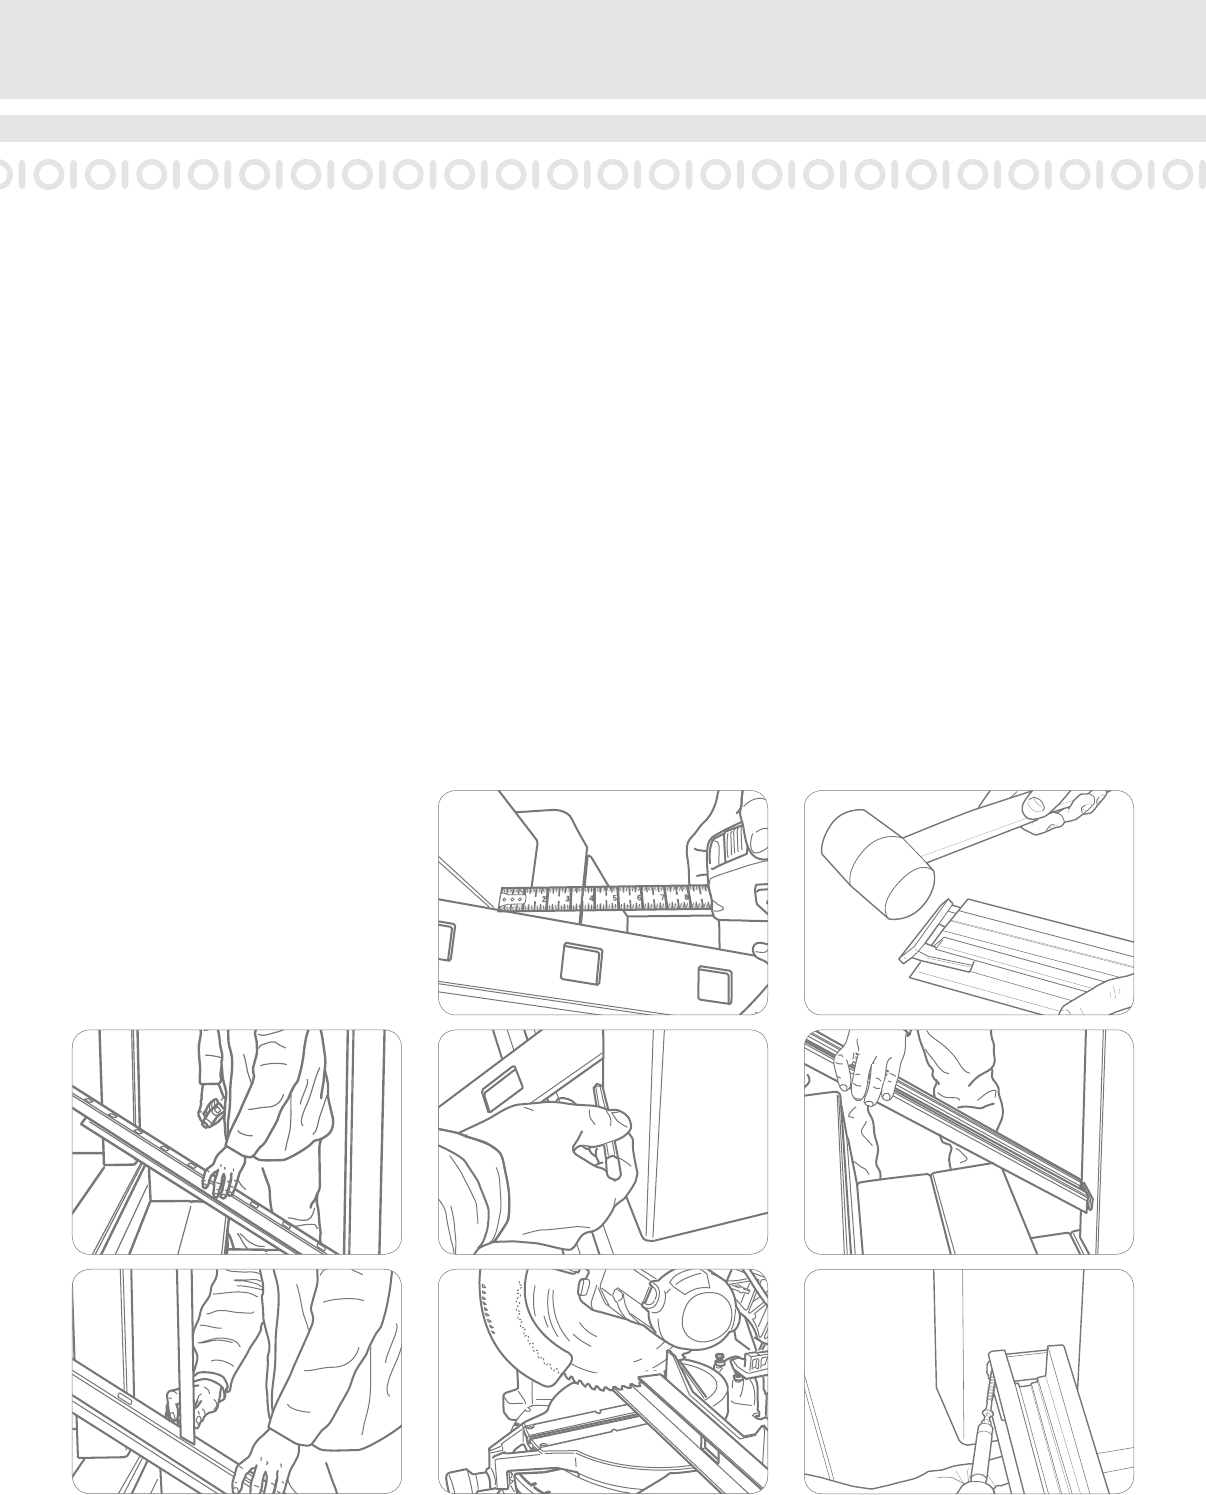
3.
Place a beam cover (E) on the temporary
plank (Fig. 6).
NOTE: Routed holes in the bottom beam
cover (E) are angled routs. Insure that the
bottom beam with bottom cover is facing
in the right direction to allow the balusters
to stand plumb, i.e. straight up (Fig. 7).
Slide the beam cover (E) on the plank
between the posts until the distance
from the edge of the post to the edge of
the baluster rout is the same at both the
top and the bottom (Fig. 8). Trace the
angle of the post onto the bottom beam
cover (E) at the top and bottom of the
stair (Fig. 9). Cut the beam cover (E) on
the angle traced (Fig. 10).
Tip:
If both posts are plumb you can speed
your installation by placing the top beam
cover (E) on top of the bottom cover
aligning the baluster holes. Now scribe
both covers at the same time and cut
both.