
User manual
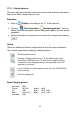
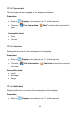
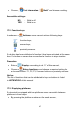
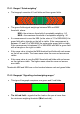
Table Of Contents
- 1. INTENDED USE
- 2. PRECAUTIONARY MEASURES
- 3. WARRANTY CONDITIONS
- 4. UNPACKING AND MOUNTING
- 5. CONSTRUCTION
- 6. GETTING STARTED
- 7. KEYPAD OVERLAY
- 8. FUNCTIONS OF KEYS
- 9. PROGRAM STRUCTURE
- 10. INDICATING WINDOW
- 11. LOGGING ON
- 12. NAVIGATING WITHIN THE MENU
- 13. WEIGHING
- 14. SCALE PARAMETERS
- 15. COMMUNICATION
- 16. DEVICES
- 17. DISPLAY
- 18. INPUTS / OUTPUTS
- 19. AUTHORIZATION
- 20. OTHER PARAMETERS
- 21. CUSTOMER CALIBRATION
- 22. SPECIAL FUNCTIONS OF WORKING MODES
- 23. WORK MODE - WEIGHING
- 24. WORKING MODES – COUNTING PIECES
- 25. WORKING MODES – DEVIATIONS
- 26. WORKING MODES – COMPARATOR
- 27. DATABASES
- 28. COMMUNICATION PROTOCOL
- 28.1. General information
- 28.2. Inventory of RS commands
- 28.3. Respond message format
- 28.4. Command’s description
- 28.4.1. Zeroing
- 28.4.2. Tarring
- 28.4.3. Get tare value
- 28.4.4. Set tare value
- 28.4.5. Send the stable result in basic unit
- 28.4.6. Send the result immediately in basic unit
- 28.4.7. Send the stable result in current unit
- 28.4.8. Send the result immediately in current unit
- 28.4.9. Switch on continuous transmission in basic unit
- 28.4.10. Switch off continuous transmission in basic unit
- 28.4.11. Switch on continuous transmission in current unit
- 28.4.12. Switch off continuous transmission in current unit
- 28.4.13. Set lower threshold
- 28.4.14. Set upper threshold
- 28.4.15. Read lower threshold
- 28.4.16. Read upper threshold
- 28.4.17. Send all implemented commands
- 28.5. Manual printouts / automatic printouts
- 29. CONNECTING EXTERNAL DEVICES
- 30. DIAGRAMS OF CONNECTION CABLES
- 31. TECHNICAL PARAMETERS
- 32. ERROR MESSAGES
- 33. ADDITIONAL EQUIPMENT
- 34. APPENDIX A – Variables for printouts
- 35. APPENDIX B – Functions of programmable buttons
- 36. APPENDIX C – Label pattern
- 37. APPENDIX D - CITIZEN printer setting
- 38. APPENDIX E - ZEBRA printer setting
- 39. APPENDIX F - Communication with barcode scanners
• By pressing a formerly defined button or proximity sensor
<
Change platform>.
• By activating in parameters all platforms that will be separately
placed in the main window of the program. In that case platforms
can be activated by pressing the area of this platform.
Notice:
The procedure of attributing functions to buttons and proximity sensors
is described in ch. 17.2 of this manual;
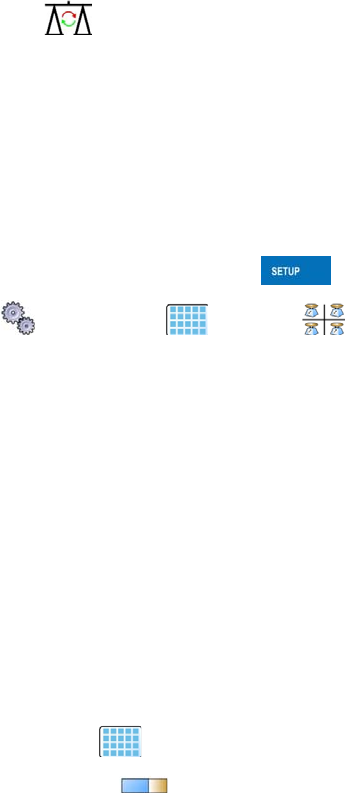
To activate all platforms press , choose:
„ Parameters / Display / Show all platforms”, and set
appropriately.
NO
- Displaying all platforms disabled
YES
- Displaying all platforms enabled
17.4. Bargraph type
A bargraph is a typical visualisation procedure. It helps in quick weighing.
It requires less concentration to read if a weighing is between minimum
and maximum thresholds.
To see the bargraph on the screen enable it in parameters.
Procedure:
• Enter < Display> according to ch. 17 of this manual,
• Choose <
Bargraph type> and set the required bargraph type.
Accessible bargraphs:
• Quick weighing,
• None (Bargraph is not displayed),
• Signalling checkweighing ranges.
48