
Installation guide
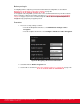


Table Of Contents
- Installation Guide for Scopia XT5000 Endpoint with Embedded Server for IP Office Version 3.2
- Table of Contents
- Chapter 1: About the Scopia XT Endpoint for IP Office
- Chapter 2: Installation Workflow for Scopia XT Endpoint for IP Office
- Chapter 3: Planning the Topology of the Scopia XT Endpoint for IP Office Deployment
- About the Scopia XT Endpoint for IP Office Embedded MCU
- Planning the Topology of Scopia XT Endpoint for IP Office with Scopia XT Desktop
- Planning NAT and Firewall Traversal with Scopia XT Endpoint for IP Office
- Supporting ISDN Connectivity
- Implementing External API Control
- Implementing Port Security for the Scopia XT Endpoint for IP Office
- Chapter 4: Prerequisites for Setting up the System
- Chapter 5: Setting up the Scopia XT Endpoint for IP Office
- Mounting the XT Codec Unit
- Connecting Scopia XT Endpoint for IP Office to Your Network
- Connecting a Computer to the Scopia XT Endpoint for IP Office
- Selecting the Computer Display Resolution
- Connecting Audio Equipment to the Scopia XT Endpoint for IP Office
- Connecting the Video Equipment to the Scopia XT Endpoint for IP Office
- Connecting the Primary XT Premium Camera
- Connecting the Optional USB Camera
- Connecting the Optional XT Premium Camera
- Connecting Cameras for Controlling the Optional XT Premium Camera with the XT Remote Control Unit
- Connecting the Optional Scopia XT Camera Switch
- Connecting a DVD or Blu-ray Player
- Connecting Analog Video Equipment
- Installing the Batteries of the XT Remote Control Unit
- Chapter 6: Initial Configuration
- How to Control the XT Endpoint
- Registering and Enabling your Scopia XT Endpoint for IP Office license
- Performing Basic Configuration
- Registering the XT Endpoint to IP Office
- Setting Basic System Information
- Configuring Video Connections
- Configuring Audio Connections
- Configuring Network Settings
- Chapter 7: Securing your Scopia XT Endpoint for IP Office
- Chapter 8: Troubleshooting the Scopia XT Endpoint for IP Office
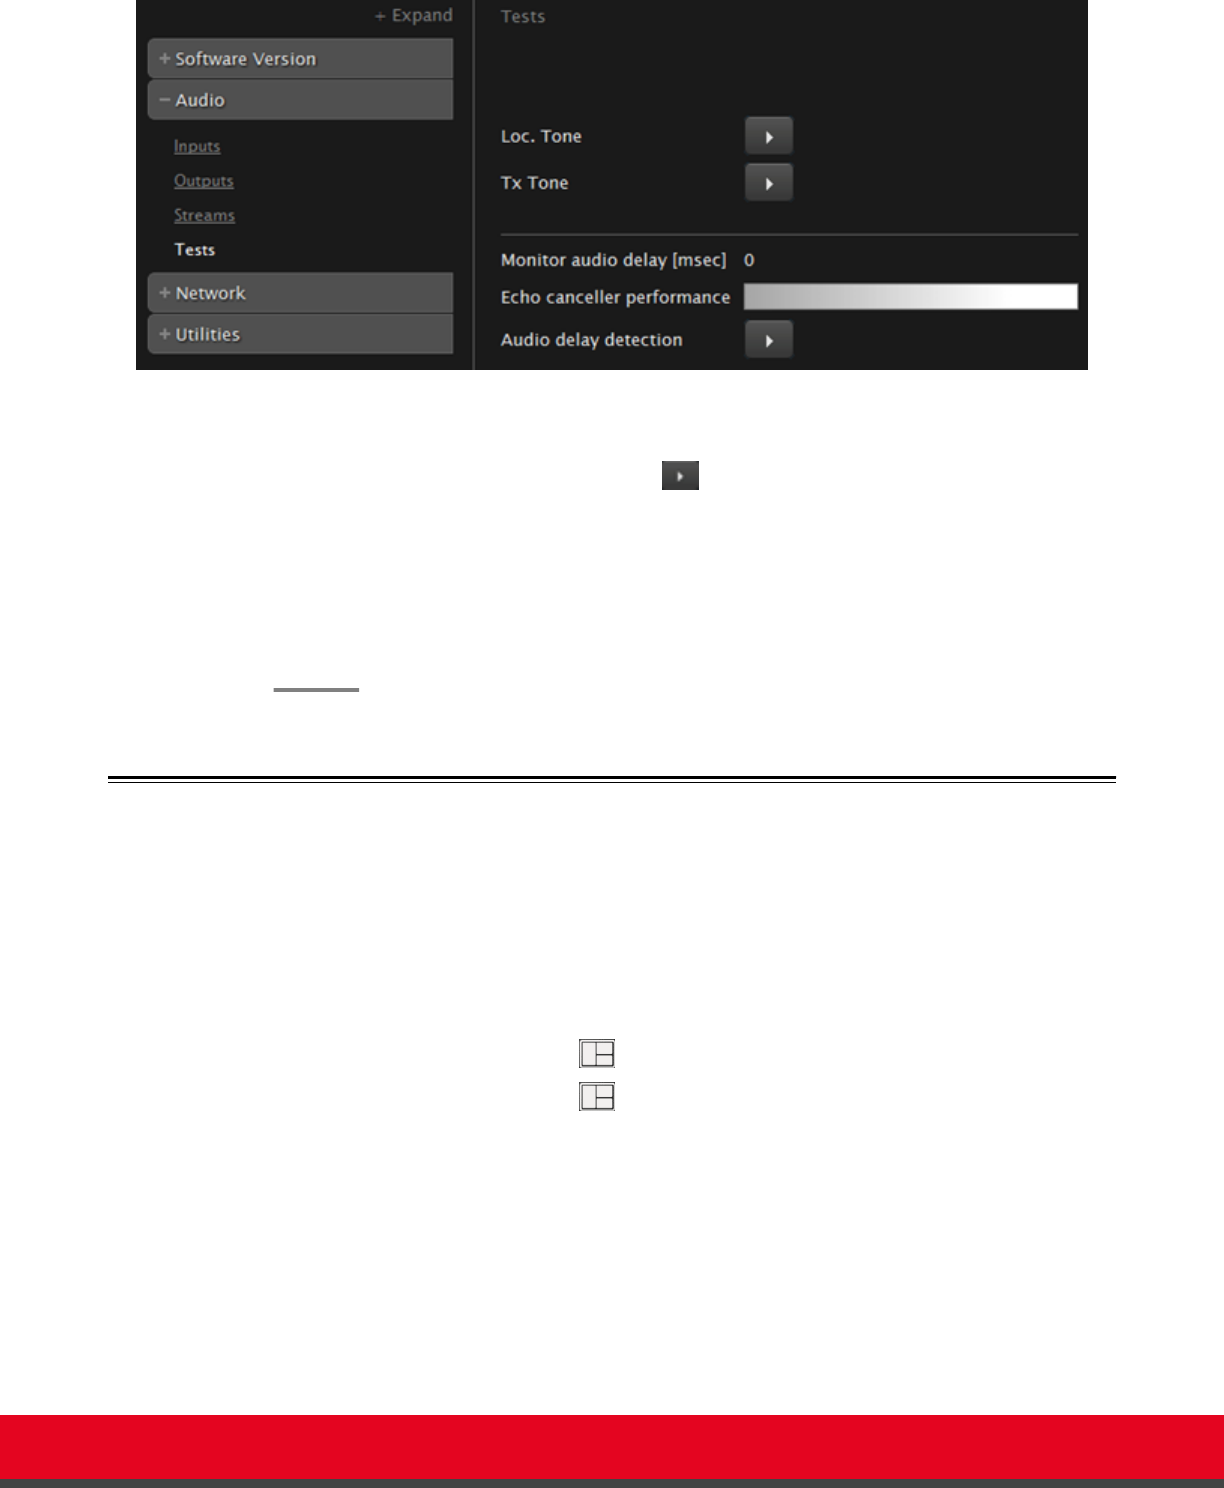
Figure 95: Testing the audio from the web interface
b. Bring the Microphone Pod at about 1 m (3 feet) from the monitor. Keep silent.
c.
Navigate to Audio delay detection and select Yes.
The monitor generates an evaluation noise and the Codec Unit estimates the audio
delay introduced by the monitor. The display shows the audio delay in milliseconds.
The XT Codec Unit uses this manually adjusted delay to calculate the audio delay and
improve the echo canceller performance.
6. From the web interface only, select Save.
Resolving Monitor Display Problems
Problem
The system displays a flickering or blank screen.
Solution
The rear panel of the XT Codec Unit features 2 HD outputs for connecting a main and
auxiliary screen. For cabling, see the cabling diagram in the Quick Setup Guide.
Your system administrator must configure the system for correct video resolution.
When you are not in a call, you can set the refresh frequency of the monitor display:
•
Set to 50 Hz by pressing then 5.
•
Set to 60 Hz by pressing then 6.
Problem
The system displays a blank screen.
Solution
Verify the power cord of the XT Codec Unit is connected properly at both ends.
Solution
Verify the monitor’s power cord is connected properly at both ends.
Solution
Check that the monitor power switch is set to ON.
Installation Guide for Scopia XT5000 Endpoint with Embedded
Server for IP Office Version 3.2
Troubleshooting the Scopia XT Endpoint for IP Office | 149