
Installation guide
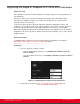
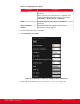


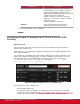
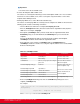
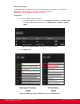
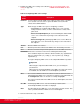
Table Of Contents
- Installation Guide for Scopia XT5000 Endpoint with Embedded Server for IP Office Version 3.2
- Table of Contents
- Chapter 1: About the Scopia XT Endpoint for IP Office
- Chapter 2: Installation Workflow for Scopia XT Endpoint for IP Office
- Chapter 3: Planning the Topology of the Scopia XT Endpoint for IP Office Deployment
- About the Scopia XT Endpoint for IP Office Embedded MCU
- Planning the Topology of Scopia XT Endpoint for IP Office with Scopia XT Desktop
- Planning NAT and Firewall Traversal with Scopia XT Endpoint for IP Office
- Supporting ISDN Connectivity
- Implementing External API Control
- Implementing Port Security for the Scopia XT Endpoint for IP Office
- Chapter 4: Prerequisites for Setting up the System
- Chapter 5: Setting up the Scopia XT Endpoint for IP Office
- Mounting the XT Codec Unit
- Connecting Scopia XT Endpoint for IP Office to Your Network
- Connecting a Computer to the Scopia XT Endpoint for IP Office
- Selecting the Computer Display Resolution
- Connecting Audio Equipment to the Scopia XT Endpoint for IP Office
- Connecting the Video Equipment to the Scopia XT Endpoint for IP Office
- Connecting the Primary XT Premium Camera
- Connecting the Optional USB Camera
- Connecting the Optional XT Premium Camera
- Connecting Cameras for Controlling the Optional XT Premium Camera with the XT Remote Control Unit
- Connecting the Optional Scopia XT Camera Switch
- Connecting a DVD or Blu-ray Player
- Connecting Analog Video Equipment
- Installing the Batteries of the XT Remote Control Unit
- Chapter 6: Initial Configuration
- How to Control the XT Endpoint
- Registering and Enabling your Scopia XT Endpoint for IP Office license
- Performing Basic Configuration
- Registering the XT Endpoint to IP Office
- Setting Basic System Information
- Configuring Video Connections
- Configuring Audio Connections
- Configuring Network Settings
- Chapter 7: Securing your Scopia XT Endpoint for IP Office
- Chapter 8: Troubleshooting the Scopia XT Endpoint for IP Office
Registering the Scopia XT Endpoint for IP Office with a Gatekeeper
About this task
This is typically not relevant for IP Office deployments. Configure only if you are using a gatekeeper in
your deployment.
Gatekeepers enable you to contact H.323 endpoints by entering an alias, rather than having to
remember each endpoint’s IP address. For example, you can dial “1234” or “joesmith” and the
gatekeeper routes the call correctly.
To do this, the gatekeeper must register all endpoints to maintain the mapping list of aliases and
endpoints to successfully route calls. It also registers gateways to ensure that a call can be routed to a
non-H.323 entity, since gateways form the bridge from H.323 to other protocols, such as ISDN.
When registering with a gatekeeper like Scopia ECS Gatekeeper, the endpoint sends its IP and aliases.
Registration occurs before any calls are attempted and may occur periodically, or once, such as during
endpoint power-up.
Before you begin
If configuring from the endpoint, you must first enable advanced configuration, as described in
Maintaining the XT Endpoint Locally from the Endpoint on page 66.
Procedure
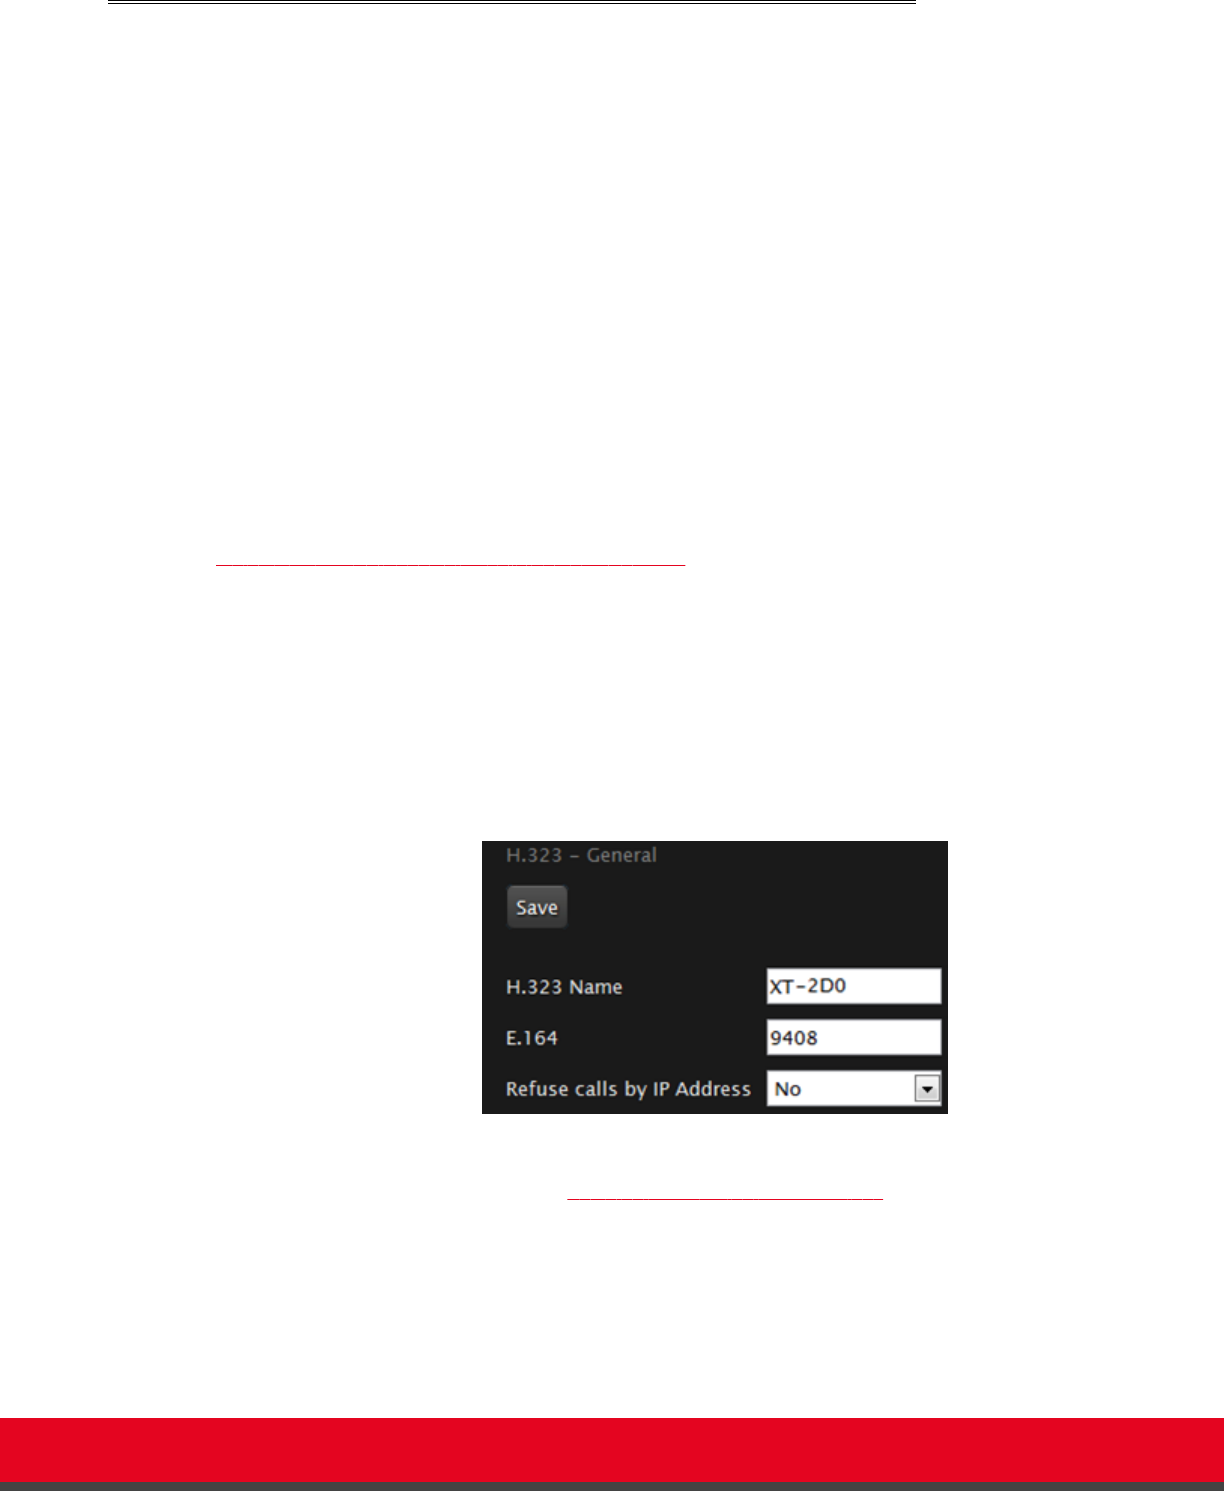
1. Access the gatekeeper settings as follows:
•
From the XT Endpoint web interface, select Administrator Settings > Protocols >
H.323 > General.
•
From the endpoint's main menu, select Configure > Advanced > Protocols > H.323 >
General.
Figure 71: Configuring H.323 settings from the web interface
2. Set the fields as described in Table 31: Configuring H.323 settings on page 122.
Installation Guide for Scopia XT5000 Endpoint with Embedded
Server for IP Office Version 3.2
Initial Configuration | 121