
Installation guide
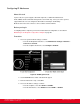
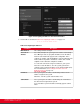


Table Of Contents
- Installation Guide for Scopia XT5000 Endpoint with Embedded Server for IP Office Version 3.2
- Table of Contents
- Chapter 1: About the Scopia XT Endpoint for IP Office
- Chapter 2: Installation Workflow for Scopia XT Endpoint for IP Office
- Chapter 3: Planning the Topology of the Scopia XT Endpoint for IP Office Deployment
- About the Scopia XT Endpoint for IP Office Embedded MCU
- Planning the Topology of Scopia XT Endpoint for IP Office with Scopia XT Desktop
- Planning NAT and Firewall Traversal with Scopia XT Endpoint for IP Office
- Supporting ISDN Connectivity
- Implementing External API Control
- Implementing Port Security for the Scopia XT Endpoint for IP Office
- Chapter 4: Prerequisites for Setting up the System
- Chapter 5: Setting up the Scopia XT Endpoint for IP Office
- Mounting the XT Codec Unit
- Connecting Scopia XT Endpoint for IP Office to Your Network
- Connecting a Computer to the Scopia XT Endpoint for IP Office
- Selecting the Computer Display Resolution
- Connecting Audio Equipment to the Scopia XT Endpoint for IP Office
- Connecting the Video Equipment to the Scopia XT Endpoint for IP Office
- Connecting the Primary XT Premium Camera
- Connecting the Optional USB Camera
- Connecting the Optional XT Premium Camera
- Connecting Cameras for Controlling the Optional XT Premium Camera with the XT Remote Control Unit
- Connecting the Optional Scopia XT Camera Switch
- Connecting a DVD or Blu-ray Player
- Connecting Analog Video Equipment
- Installing the Batteries of the XT Remote Control Unit
- Chapter 6: Initial Configuration
- How to Control the XT Endpoint
- Registering and Enabling your Scopia XT Endpoint for IP Office license
- Performing Basic Configuration
- Registering the XT Endpoint to IP Office
- Setting Basic System Information
- Configuring Video Connections
- Configuring Audio Connections
- Configuring Network Settings
- Chapter 7: Securing your Scopia XT Endpoint for IP Office
- Chapter 8: Troubleshooting the Scopia XT Endpoint for IP Office
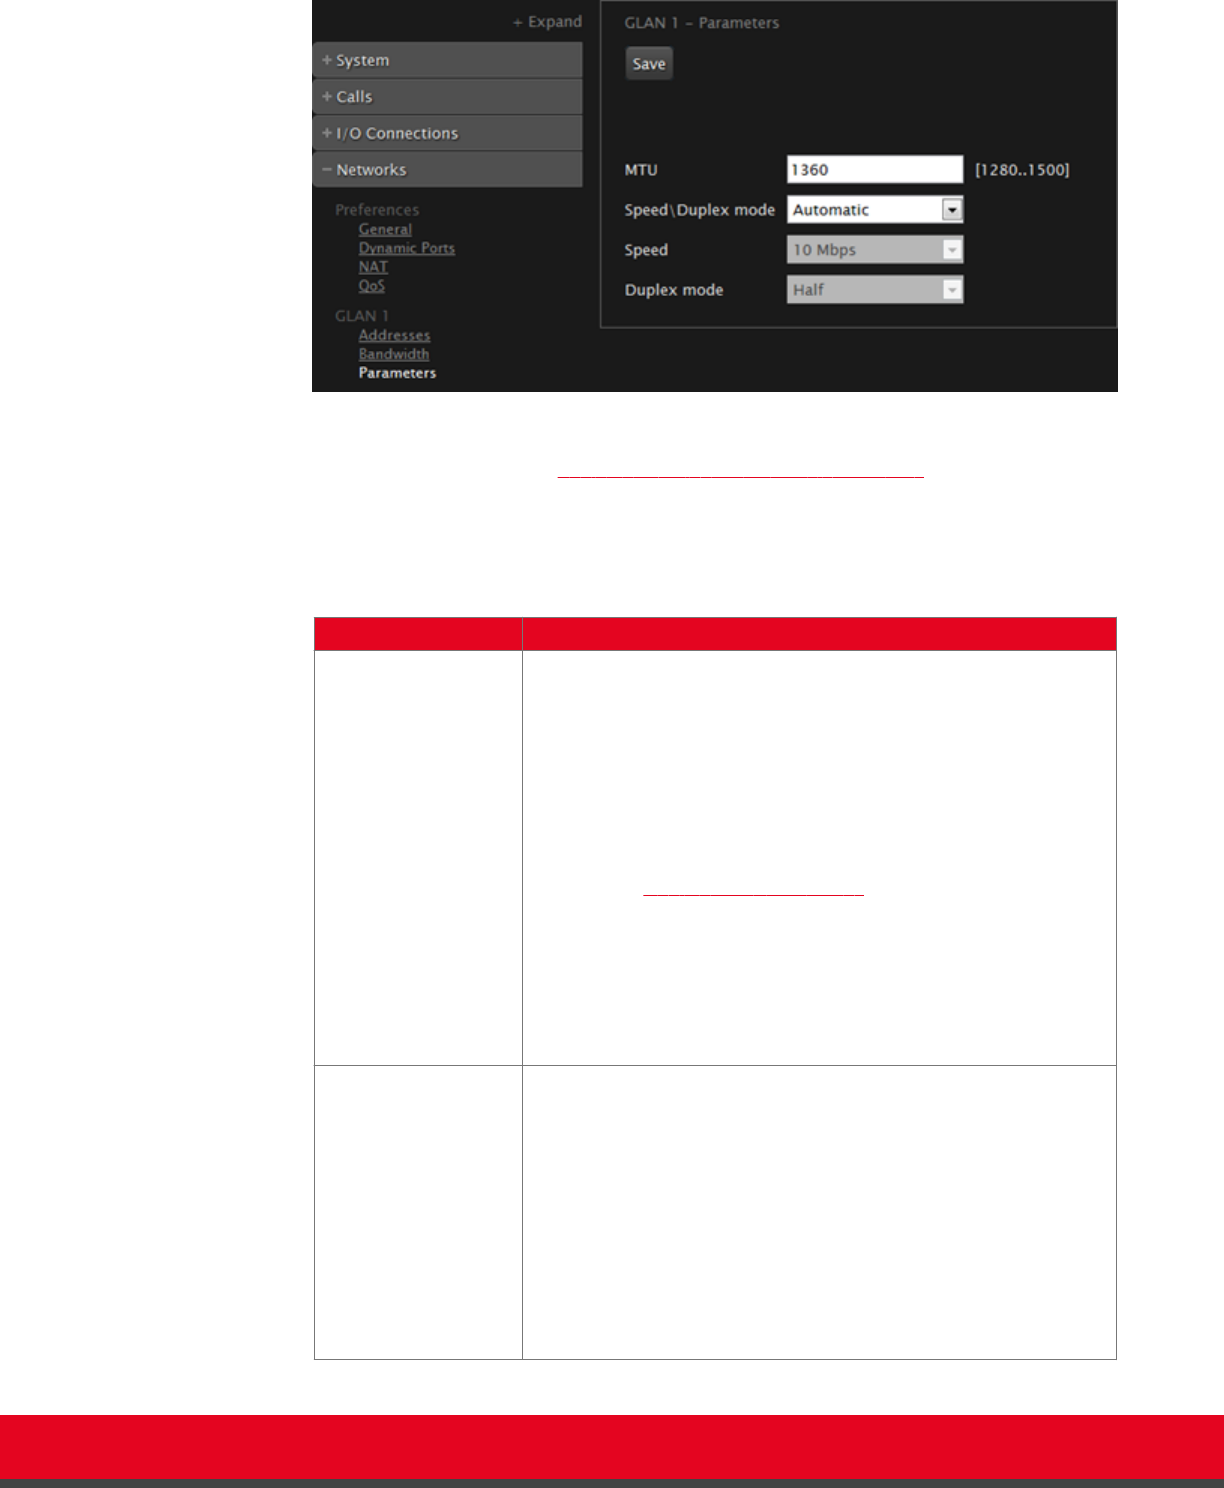
Figure 68: Configuring the GLAN parameters from the web interface
3. Set the field as described in Table 28: Configuring network connectivity on page 116.
To avoid connectivity issues, match these settings to the equivalent settings in the network.
Table 28: Configuring network connectivity
Field Name Setting
MTU Sets the maximum size of each IP packet the XT Codec Unit can
send to the network.
If the system or the remote endpoint transmits IP packets larger
than the configured MTU size, they are dropped or fragmented. To
avoid packet loss or fragmentation, decrease MTU. If packets are
smaller than the configured MTU size, increase MTU.
The maximum and minimum values you enter in this field depend
on the mode selected for placing calls: IPv4 or IPv6. (These are
configured in Configuring IP Addresses on page 113. Both for IPv4
and IPv6 MTU size is set by default to 1360 octets. You can set the
MTU size to these ranges:
•
The minimum allowed value for IPv4 is 576 octets.
•
The minimum allowed value or IPv6 is 1280 octets.
•
The maximum allowed value for both is 1500 octets.
Speed/Duplex mode Set the speed and transition mode as follows:
•
Automatic: The XT Codec Unit selects the Ethernet speed
and transmission mode. We recommend this default mode.
•
Auto - up to 100/Full, Auto - up to 100/Half, Auto - up to
10/Full, Auto - up to 10/Half: If necessary for your network
requirements, select one of these semi-automatic modes. The
XT Codec Unit selects the Ethernet speed and transmission
mode according to the specified values.
•
Manual: You must configure speed and transmission mode
and know the network and remote endpoints requirements.
Installation Guide for Scopia XT5000 Endpoint with Embedded
Server for IP Office Version 3.2
Initial Configuration | 116