
Installation guide


Step 7
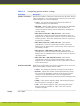
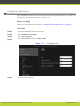
If necessary, adjust the way the image appears on the monitor:
a. Select the monitor requiring adjustment (HD1 or HD2).
b. Select Graphic adjustment under Monitor.
c. Select your preferred image view mode
•
Menu
•
Menu and presentation (local and received). This is the default setting.
•
Menu, presentation, and live video. We do not recommend this setting as it might
alter the proportions of the live images.
Note
The Menu and presentation and Menu, presentation, and live video options will be
available in the future version.
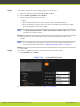
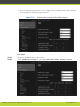
d. Drag the sliders to the required sizes until the interface borders are visible on the
monitor.
Note
If you connected only one monitor to the XT Codec Unit, adjust the image in the
quick setup wizard as described in “Adjusting the Image Position” on page 31.
e. Select Save.
Step 8
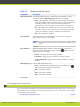
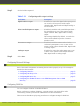
If necessary, configure the monitor to show more than one video stream:
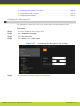
a. Select PIP-PaP under Monitor.
Figure 5-14 Setting PIP-PaP option
b. Configure the option as described in Table 5-9 on page 48.
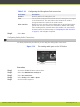
RADVISION | Installation Guide for SCOPIA XT4000 Series Version 3.0 Initial Configuration | 47