
Installation Sheet

6of6
2018 QuoizelInc.
visit us on-line at www.quoizel.com
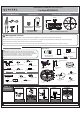
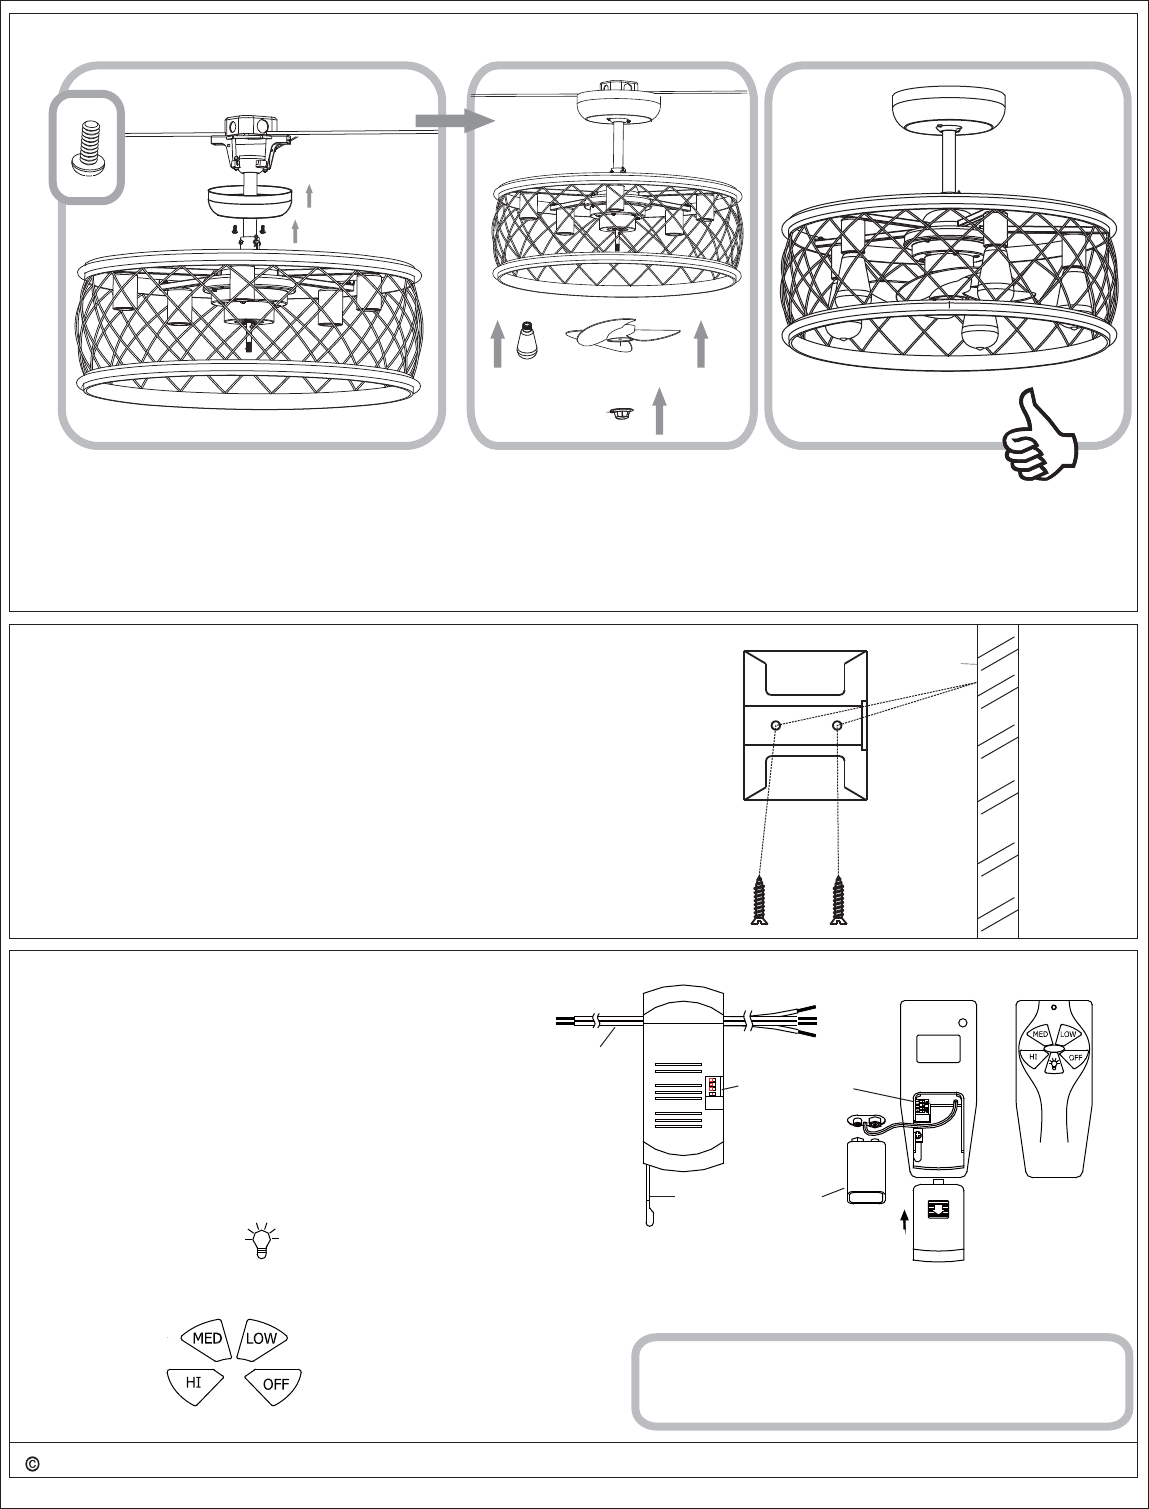
STEP 7
Lift Ceiling Canopy to the Hanger Frame and
attach screws to lock canopy in place on the
Hanger Frame
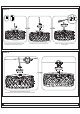
a. Attached Blade Assembly to center
spleen on the bottom of the Fan/Light
fixture and secure with Blade
Assembly Nut. Hand tighten
b. Insert the LED bulbs into the socket
and thread in place.
Instructions for fan and light remote control.
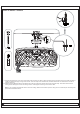
1. Setting up the remote
The wireless control is designed to operate both the light and
speed of the fan. The remote uses a 9V battery. Remove the
remote's back cover and insert the battery Please make sure
the battery is inserted correctly.
The code for the controller and remote must be the same. You
can manually adjust the code as shown to the right.
ON DIP
1234
The code must be
thesameforboth
controller and remote
Batteries
6F22 9V
Antenna
AC 120V
Controller
Remote
2. Operating instructions
a. Turn on power and press (light) key on the remote to turn on the lights
Press the key again to turn off. Long press this button, the bulb will be dimmable.
b.(Four speed buttons) These are the four keys for adjusting fan speed
Warning: changes or modifications to this unit not expressly
approved by the party responsible for compliance could void
user's authority to operate the equipment.
STEP 8
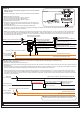
Install Remote Control Transmitter (If being used)Wall Bracket
a. Place Remote Control Mounting Bracket on the wall in desired location and
use two screws supplied to attach to the wall.
b. Insert supplied battery in remote control in a position that is shown inside the
remote control cover.
Wall