
Instructions / Assembly


Table Of Contents
- QuickJack Manual
- Table of Contents
- Introduction
- Shipping
- Safety
- Components
- Accessories
- Specifications
- Frequently Asked Questions
- Setup
- Tools
- Selecting a Site
- Unpacking
- Air and Hydraulic Cylinders
- QuickJack Assembly Kit
- Installing the Hydraulic Elbow Fittings
- Preparing the Short Hydraulic Hoses
- Routing the Short Hydraulic Hoses
- Preparing the Long Hydraulic Hoses
- Pressurizing the Air Cylinders
- Preparing Your Power Unit
- Power Sources for VAC Power Units
- Power Sources for 12 VDC Power Units
- Installing Fittings on Your Power Unit
- Filling the Power Unit Hydraulic Fluid Reservoir
- Check the Breather Valve
- Bleed the Hydraulic Cylinders
- Test of Proper Setup
- Operation
- Maintenance
- Troubleshooting
- Wiring Diagrams
- Labels
- Parts Sheets
- Maintenance Log
- CE Documentation
QuickJack Portable Car Jack 16 P/N 5900959 — Rev. H — May 2018
2. Get a Hydraulic
Elbow
Fitting from the QuickJack Assembly Kit; screw the O-ring fitting end into
the Hydraulic
Cylinder
Fitting.
Tip Lifting the QuickJack Frame you are working on and securing it with a Lift Block
can provide extra room for securing the Hydraulic Elbow Fitting.
Do
not
use Thread Seal Tape on the O-ring fitting. You can use Thread Seal Tape on the
threaded fitting side.
3. Position the threaded fitting end so that it can be accessed from above.
4. Tighten the fitting nut to 11-12 lb-ft / 14-16 N-m.
5. Perform the same process for the Hydraulic Cylinder on the other QuickJack Frame.
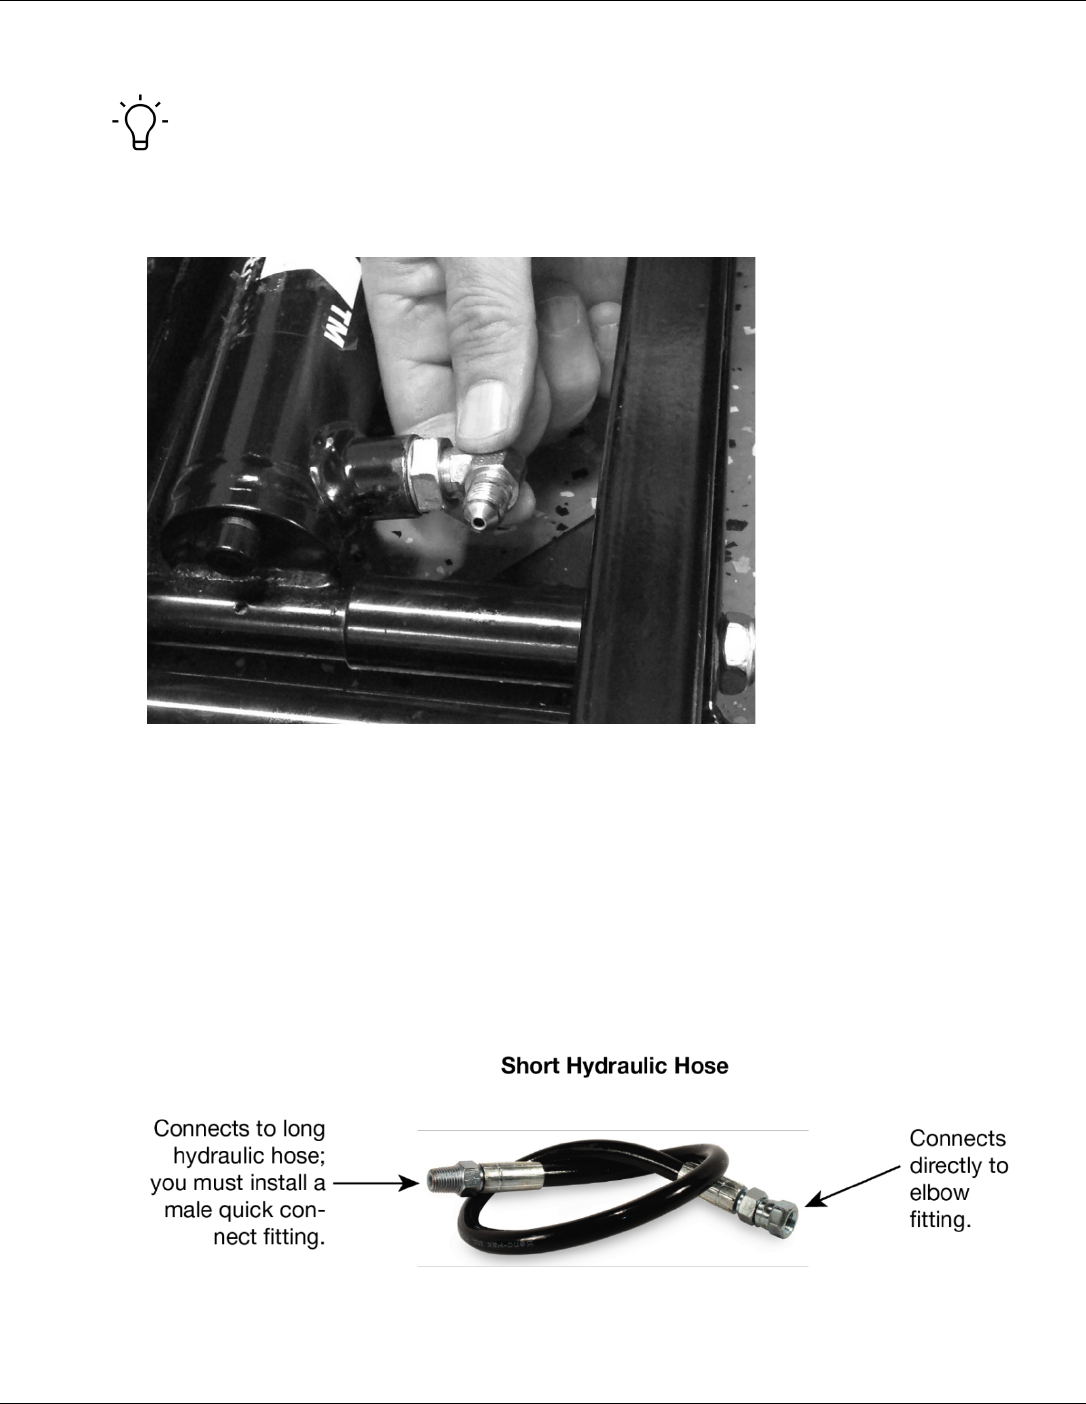
Preparing the Short Hydraulic Hoses
Your QuickJack comes with two Short Hydraulic Hoses:
• The female end attaches directly to the Hydraulic Elbow Fitting on the Hydraulic Cylinder. You do
not need to add a fitting to this end.
• Install a male Quick-Connect Fitting to the male end.