
User's Manual


Table Of Contents
- Contents
- Figures
- Tables
- Preface
- Tape Drive Product Information
- SDLT 600 Tape Drive Specifications
- Installing Your Tape Drive
- Warranty Note
- Safety, Handling, and ESD Protection
- Pre-Installation Guidelines
- Configuring and Installing an Internal Tape Drive with SCSI Interface
- Configuring and Installing an Internal Tape Drive with Fibre Channel Interface
- Configuring and Installing a Tabletop Tape Drive with SCSI Interface
- Configuring and Installing a Tabletop Tape Drive with SCSI Interface
- Confirming the Installation
- Using Your Tape Drive
- Regulatory Compliance
- Super DLTtape I and Super DLTtape II Data Cartridges
- DLTtape VS1 Data Cartridge
- Glossary
Chapter 3 Installing Your Tape Drive
Configuring and Installing an Internal Tape Drive with SCSI Interface
SDLT 600 Product Manual 48
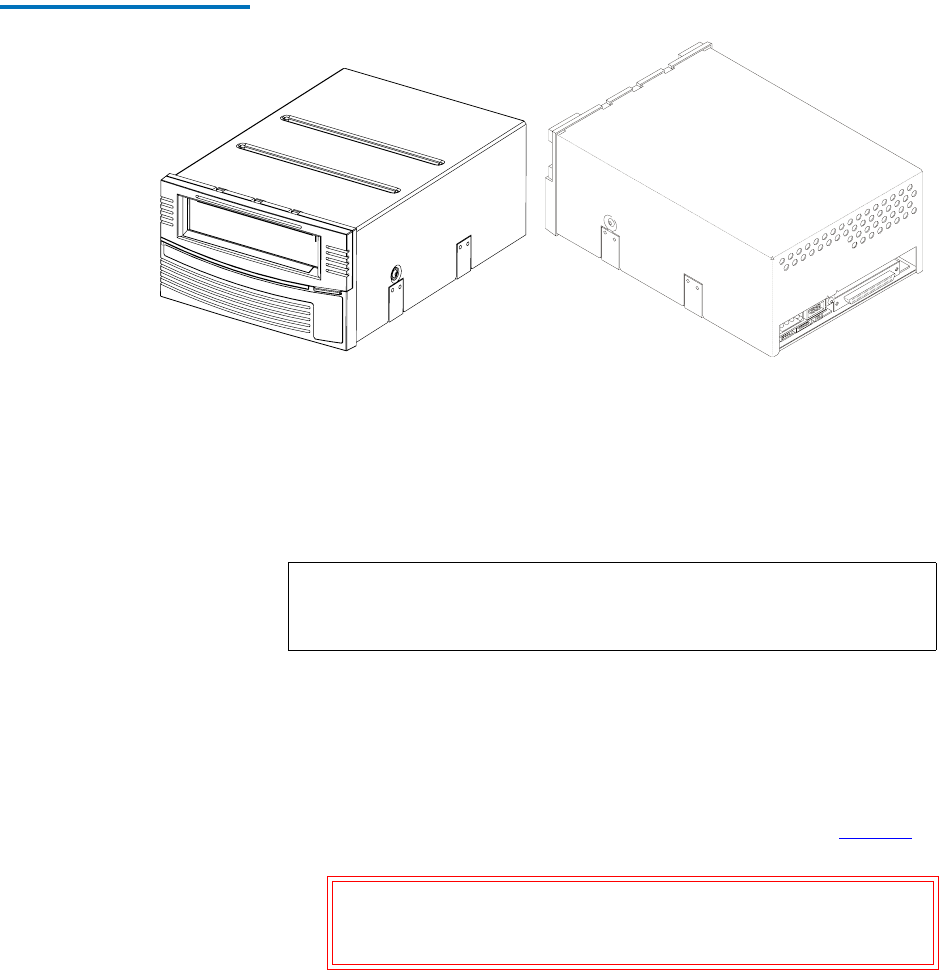
Figure 8 Internal SCSI Tape Drive
Front and Rear View
Securing the Internal Tape Drive 3
This section describes how to mount and secure the tape drive in the
system.
Because of the variety of mounting possibilities for tape drives, the
instructions presented here are general in nature. Use these instructions
only as a guide for mounting the tape drive in your system.
Mount the tape drive in the system by performing the following steps:
1 Position the tape drive in the system and align the tape drive
mounting holes (side or bottom) with those in the system. Figure 9
shows the mounting locations and dimensions for the tape drive.
2 Using four M3 x 8mm long screws, secure the tape drive in the bay or
chassis.
Note: In some system configurations, it may be more convenient to
connect the SCSI bus and power cables to the tape drive before
securing it in the system.
Caution: The screws used to mount the tape drive must be M3
x 8mm long. This type of screw is exactly the proper
length and will not damage the tape drive.
Front View Rear View