
User's Manual
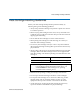
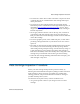

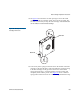
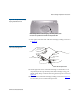

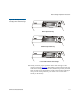
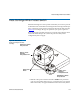


Table Of Contents
- Contents
- Figures
- Tables
- Preface
- Tape Drive Product Information
- SDLT 600 Tape Drive Specifications
- Installing Your Tape Drive
- Warranty Note
- Safety, Handling, and ESD Protection
- Pre-Installation Guidelines
- Configuring and Installing an Internal Tape Drive with SCSI Interface
- Configuring and Installing an Internal Tape Drive with Fibre Channel Interface
- Configuring and Installing a Tabletop Tape Drive with SCSI Interface
- Configuring and Installing a Tabletop Tape Drive with SCSI Interface
- Confirming the Installation
- Using Your Tape Drive
- Regulatory Compliance
- Super DLTtape I and Super DLTtape II Data Cartridges
- DLTtape VS1 Data Cartridge
- Glossary
Data Cartridge Inspection Procedure
SDLT 600 Product Manual 110
Figure 32 End View of DLTtape
VS1 Data Cartridge (Tape
Leader Loop in its Correct
Position)
10 Inside the door, you will see the media and tape leader loop. The loop
should stick up about an eighth of an inch when viewed from the
edge; the loop must be a closed loop.
11 Examine the visible tape leader to ensure it is in the correct position
as shown in figure 32
. If the loop is torn, bent, pulled in, or not sticking up
about an eighth of an inch, do not use the data cartridge.
12 Examine the tape leader for any excessive debris, oily or sticky
residue, condensed droplets of moisture, or any other signs of
contamination.
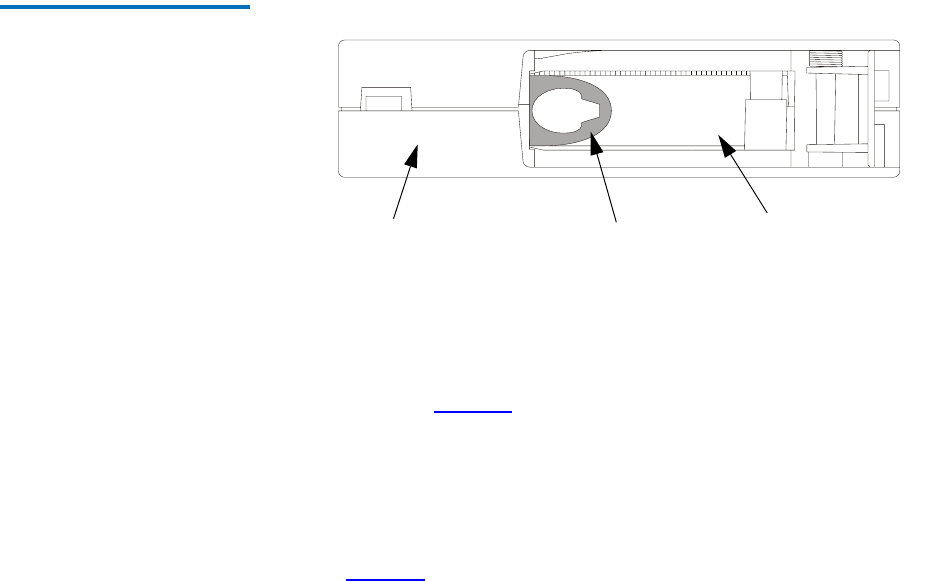
Compare what you see inside the data cartridge door to illustrations
in figure 33
. Look for faulty items including:
• A broken tape leader loop
• A swallowed tape leader loop
• Loose media inside the data cartridge.
Do not use a data cartridge that exhibit any of the type of problems
shown in these examples.
Data Cartridge
Tape Leader Loop
Media