
User's Manual

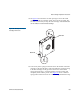
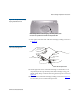

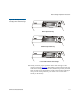
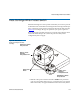


Table Of Contents
- Contents
- Figures
- Tables
- Preface
- Tape Drive Product Information
- SDLT 600 Tape Drive Specifications
- Installing Your Tape Drive
- Warranty Note
- Safety, Handling, and ESD Protection
- Pre-Installation Guidelines
- Configuring and Installing an Internal Tape Drive with SCSI Interface
- Configuring and Installing an Internal Tape Drive with Fibre Channel Interface
- Configuring and Installing a Tabletop Tape Drive with SCSI Interface
- Configuring and Installing a Tabletop Tape Drive with SCSI Interface
- Confirming the Installation
- Using Your Tape Drive
- Regulatory Compliance
- Super DLTtape I and Super DLTtape II Data Cartridges
- DLTtape VS1 Data Cartridge
- Glossary
Data Cartridge Inspection Procedure
SDLT 600 Product Manual 107
• If a data cartridge is dropped or subjected to some hard physical
shock.
• If the SDLT 600 tape drive becomes inoperable after loading a data
cartridge.
• If you receive a shipment of data cartridges that show any sign of
shipping damage.
Follow these steps to visually inspect a DLTtape VS1 data cartridge:
1 Remove the data cartridge from its protective plastic case.
2 Gently shake the data cartridge. Listen for any rattling or sounds of
any loose pieces inside the data cartridge.
If you hear anything loose
inside, do not use the data cartridge
.
3 Check the data cartridge for any obvious cracks or other physical
damage to the shell. Rotate the data cartridge in your hands, looking
for broken or missing parts.
4 Grasp the data cartridge to view the bottom as shown in figure 28
.
(The media access door is on the top edge and the write protect
switches are on the bottom edge.)
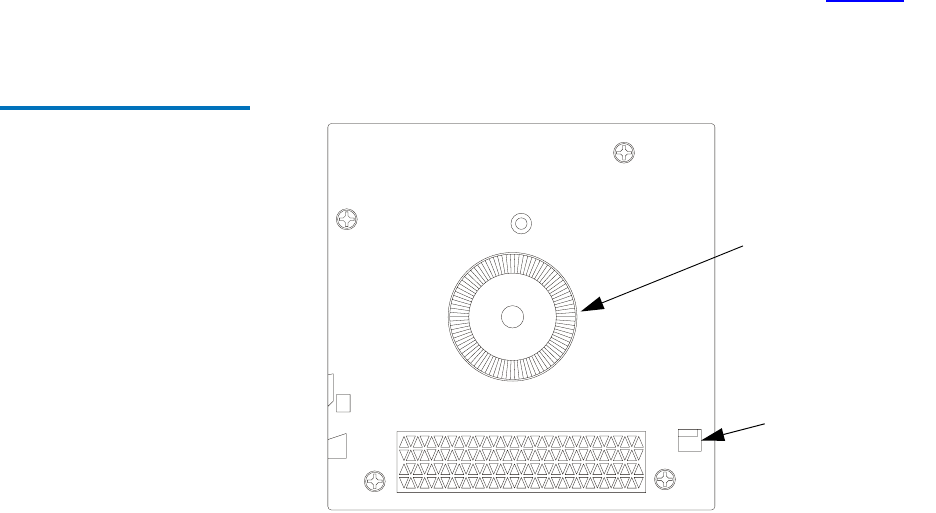
Figure 28 Bottom View of
DLTtape VS1 Data Cartridge
Spring-loaded Hub
Reel Lock